1.Choose a Face LoRA with Rank ≥ Concept LoRA
If your Concept LoRA has a high rank (48–64), it will strongly influence facial details.
To override it, your Face LoRA should have an equal or higher rank.
This ensures the facial features are not lost in the merge.

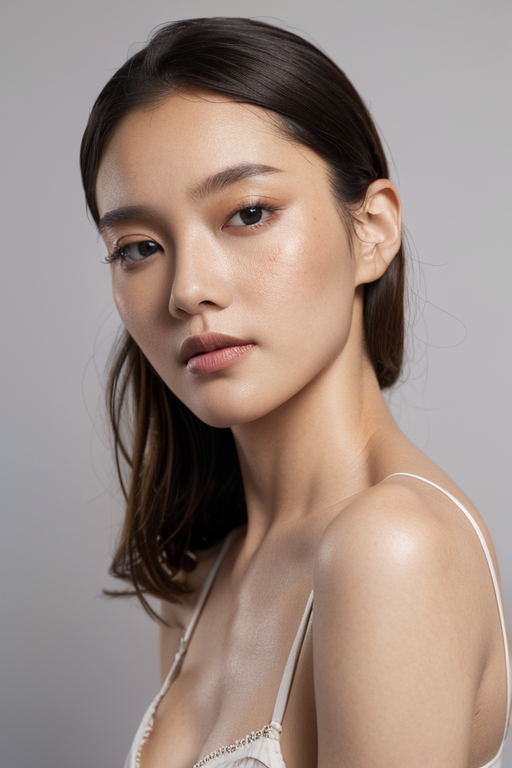
2.Write a Clear and Detailed Face Prompt
Be specific about the face in your prompt:
Example:oval face, delicate Asian woman, soft smile, realistic skin texture
The more detailed and realistic your description, the more accurately AI will generate the desired face.
3.Adjust LoRA Weights
- Concept LoRA: 0.6–0.7
- Face LoRA: 0.9–1.0
- This prevents the concept from completely overriding the face features.
4.Use Clip Skip = 1
When your prompt is clear and your Face LoRA is strong:
- Clip Skip = 1 → gives stronger influence to the prompt
If your prompt is weak or the scene layout is complex, try Clip Skip = 2.
5.Pick a Checkpoint with Minimal Face Latents
Light checkpoints: easier to override face details
Heavy checkpoints with many face latents: need a strong prompt + Clip Skip = 1 for successful overrides
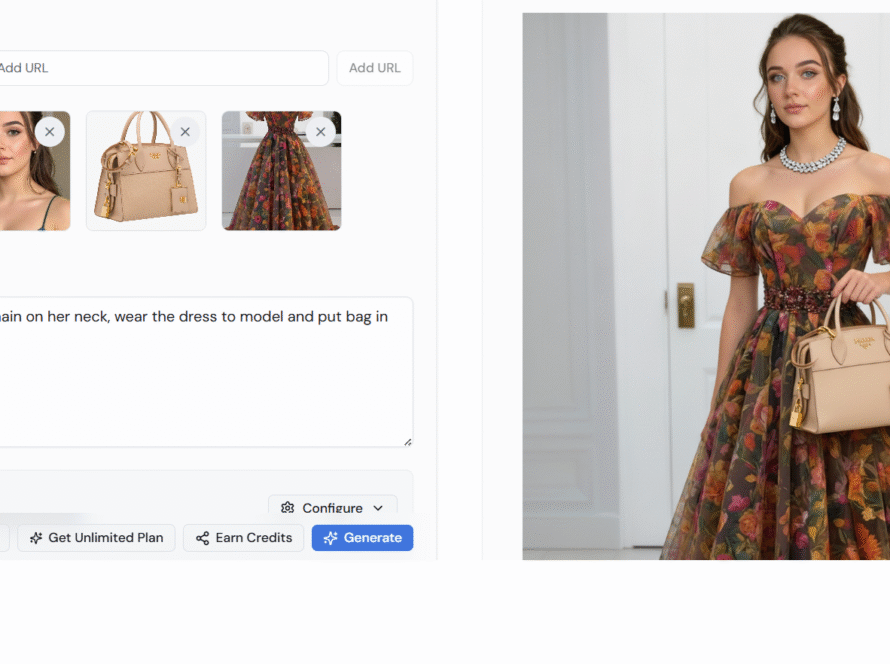
6.Use Img2Img + Face LoRA for Replacement
- Denoising: 0.25–0.35
This keeps the outfit and pose but swaps only the face/skin.
Only use this if normal prompting fails, as it can make poses stiff.
7.Use Face Reference in Your AI Generator
When you want to match an exact reference face:
- Denoising: ~0.3
8.Combine Face Reference + Face LoRA
- Reference: Defines the form
- Face LoRA: Adds skin texture, lighting, and details
9.Fix Noise/Blur/Minor Errors
If merged results are noisy or blurry, use Vary Subtle to clean the image and fix small detail errors.
10.Sampling Steps
Default for good results: 30
Close-ups (face, hands, legs, neck, chest): 40–50
Higher steps = sharper details, but may cause stiff expressions.
Final Tip
Merging Face LoRAs isn’t just about increasing weights.
It’s about balancing latents, style, prompt clarity, and method.
Master one of these tricks and you’ll get great results; combine them and you’ll get perfect results.