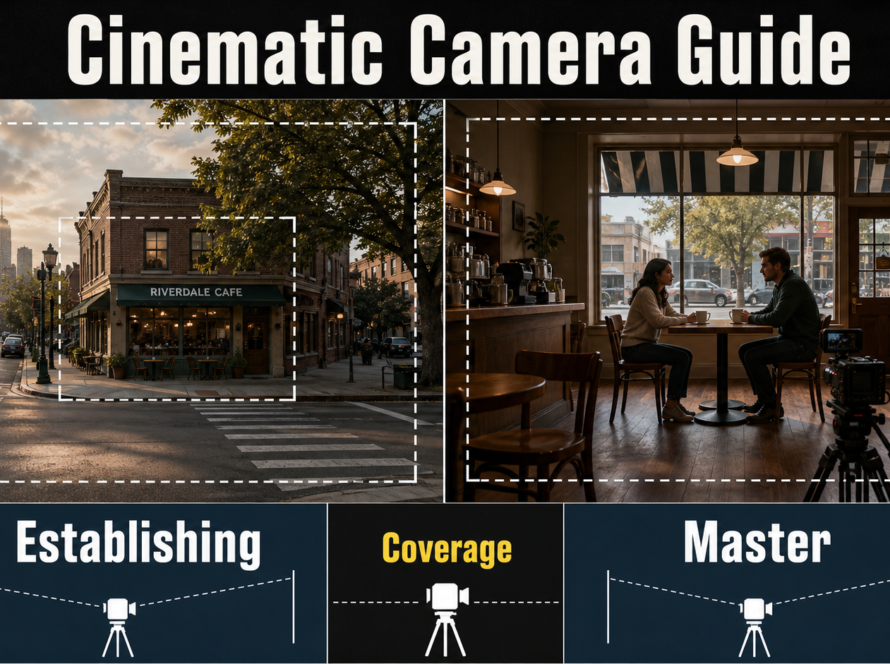
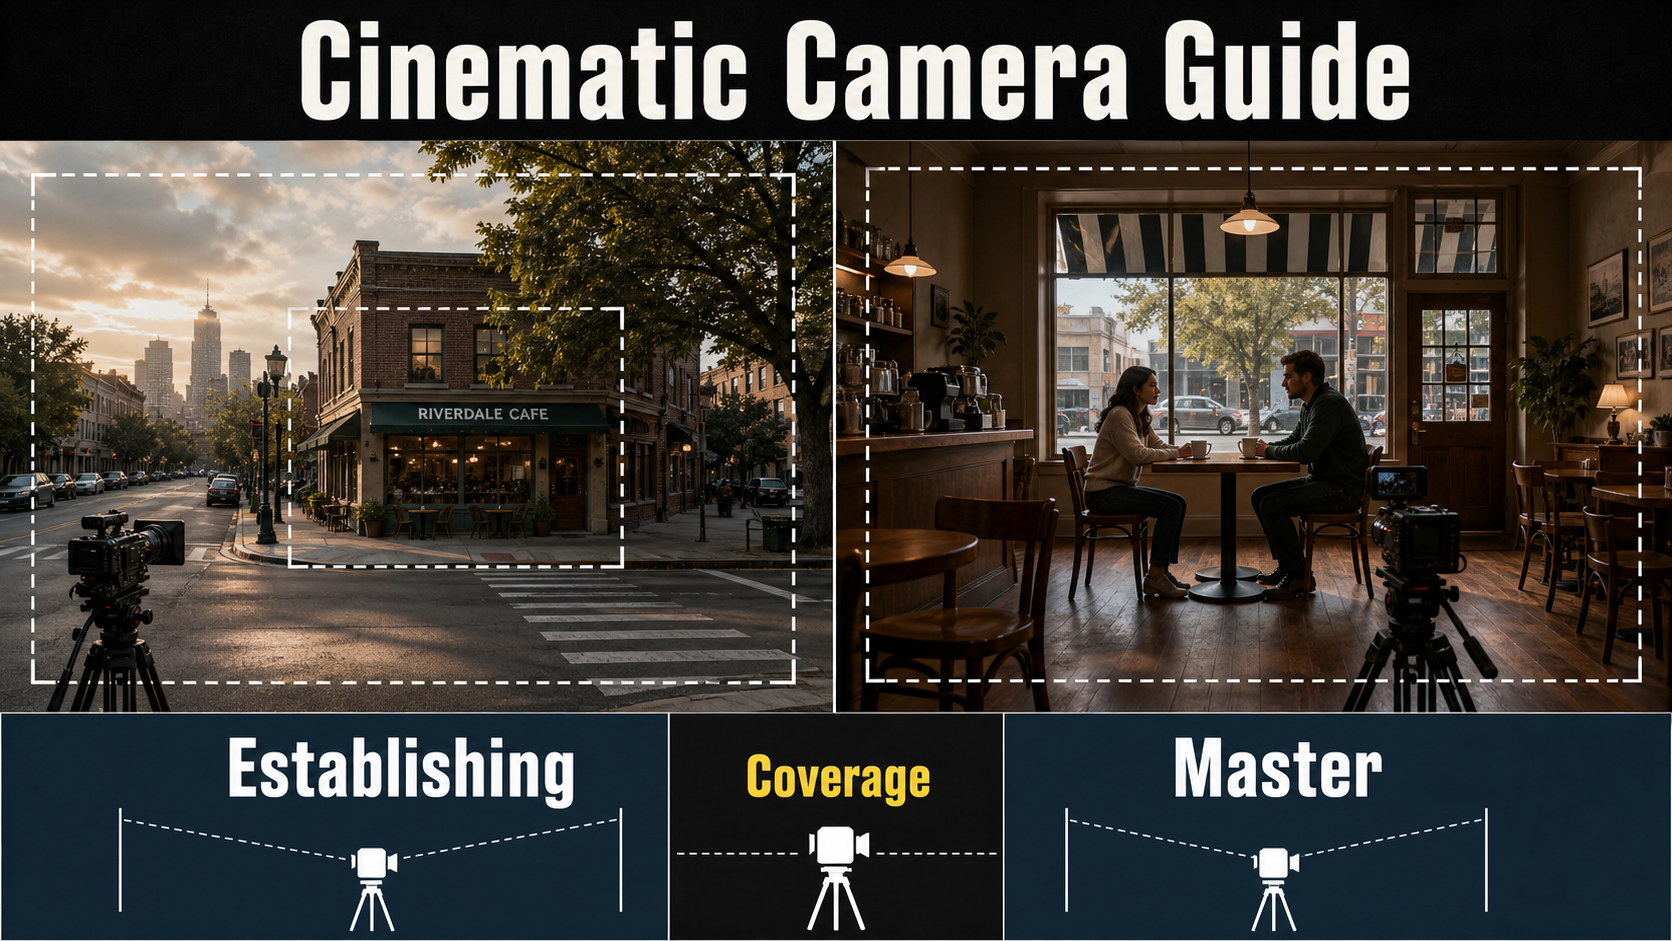
An establishing shot tells viewers where a scene happens; a master shot shows the full dramatic action in that location. For AI video, the most reliable prompt names the shot type, subjects, spatial relationships, lens look, camera height, movement, lighting, and timed action in that order. This approach gives the model concrete visual evidence instead of asking vaguely for a cinematic result.
Use the establishing shot to introduce geography, scale, time, and mood, then generate a master shot that keeps entrances, exits, eyelines, props, and screen direction readable. These are storytelling choices first. Camera-control research can add trajectory or intrinsic controls, but no prompt phrase guarantees a physical focal length or perfect continuity.
Table of Contents
Visual meaning
The practical difference is narrative scope. An establishing shot answers “Where are we, when are we there, and how large is the world?†A master answers “Who is in this scene, where are they, and how does the complete action unfold?†One shot can sometimes do both, but treating the jobs separately makes generation and editing easier.
What an establishing shot does
An establishing shot commonly opens a scene with a wide view of a building, landscape, street, room, or event. The subjects may be small or absent. Location markers, weather, time of day, traffic, architecture, and ambient movement carry meaning. A lonely figure against a huge station suggests isolation; a crowded market introduces energy before the story moves closer.
For AI video, choose two or three stable environmental anchors: “red awning at frame left, clock tower in the distant center, wet road reflecting blue dusk.†Those anchors are easier to compare across frames than “beautiful cinematic city.†Keep motion modest: drifting mist, pedestrians crossing, or a restrained push-in. Too many independent actions invite geometry changes.
What a master shot does
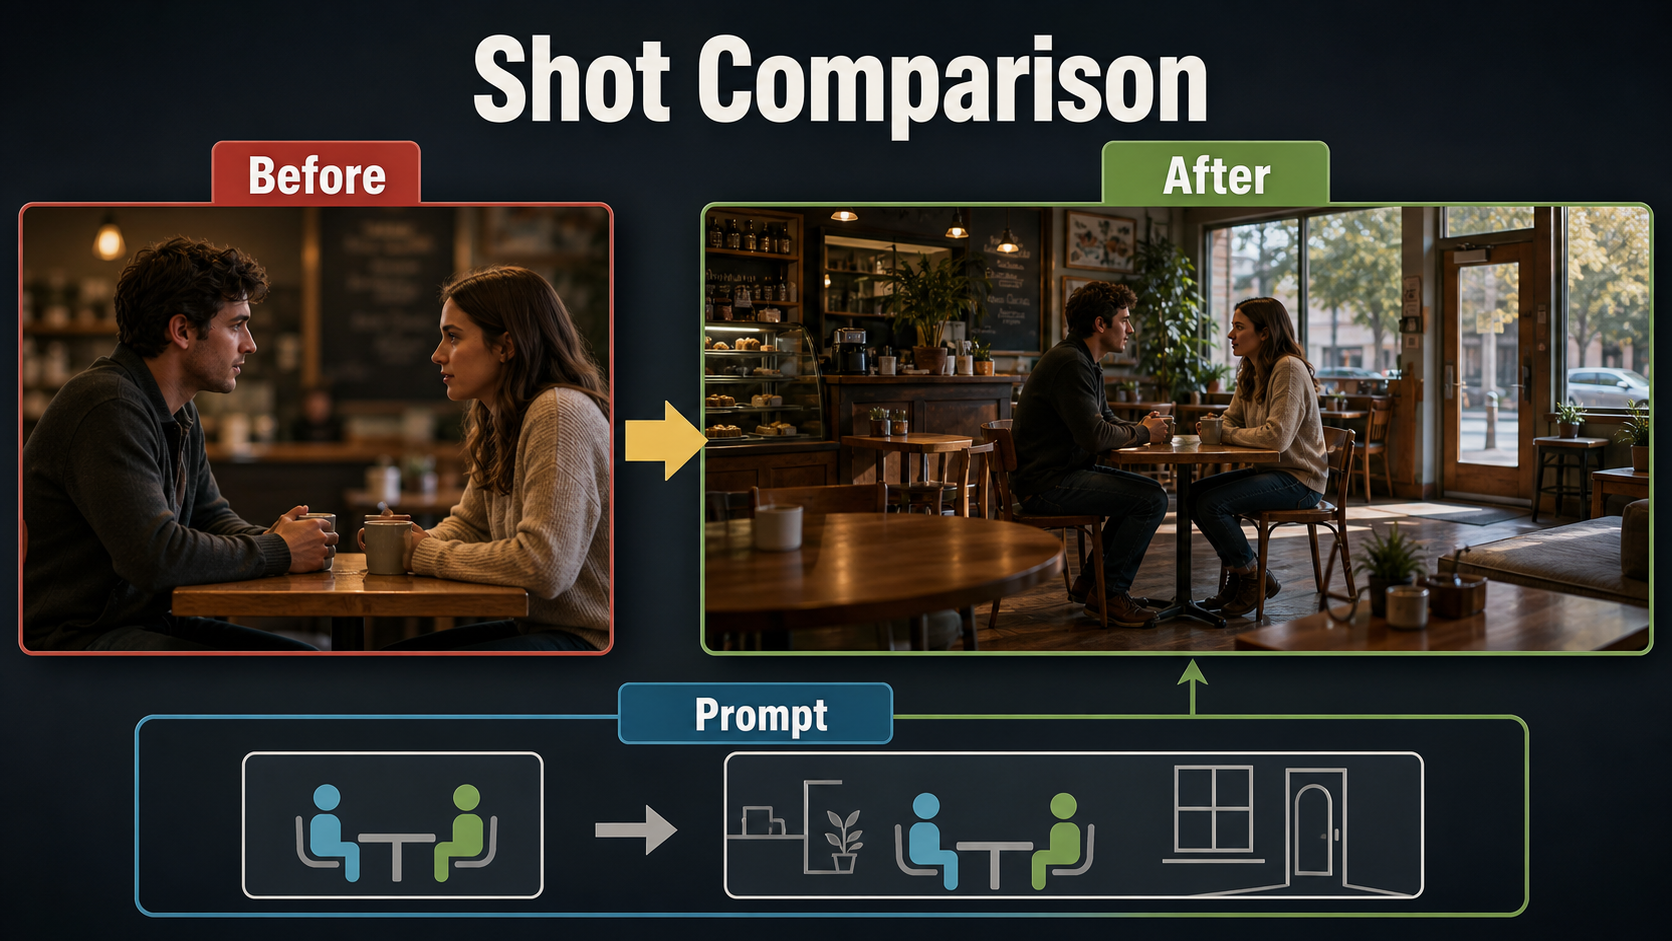
A master shot records the principal action from a viewpoint wide enough to show the scene’s essential geography. In a cafe dialogue, viewers should understand where both actors sit, where the door and window are, what each person can see, and how an entrance or exit happens. Editors can return to the master when close-ups lack continuity or a cut needs spatial clarity.
Do not confuse “master†with “widest possible.†A medium-wide two-shot can be a master if it contains the entire dramatic action. Conversely, a spectacular aerial establishing shot is usually not useful master coverage because facial behavior and interaction are too small.
Camera placement
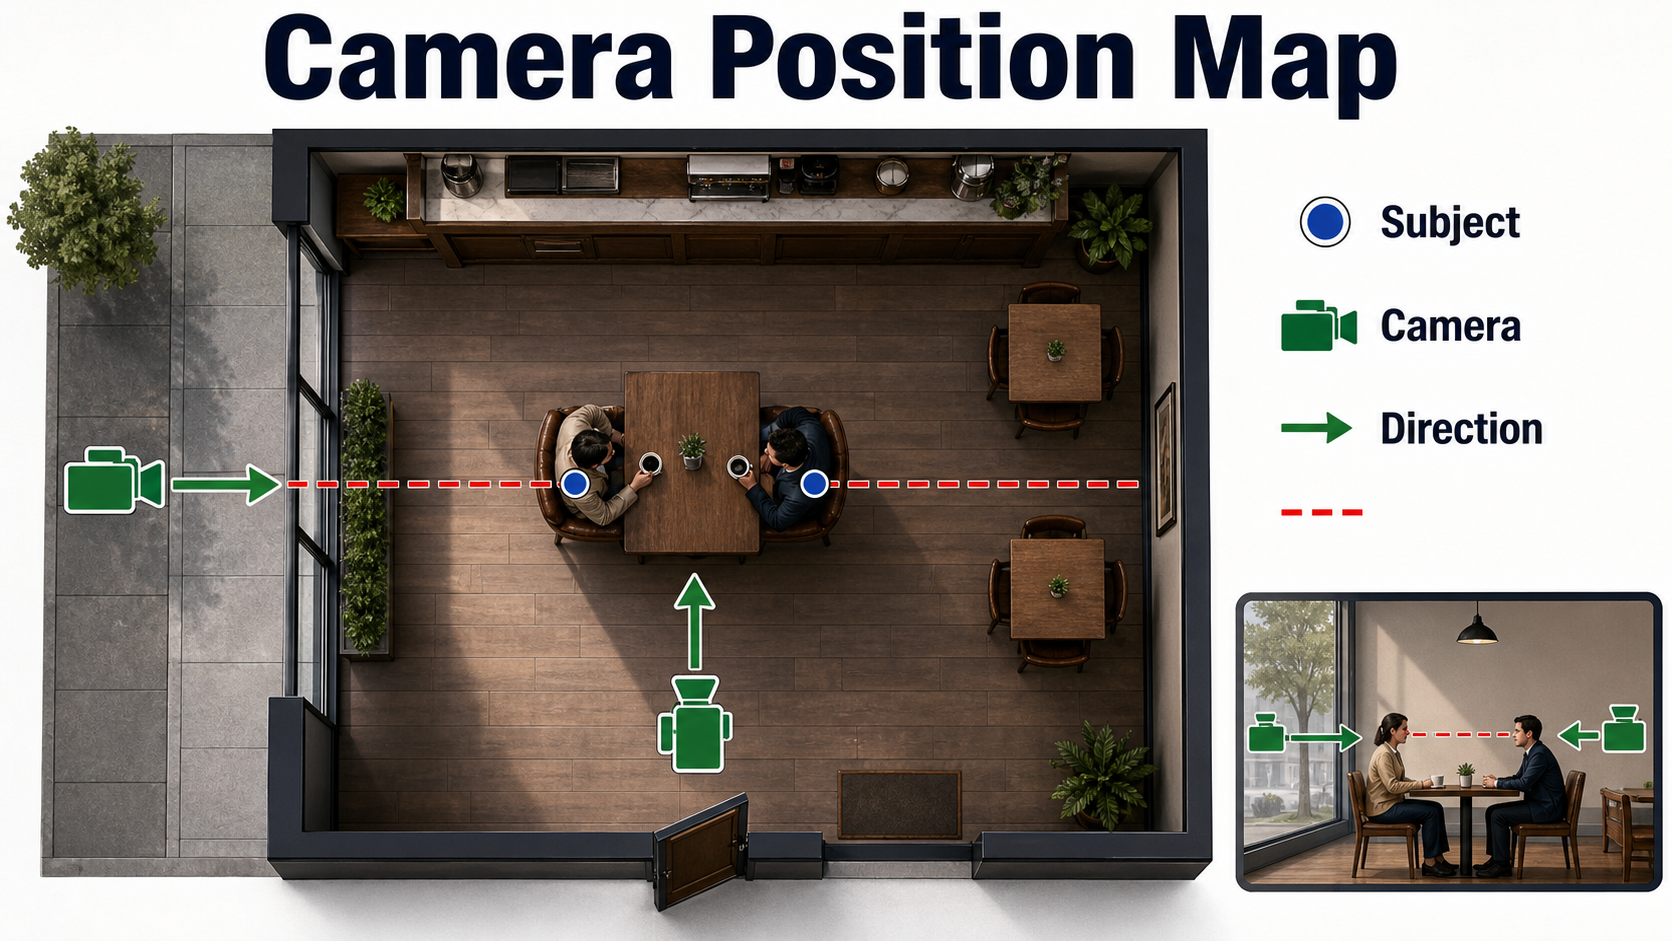
Place the camera to reveal the relationships the audience must understand. Begin with a simple overhead sketch. Mark subjects, doorways, windows, major props, movement paths, and the line connecting interacting characters. Decide which side of that action axis the camera will occupy.
Map scene geography
For an exterior establishing shot, raise or move the camera far enough back to show the location in context, but keep one primary visual anchor. For an interior master, choose a corner or wall that exposes depth: foreground object, subjects in the middle plane, and an exit or background anchor. Eye level feels observational; a slightly high angle clarifies blocking; a low angle emphasizes scale but can hide floor paths.
Protect screen direction
If one character faces camera-right in the master, preserve that orientation in related close-ups unless the camera visibly crosses the axis. Stable screen direction helps viewers understand who looks at whom. AI generations often flip faces, doors, and props, so include explicit positions: “Maya sits frame left facing right; Daniel sits frame right facing left; the entrance remains behind Daniel.â€
Camera movement should have a reason. A slow push-in can shift from geography toward emotion. A lateral track can reveal a hidden subject. An orbit changes the background and is harder to keep coherent, so use it only when the change itself matters.
Lens and aperture choices
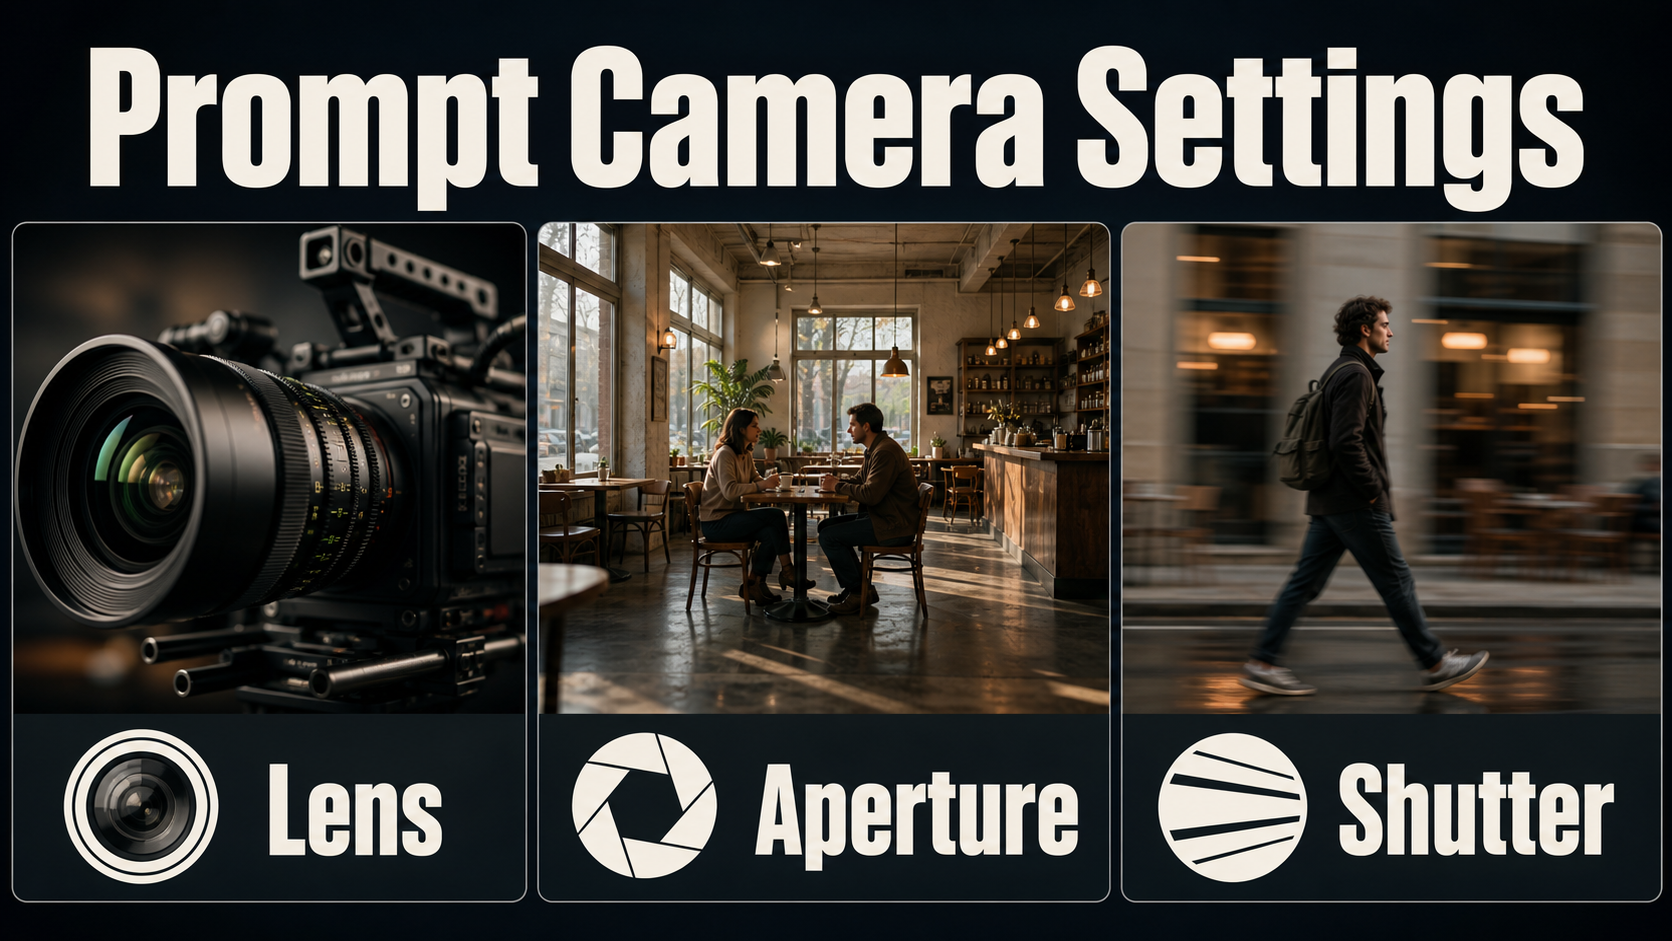
Lens and aperture terms communicate a visual target, but most generative models do not simulate a physical camera exactly. A “24 mm wide-angle look†usually asks for broad field of view and stronger perspective; “50 mm natural perspective†asks for less exaggeration. To preserve a room in a master, a 24–35 mm full-frame equivalent look is a useful starting description. Avoid an extreme ultra-wide look unless distortion supports the story.
Aperture language mainly signals depth of field. “Moderate depth of field, both actors and doorway readable†is clearer than writing only “f/4.†A very shallow look can blur the environment that the shot exists to explain. Shutter language is similarly interpretive: “natural motion blur†is safer than assuming the model obeys a 180-degree shutter. Frame rate affects temporal cadence, while shutter affects exposure time and blur; do not use the terms interchangeably.
| Choice | Establishing starting point | Master starting point | Risk |
|---|---|---|---|
| Lens look | 24–35 mm wide | 28–40 mm wide-normal | Extreme width distorts faces and edges |
| Camera height | Elevated or eye level | Eye level or slightly high | High angles can weaken intimacy |
| Depth of field | Deep to moderate | Moderate | Shallow focus hides geography |
| Movement | Locked, pan, or slow push | Locked or gentle dolly | Complex paths increase drift |
| Motion blur | Natural and restrained | Natural for dialogue action | Excess blur damages faces and props |
AI video prompt formula
Build the prompt as a shot specification: shot type + location and time + subject positions + action timeline + lens and camera height + movement + depth and lighting + continuity constraints. Put visible facts before adjectives. One restrained camera move and one primary action are usually easier to control than a paragraph of simultaneous events.
Establishing-shot template
[Shot type] of [location] at [time/weather]. [Primary anchor] remains at [frame position]; [subjects/traffic] move [direction]. [Lens look], [camera height], [locked/pan/dolly]. [Lighting and palette]. Preserve [three fixed environmental details]; no geometry changes or sudden camera shake.
Example: Wide establishing shot of a neighborhood cafe at blue hour after rain. The red awning remains frame left, a clock tower sits distant center, and two cyclists cross left to right. Elevated 28 mm wide-angle look, slow controlled push-in. Warm window light contrasts with cool wet pavement. Keep the facade, intersection, and tower unchanged; no sign mutation or traffic jump.
Master-shot template
[Master framing] of [subjects] in [room]. [Character A] stays [position/orientation]; [Character B] stays [position/orientation]. They perform [chronological action]. [Lens look], [height], [movement], moderate depth of field. Keep [door/window/prop] visible and unchanged; preserve faces, wardrobe, eyelines, and screen direction.
Example: Continuous medium-wide master shot of Maya and Daniel at the center table in the same cafe. Maya stays frame left facing right; Daniel stays frame right facing left; the entrance remains behind Daniel and the window behind Maya. Maya sets down her cup, Daniel looks toward the door, then both stand. Eye-level 32 mm look, locked camera, moderate depth of field, soft morning window light. Preserve faces, clothing, cups, door, eyelines, and room layout.
Reference image setup
Create the reference frame as a continuity document, not just attractive concept art. Use the target aspect ratio, show the exact room anchors, avoid cropped limbs that must move later, and keep important subjects away from unstable edges. For a master shot, include full movement paths and sufficient headroom. Save a separate clean environment plate and character references when the workflow supports them.
Annotate a private production copy with character names, left/right positions, entrance, window, action axis, and camera direction. Do not feed a text-heavy annotation to the model unless required; use it to write the prompt and review results. Record seed, reference version, aspect ratio, duration, and model version.
Model workflow
Prompt-only camera language and explicit camera conditioning are different. The official CameraCtrl project encodes camera pose sequences for text-to-video control. CamI2V focuses on camera-controlled image-to-video and its repository provides research checkpoints, demos, evaluation code, and an MIT code license. UCPE extends camera-conditioned generation toward intrinsic parameters, distortion, pitch, and roll. These are research implementations, not proof that every hosted video generator accepts the same controls.
- Plan: sketch geography and define one story purpose for each shot.
- Lock references: approve environment, characters, wardrobe, props, and positions.
- Generate the establishing shot: start locked or with a slow single-axis move.
- Generate the master: prioritize complete action and readable relationships over dramatic blur.
- Create coverage: derive medium shots and close-ups without changing the axis or identity description.
- Review: compare first, middle, and final frames for geometry, faces, hands, props, and direction.
- Conform: trim unstable handles and cut on clear actions.
Settings checklist
- Use the same aspect ratio, model version, and reference pack across the sequence.
- Begin with a short clip and conservative resolution before increasing cost.
- Choose a 24–35 mm look for broad geography; avoid needless edge distortion.
- Ask for moderate or deep focus when the environment matters.
- Use one camera movement and describe its direction, speed, and endpoint.
- State character positions and screen direction literally.
- Keep a fixed seed only when the tool supports reproducible seeding.
- Judge continuity across frames, not from the thumbnail alone.
Common failures and fixes
| Failure | Likely cause | Practical fix |
|---|---|---|
| Establishing shot feels generic | No unique anchors | Name three fixed spatial details and one weather or time cue |
| Master is really a close two-shot | Prompt prioritizes faces | Require complete bodies, entrance, window, and movement path |
| Room changes during movement | Complex orbit or weak reference | Use a locked camera or slow push and a clean environment plate |
| Characters swap sides | Positions are implicit | State frame-left/frame-right, facing direction, and action axis |
| Wide faces look stretched | Extreme wide-angle treatment | Move the virtual camera back and request a less extreme lens look |
| Background becomes unreadable | Excessive shallow focus | Request moderate depth with subjects and key doorway readable |
When a generation fails, change one variable. Shorten the action, simplify movement, strengthen the reference, or make positions explicit. Rewriting everything destroys evidence about which instruction helped.
Edit AI videos here
Once the establishing shot, master, and coverage pass continuity review, assemble and finish them at https://ai.alphatechnologies.vn. Trim unstable first or final frames, cut on action, balance color and sound, and keep the master available whenever geography needs clarification.
FAQ
What is the difference between an establishing shot and a master shot?
An establishing shot introduces location, scale, time, or mood. A master shot records the complete dramatic action and spatial relationships within a scene.
Can one shot be both establishing and master?
Yes. A wide shot can introduce the location while showing the full action, but separate shots usually provide clearer control and more editing options.
What lens should I prompt for a master shot?
A 28–40 mm full-frame equivalent look is a practical starting range for readable geography without extreme edge distortion. Describe the desired field of view as well as the number.
Should an AI video master shot move?
It can, but locked cameras and gentle pushes are easier to keep coherent. Use complex movement only when it adds story information.
Does a camera prompt guarantee real lens or shutter physics?
No. In many models those terms are semantic visual instructions. Explicit camera-conditioned research systems offer more control, but implementation and supported parameters vary.
How do I keep AI video coverage consistent?
Reuse the same references, identity descriptions, room anchors, screen direction, model version, and settings. Change only framing or action, then compare full frame sequences.
Official sources
- CamI2V official repository
- UCPE official repository
- CameraCtrl official repository
- CamI2V technical paper
Use these repositories to verify current checkpoints, installation steps, licenses, and supported controls before adopting a research workflow. For more practical AI production guides and tool comparisons, explore Aikolhub and build a repeatable shot plan before spending compute on long clips.