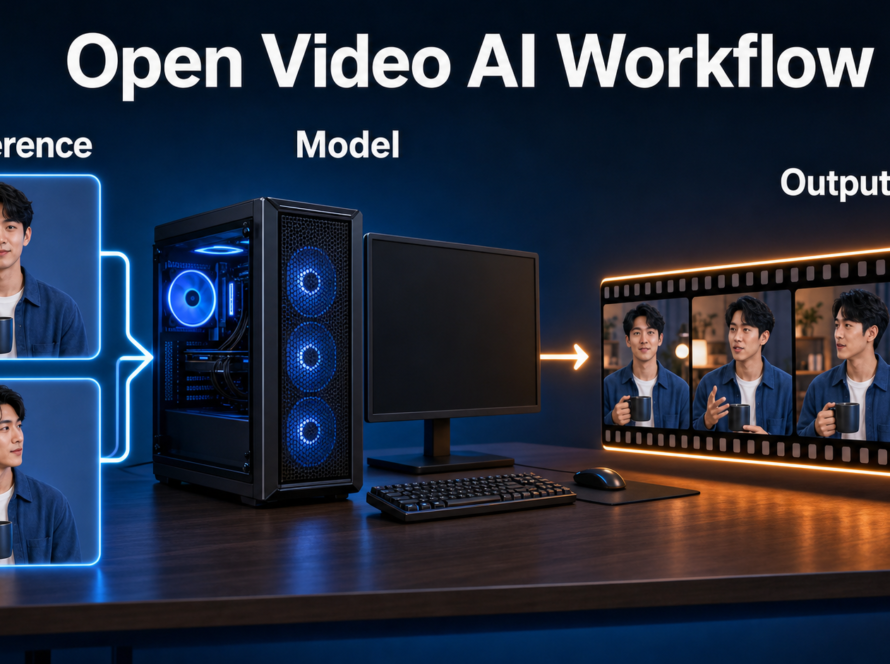
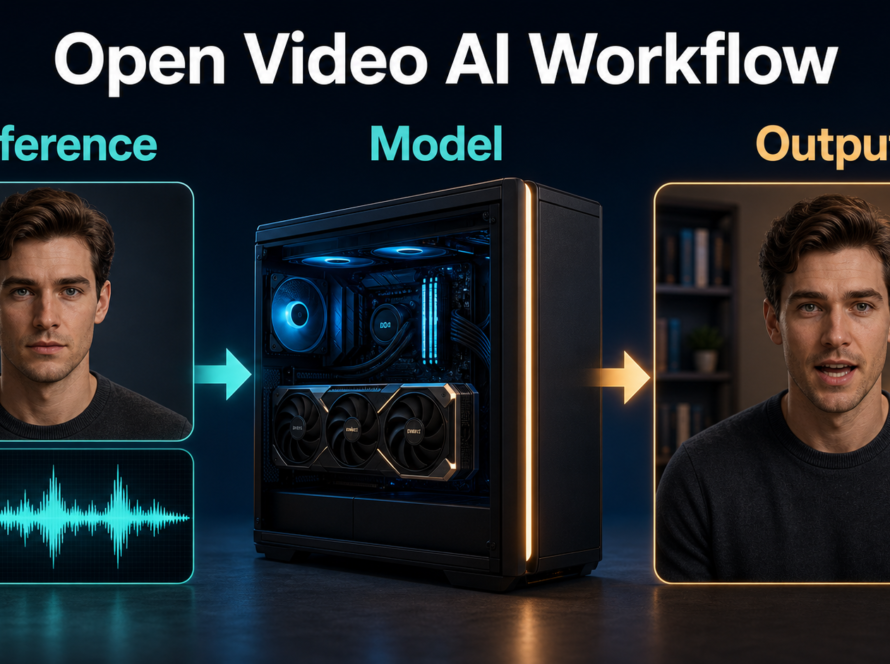
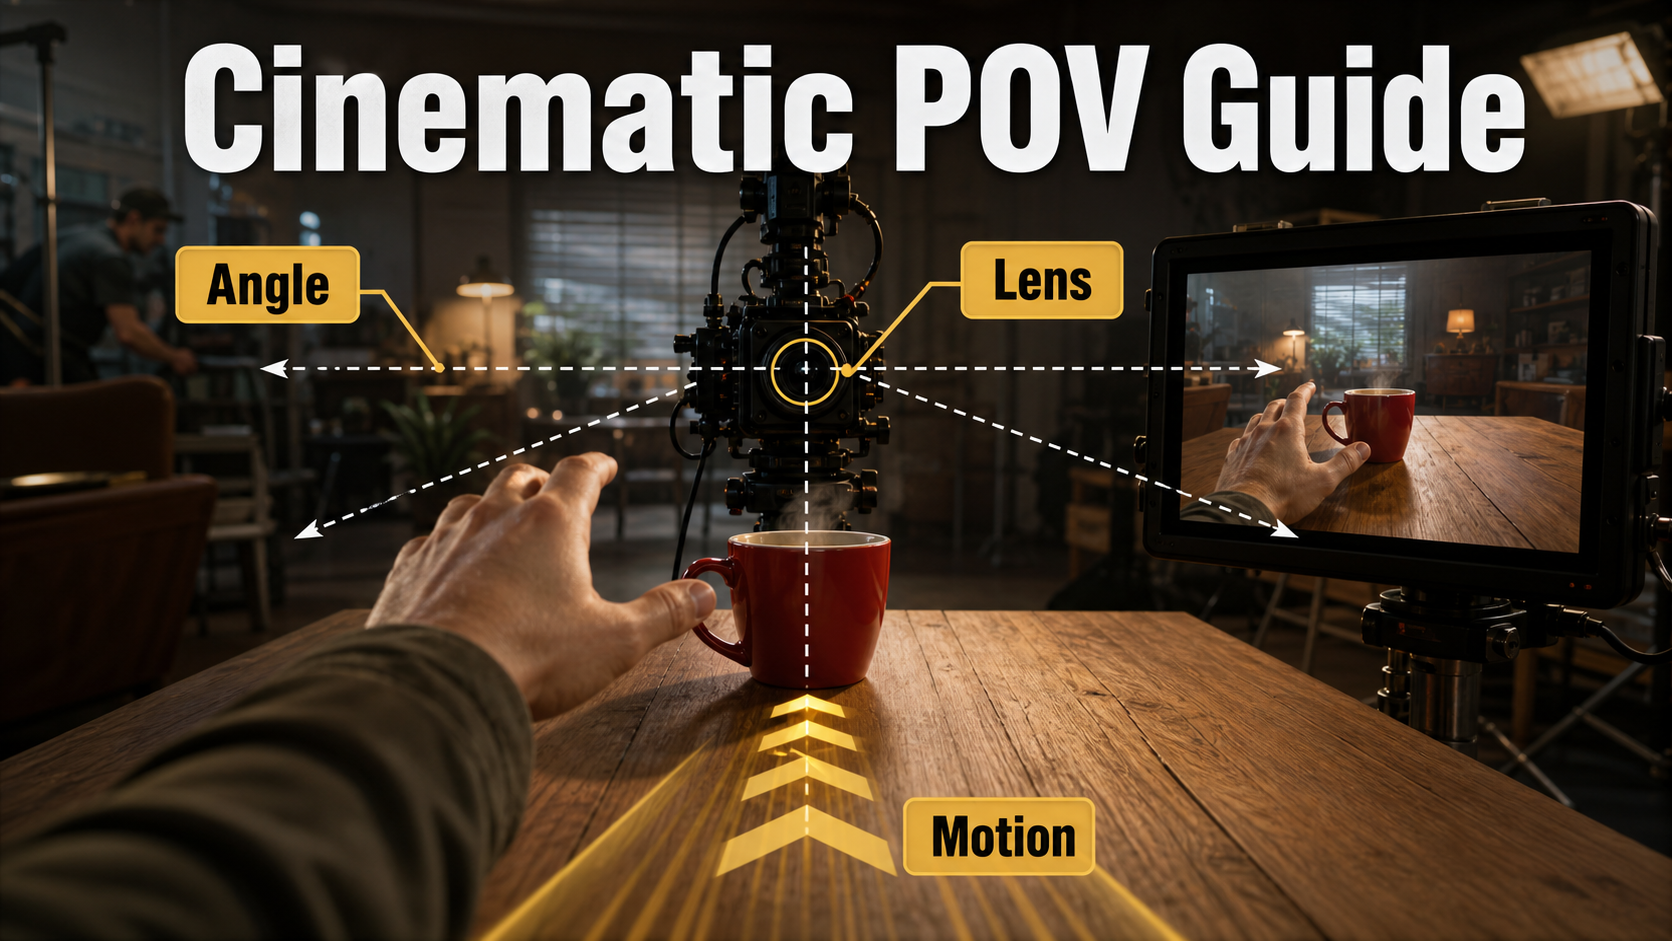
A convincing point-of-view shot makes the audience see through a character’s eyes, not merely watch a camera move forward. In AI video, the reliable method is to build a first-frame reference at eye height, show one body cue such as a hand or shoulder, define a reachable target, and keep the camera path short. This guide, verified July 26, 2026, separates cinematic technique from the capabilities claimed by current camera-control research.
Use a reference image to lock the opening composition, then describe only the action, optical behavior, lighting, and limited motion the shot needs. A text prompt can communicate intent, but exact camera geometry requires a workflow that accepts poses, trajectories, intrinsics, or other structured controls.
Table of Contents
What a Point-of-View Shot Means
A POV shot presents the scene from a character’s physical and emotional position. The frame usually inherits that person’s height, direction of attention, movement, and restricted knowledge. It can create intimacy, urgency, vulnerability, discovery, or subjective uncertainty.
Visual Meaning and Story Purpose
POV is strongest when the audience needs to experience an action: opening a door, examining an object, running through a corridor, or meeting another character’s gaze. The shot should answer three questions immediately: whose eyes are these, what are they looking at, and what are they doing? A visible hand, sleeve, carried prop, reflection, or preceding eyeline shot can establish ownership.
Do not use POV as a decorative label for any forward-facing clip. A floating camera with no body cue, human height, or motivated target often feels like a drone or game spectator. Subjective sway should reflect breathing or footsteps, not random instability.
POV Versus Over-the-Shoulder
An over-the-shoulder shot keeps part of the character’s head or shoulder and locates the camera behind them. A true POV removes that observer distance and puts the lens at the eyes. A body-mounted view may show chest or hands and can feel more mechanical. Choose one grammar and keep it consistent across the edit.
Camera Placement for Believable POV
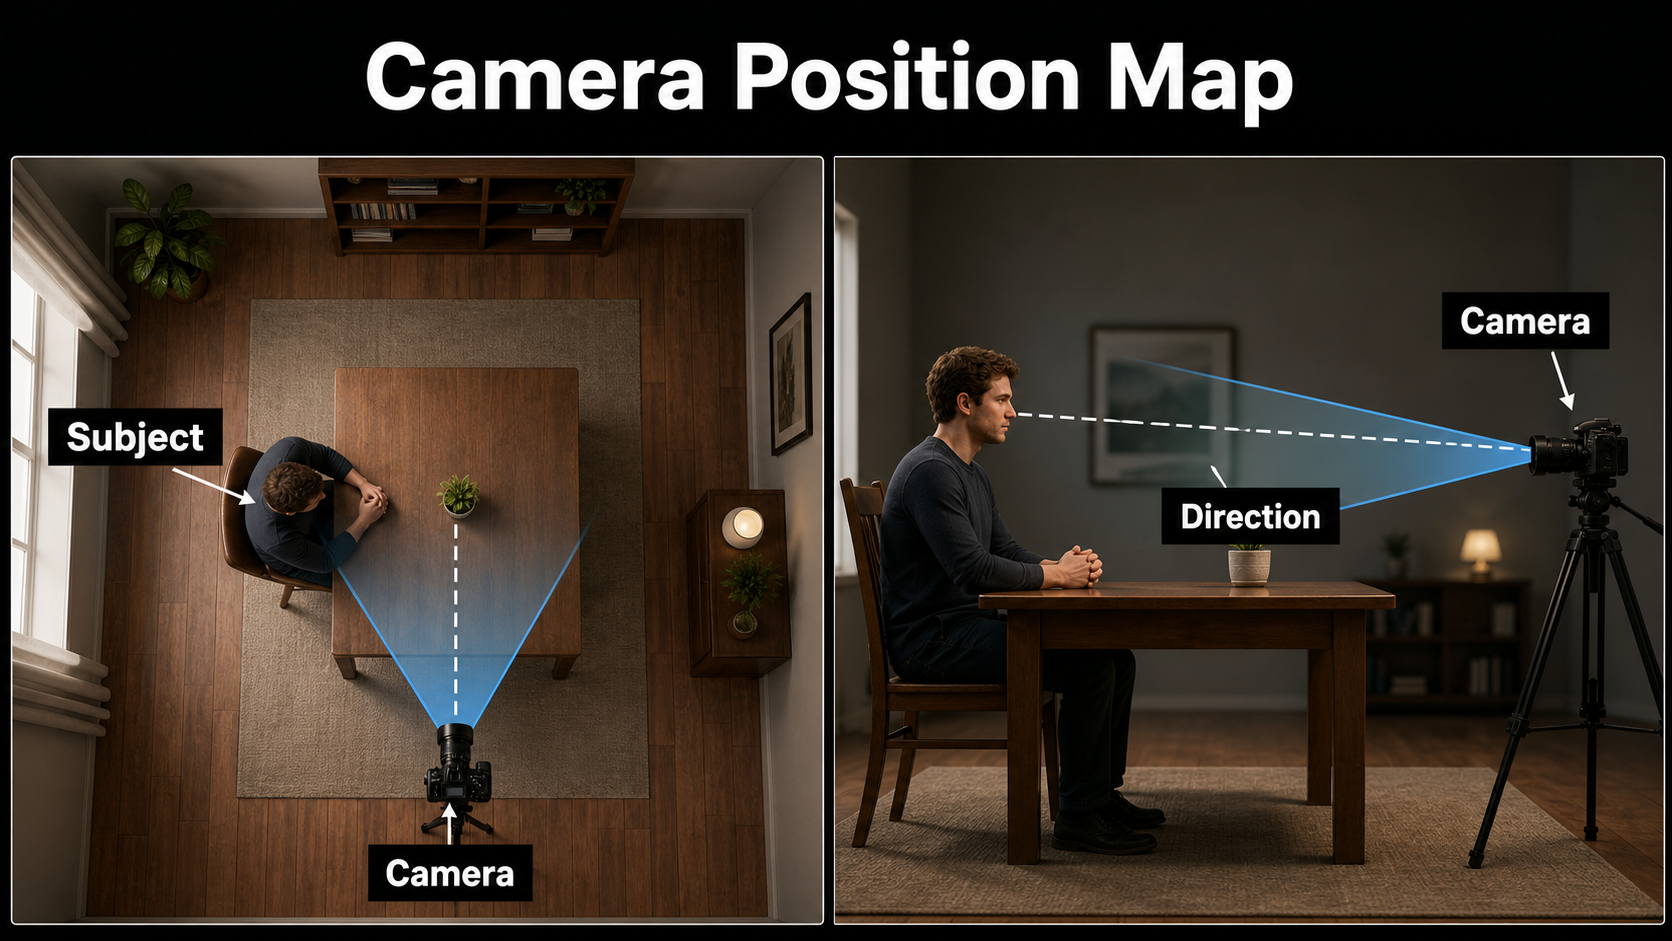
Place the virtual camera where the character’s eyes would be, then aim it toward a clear target. Camera position establishes identity; the prompt alone cannot repair a reference built from the wrong viewpoint.
Match the Character’s Eyeline
Set height from the character, not from a generic tripod. A seated adult, standing child, and crouching explorer need different horizons. Keep the roll level unless imbalance is motivated. For dialogue, the other person’s eyes should sit near the camera’s attention line; looking far beside the lens breaks the sense of direct perception.
Use a short movement that a head or body could perform: a small turn, lean, step, tilt, or slow approach. Large simultaneous translation and rotation make geometry, hands, and backgrounds harder to preserve. If the story needs a complex route, generate several controlled shots and cut between them.
Stage Foreground Action
Foreground action should occupy useful space without hiding the target. Put a reaching hand in the lower third, preserve a plausible elbow direction, and show where it will land. Avoid beginning with fingers touching an edge or crossing the frame boundary; those shapes are difficult to animate. Keep one primary action per clip.
Lens, Aperture, and Motion Settings
POV usually benefits from a natural wide perspective, moderate depth of field, restrained motion blur, and lighting that maintains spatial cues. These prompt terms describe a visual result; most generators do not reproduce physical camera metadata exactly.
Practical Starting Settings
| Control | Starting point | Reason |
|---|---|---|
| Focal-length look | 24-35 mm full-frame equivalent | Shows hands and environment without extreme distortion |
| Aperture look | f/4 to f/5.6 | Keeps the target and foreground action readable |
| Frame rate | 24 fps | Natural cinematic cadence |
| Shutter look | 180-degree equivalent | Readable motion without harsh strobing |
| Movement | One slow turn or step | Reduces geometry and identity drift |
| Clip length | 3-5 seconds for testing | Makes failures cheap to isolate |
A 16-20 mm look exaggerates speed but stretches hands and faces near the edges. A 50 mm look can feel natural for focused observation, yet may crop away body cues and reduce spatial awareness. Select the lens for the action, not because wider always appears more immersive.
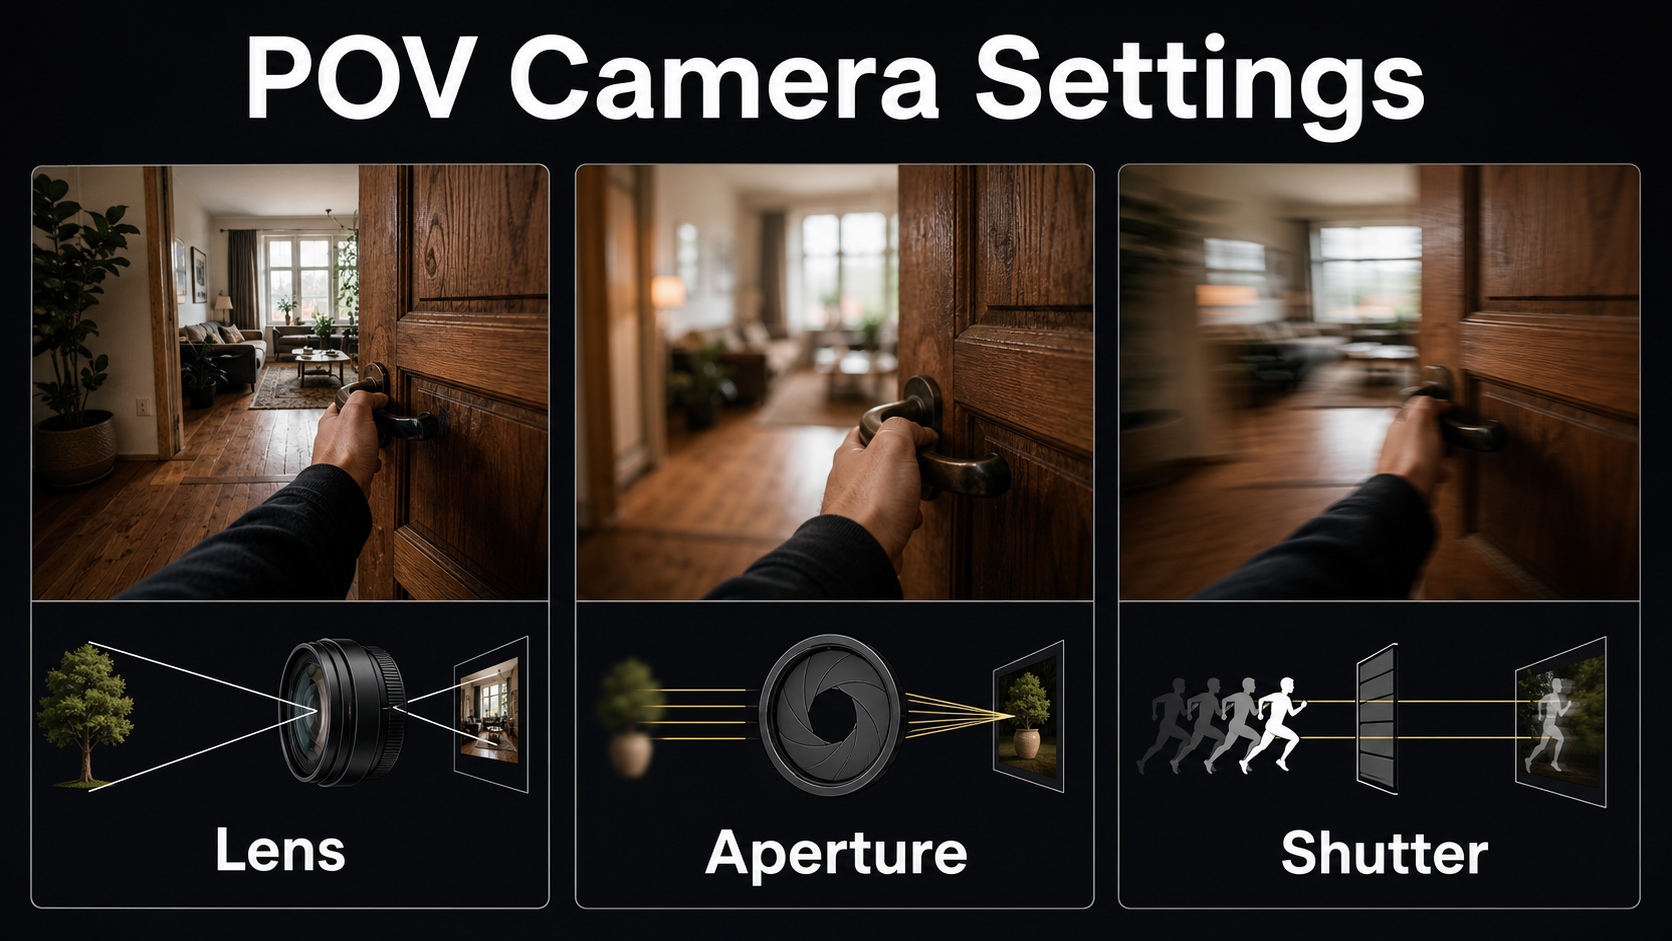
Lighting and Lens Behavior
Use a motivated key light and visible practicals to preserve direction. Ask for controlled highlight bloom, mild focus breathing, or gentle edge distortion only when the story benefits. Heavy flare, rolling-shutter wobble, chromatic aberration, and excessive motion blur can hide errors during preview but become distracting in a finished sequence.
Build the Reference Image
The first frame is the strongest composition control in an image-to-video workflow. It should already look like the intended shot before animation begins.
Reference Image Checklist
- Camera height and horizon match the character.
- The target is unambiguous and reachable.
- One hand, sleeve, shoulder, or prop establishes ownership.
- Hands are complete, naturally posed, and away from borders.
- Background lines agree on perspective and do not intersect fingers.
- Wardrobe, prop side, light direction, and time of day match the continuity plan.
- There is space for the intended movement.
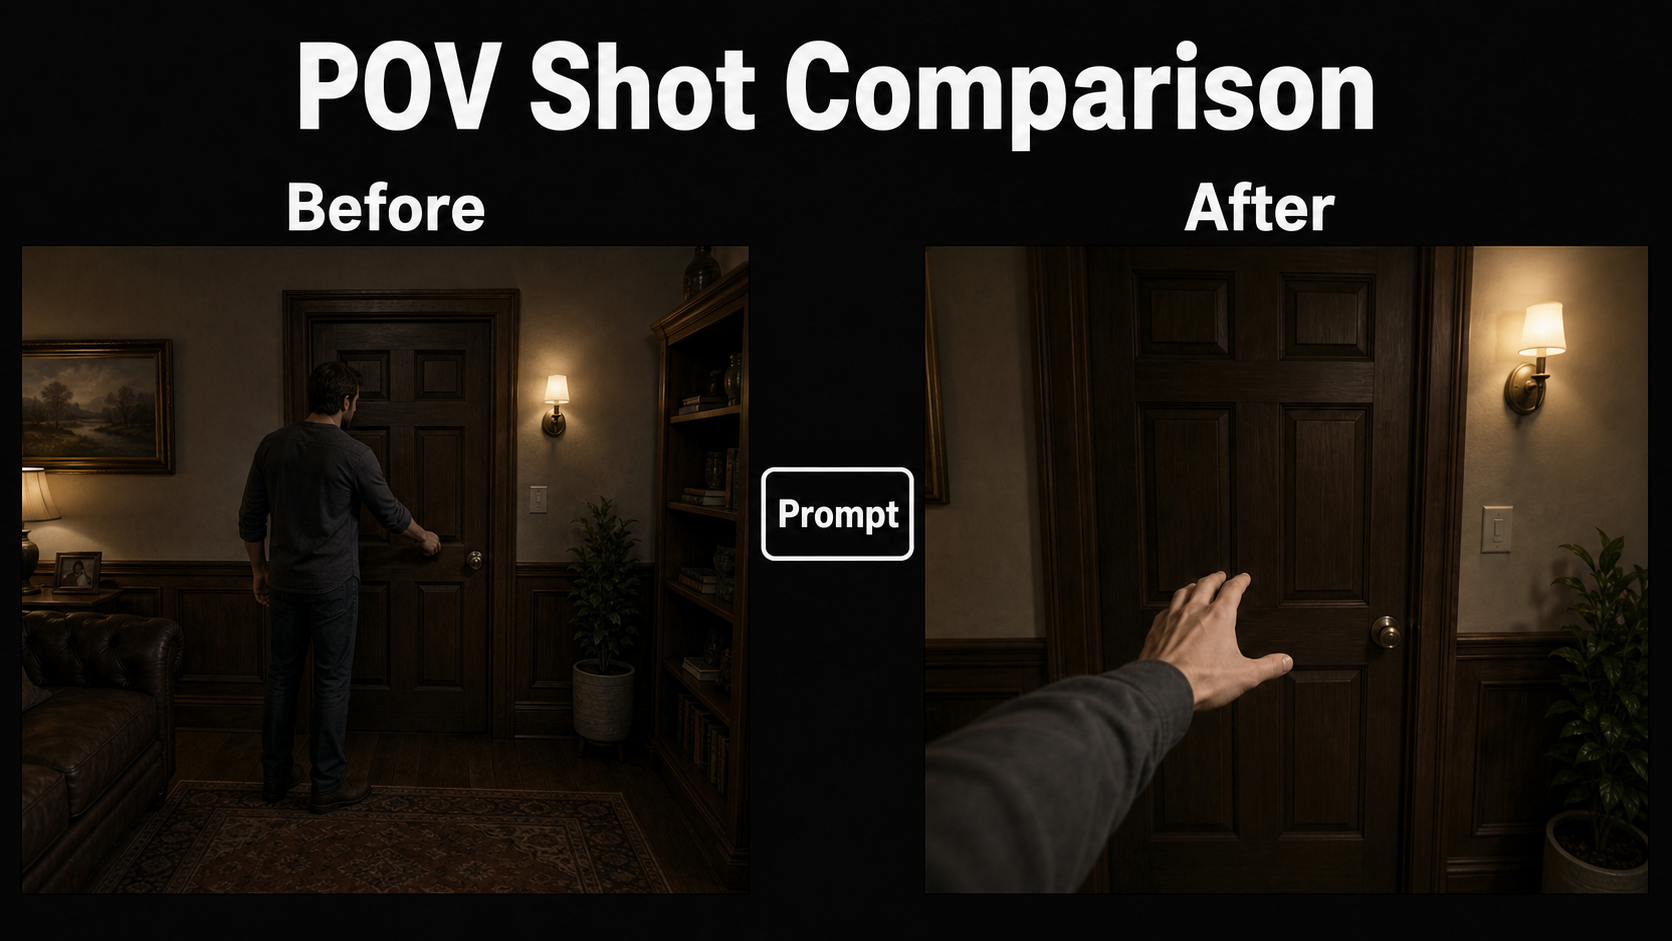
Before and After Correction
A weak reference may show the entire character from behind while calling the result POV. Correct it by moving the camera to eye position, removing the visible back, keeping the same room and target, and adding only the hand or sleeve that would naturally enter the view. Compare the opening, middle, and final frame against the approved set layout.
For a new angle, create a dedicated reference from the continuity bible. One frontal portrait cannot reveal the exact back of a coat, hidden room wall, or prop orientation. Reference consistency is not scene memory.
Point-of-View AI Video Prompt Formula
A useful POV prompt describes viewpoint, ownership cue, target, action, environment, camera behavior, optics, exposure look, and lighting in that order. Repeat fixed facts; avoid conflicting cinematic adjectives.
Copyable Prompt Template
First-person point-of-view from [character and height].
[Body cue] enters the [frame area] and [single action] toward [target].
Environment: [fixed layout, props, time of day].
Camera: eye height, [one movement], natural [focal-length] perspective.
Exposure look: [aperture], 180-degree shutter motion, [frame rate].
Lighting: [key direction], [practical], stable white balance.
Preserve hand anatomy, wardrobe, target position, horizon, and room geometry.
Door-Opening Example
First-person point-of-view from a standing adult in a dark gray jacket.
The right hand enters the lower-right frame and slowly reaches for the brass door handle.
Warm study, wooden door centered, wall lamp camera-right, bookshelf unchanged.
Camera at eye height, one gentle forward step, natural 28 mm perspective.
Moderate f/4 depth, 180-degree shutter motion, 24 fps.
Preserve five fingers, jacket cuff, handle position, level horizon, and straight door lines.
Negative guidance can reject extra fingers, detached arms, third-person views, spinning camera, warped doors, changing props, text, and cuts. Keep it short. Positive spatial instructions usually carry more useful information than a long ban list.
Model Workflow and Camera Control
Current open research offers different levels of control. Do not imply that every open-weight video model accepts exact lenses, apertures, or paths.
What Current Research Controls
As verified July 26, 2026, CamI2V and RealCam-I2V provide camera-controlled image-to-video research code and released 512×320 checkpoints; the repository’s latest listed model-code update is July 12, 2025. UCPE reports controllable camera motion, intrinsics, lens distortion, pitch, and roll for a Transformer-based research pipeline, with its latest listed update on April 12, 2026. CameraCtrl conditions text-to-video generation on explicit camera trajectories and publishes code under Apache-2.0.
These are research implementations, not universal production plug-ins. CamI2V is image-to-video; CameraCtrl’s published workflow is based on its documented model stack; UCPE adds structured camera representation. Their presence does not guarantee character identity, first-frame fidelity, scene continuity, voice identity, speech synthesis, lip sync, or audio-driven motion. Those are separate controls and QA tasks.
Production Workflow
- Write the beat and decide why POV is necessary.
- Build a continuity sheet for wardrobe, prop hand, set, target, and light direction.
- Create and approve the POV first-frame reference.
- Choose prompt-only motion or a compatible structured camera-control pipeline.
- Render a 3-5 second low-cost preview.
- Inspect anatomy, horizon, target, geometry, motion, and exposure frame by frame.
- Change one variable at a time and preserve the approved seed and inputs.
- Render the final shot, then cut, stabilize, grade, and mix audio in post.
Common Failures and Fixes
Most failed POV shots combine a wrong first frame, too much movement, and ambiguous anatomy. Diagnose the visible layer before changing the model or seed.
Troubleshooting Table
| Failure | Likely cause | Practical fix |
|---|---|---|
| Looks third-person | Character’s back or head remains visible | Move reference to eye position; retain only a natural body cue |
| Floating-camera feeling | No ownership or target | Add sleeve or hand, motivated eyeline, and reachable object |
| Hand mutates | Fast action or border collision | Start with a complete relaxed hand and shorten the reach |
| Room bends | Large translation plus rotation | Use one small movement or an explicit trajectory workflow |
| Target moves | Vague spatial prompt | Name its side, height, material, and fixed background relationship |
| Focus hunts | Extreme shallow-depth request | Use moderate depth and one focus target |
| Motion feels frantic | Wide lens plus random shake | Reduce shake, slow the path, and keep a level horizon |
Continuity Checklist
- The same hand and sleeve appear in the correct side of frame.
- The target remains fixed from first to last frame.
- The horizon matches character height and stays intentionally level or tilted.
- Doorways, furniture, and vertical lines preserve geometry.
- Lens width, blur, grain, flare, and white balance remain stable.
- The next shot respects screen direction and prop position.
- Voice, lip sync, and audio motion are reviewed separately when people speak.
Edit AI videos here
Assemble approved POV clips, trim unstable frames, add motivated sound, stabilize only when needed, and create captions and delivery formats at https://ai.alphatechnologies.vn. Editing turns separate generated views into one intentional experience.
Final Recommendation
Start every AI POV shot with the viewer’s physical position: correct eye height, a clear target, one body cue, and one short action. Use 24-35 mm perspective, moderate depth, natural motion blur, and restrained camera movement as practical defaults, then adjust for story. Explore more production-focused AI video guides on Aikolhub, and approve the shortest possible test before rendering the final sequence.
Frequently Asked Questions
What makes a shot feel like POV?
Eye-position framing, a motivated target, human movement, and a body cue such as a hand or sleeve make the audience understand whose view they share.
Which lens is best for AI POV video?
A 24-35 mm full-frame-equivalent look is a useful starting range. It shows the environment and foreground action without the strongest ultra-wide distortion.
Does a reference image control the whole clip?
No. It strongly anchors the opening composition, but identity, anatomy, props, and geometry may drift as motion accumulates.
Can a prompt create an exact camera path?
Usually not. Prompts describe intent; exact paths require a compatible system that accepts trajectories, poses, intrinsics, or related structured controls.
How do I fix distorted hands?
Use a complete hand in the reference, keep it away from frame edges, reduce movement, shorten the clip, and avoid simultaneous camera rotation.
Official sources: CamI2V and RealCam-I2V; UCPE; CameraCtrl.