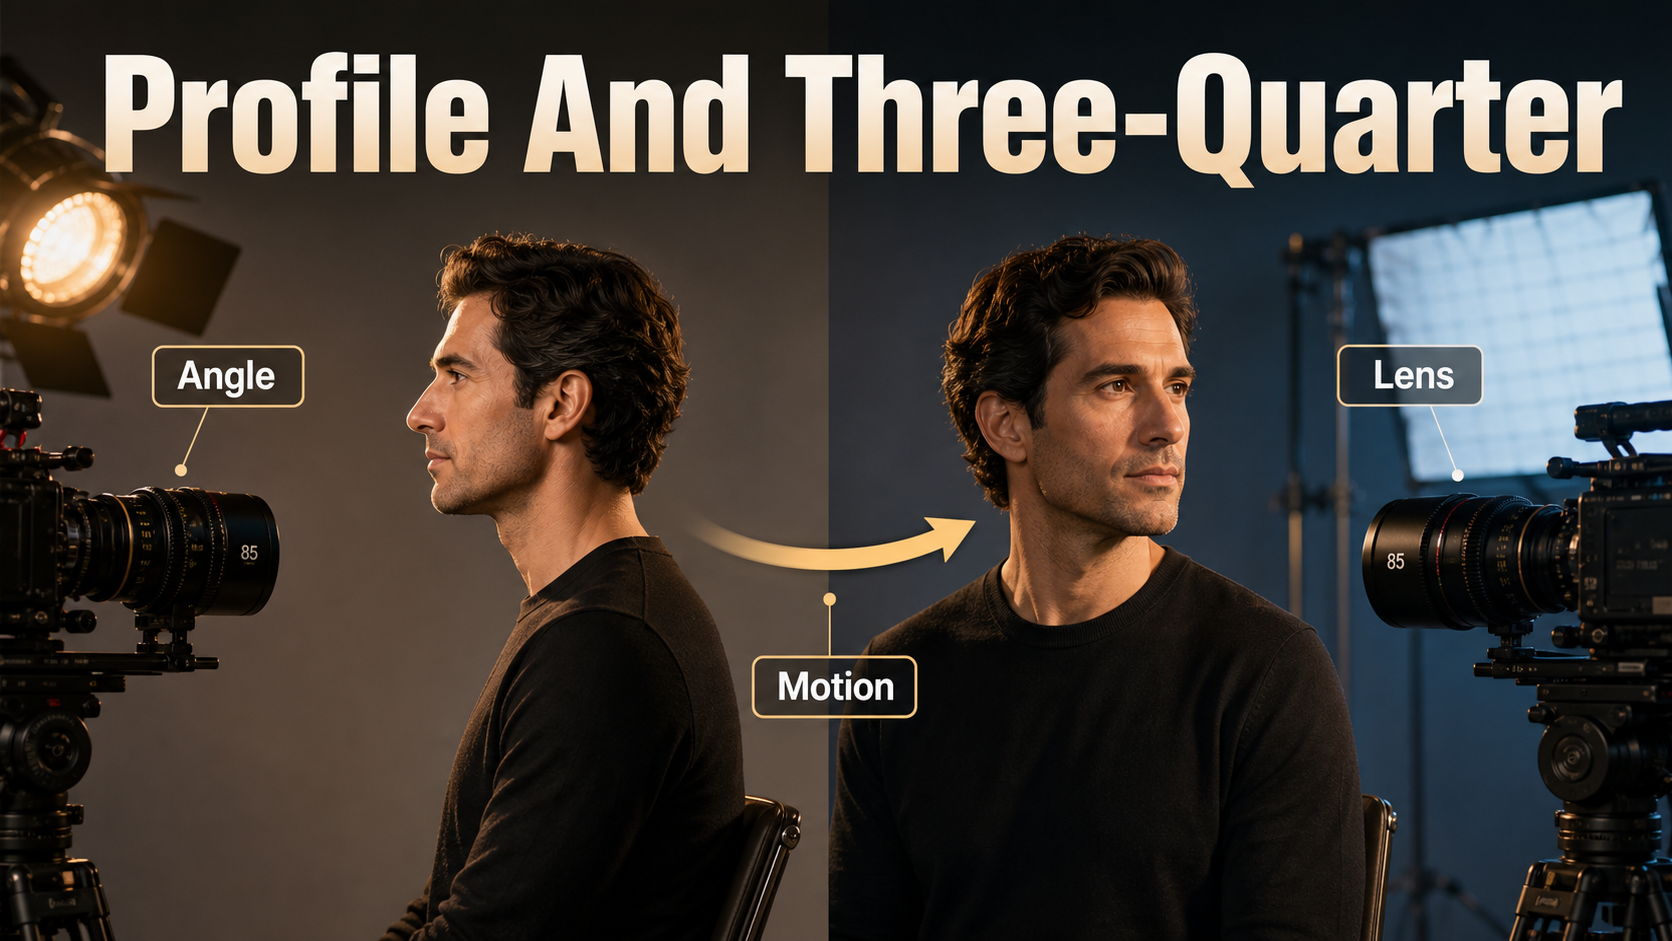
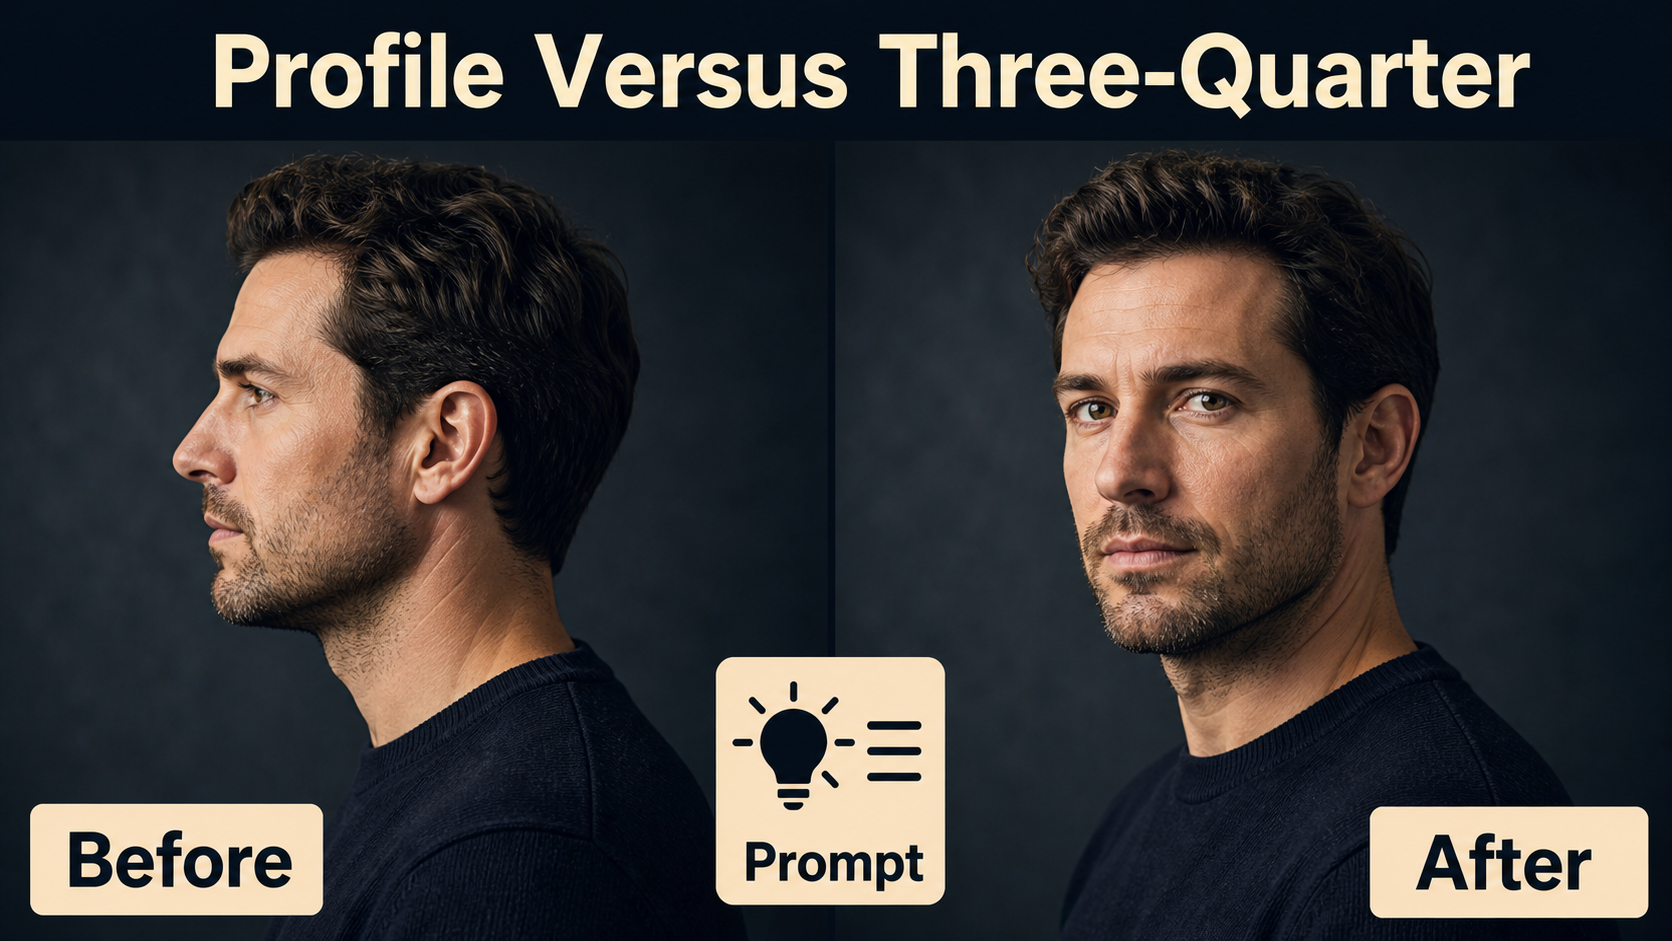
A profile angle shows the subject from the side, while a three-quarter angle turns the face partly toward the camera so both eyes and more facial depth remain visible. For reliable AI video, stage the desired head and torso orientation in the reference image, describe the visible angle explicitly, and test it with a locked camera before adding movement.
This guide was verified on July 30, 2026. It explains portrait cinematography independently from model marketing: profile and three-quarter views are subject-orientation choices, whereas projects such as CamI2V, RealCam-I2V, UCPE, and CameraCtrl primarily condition camera motion, pose, intrinsics, or orientation. Those controls can support a shot, but they do not automatically direct an actor’s face.
Table of Contents
Visual meaning of profile and three-quarter angles
A clean profile reduces the face to a strong outline: forehead, nose, lips, and chin. Hiding the far eye can make a character feel private, watchful, distant, or visually resolved. It also makes gaze direction unmistakable, which is useful for showing that someone is focused on another person or object outside the frame.
A three-quarter view keeps the sculptural quality of a turned face but restores more emotional access. Both eyes may be visible, the near cheek is broad, and the far cheek is foreshortened. This angle is often the safer choice for dialogue, interviews, product endorsements, and character-led ads because identity and expression are easier to read.
When to use each angle
- Use profile for silhouettes, tense observation, walking shots, face-to-face confrontation, or a graphic transition into a reveal.
- Use three-quarter for an intimate portrait that still feels candid, a speaker addressing someone near camera, or a hero shot with visible facial depth.
- Move between them only when the turn has a story purpose. A slow turn from profile to three-quarter can reveal attention or recognition; an unmotivated turn often looks like drift.
Camera placement and subject direction
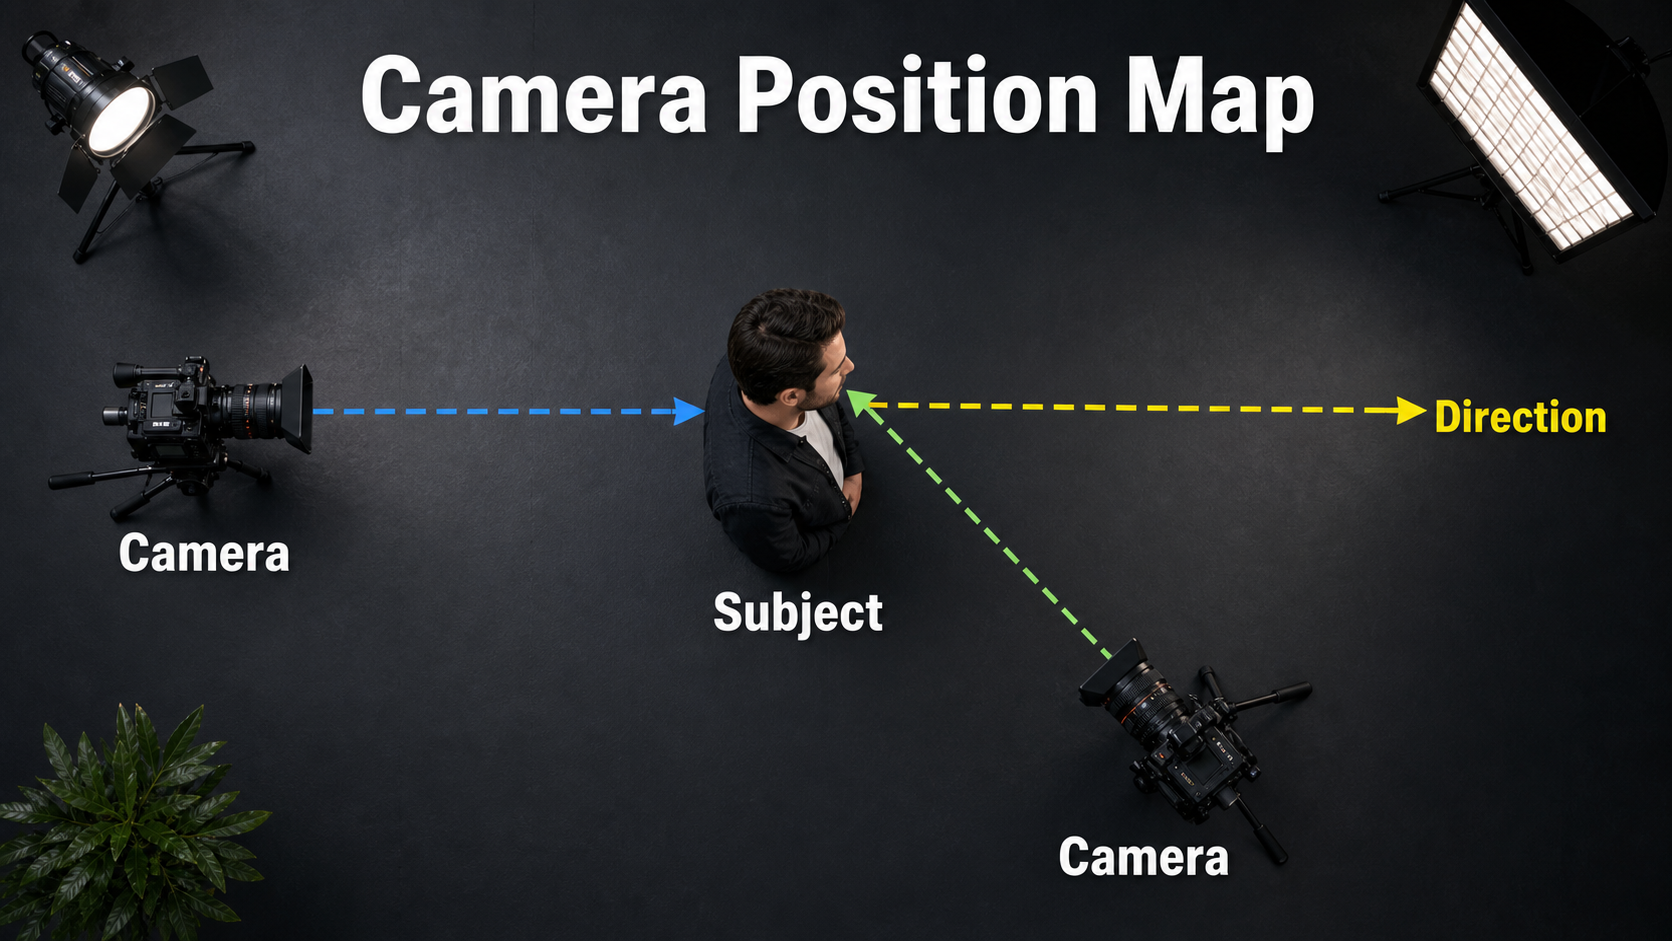
Think in two separate rotations. First, place the camera relative to the subject. Second, set the subject’s head and torso relative to that camera. A side camera does not guarantee a profile if the generated actor turns toward it, and a frontal camera can still record a profile if the actor looks fully sideways.
For a neutral profile, keep the lens near eye height and place it approximately perpendicular to the direction of the subject’s nose. Ask for one visible eye, a clean facial outline, and gaze continuing into the frame. For a three-quarter portrait, move the camera closer to the subject’s front or turn the subject toward camera until both eyes are readable without becoming fully frontal.
Lock the reference geometry
- Choose left-facing or right-facing orientation and keep that direction consistent.
- Align the nose with open negative space rather than the edge of frame.
- Turn the shoulders with the head unless a deliberate head-over-shoulder twist is required.
- Keep hair, hats, hands, and props from hiding the near eye or breaking the silhouette.
- Match the intended crop before animation; do not rely on the model to repair headroom.
- Place key light where it separates the near facial plane from the background.
Lens, aperture, shutter, and light
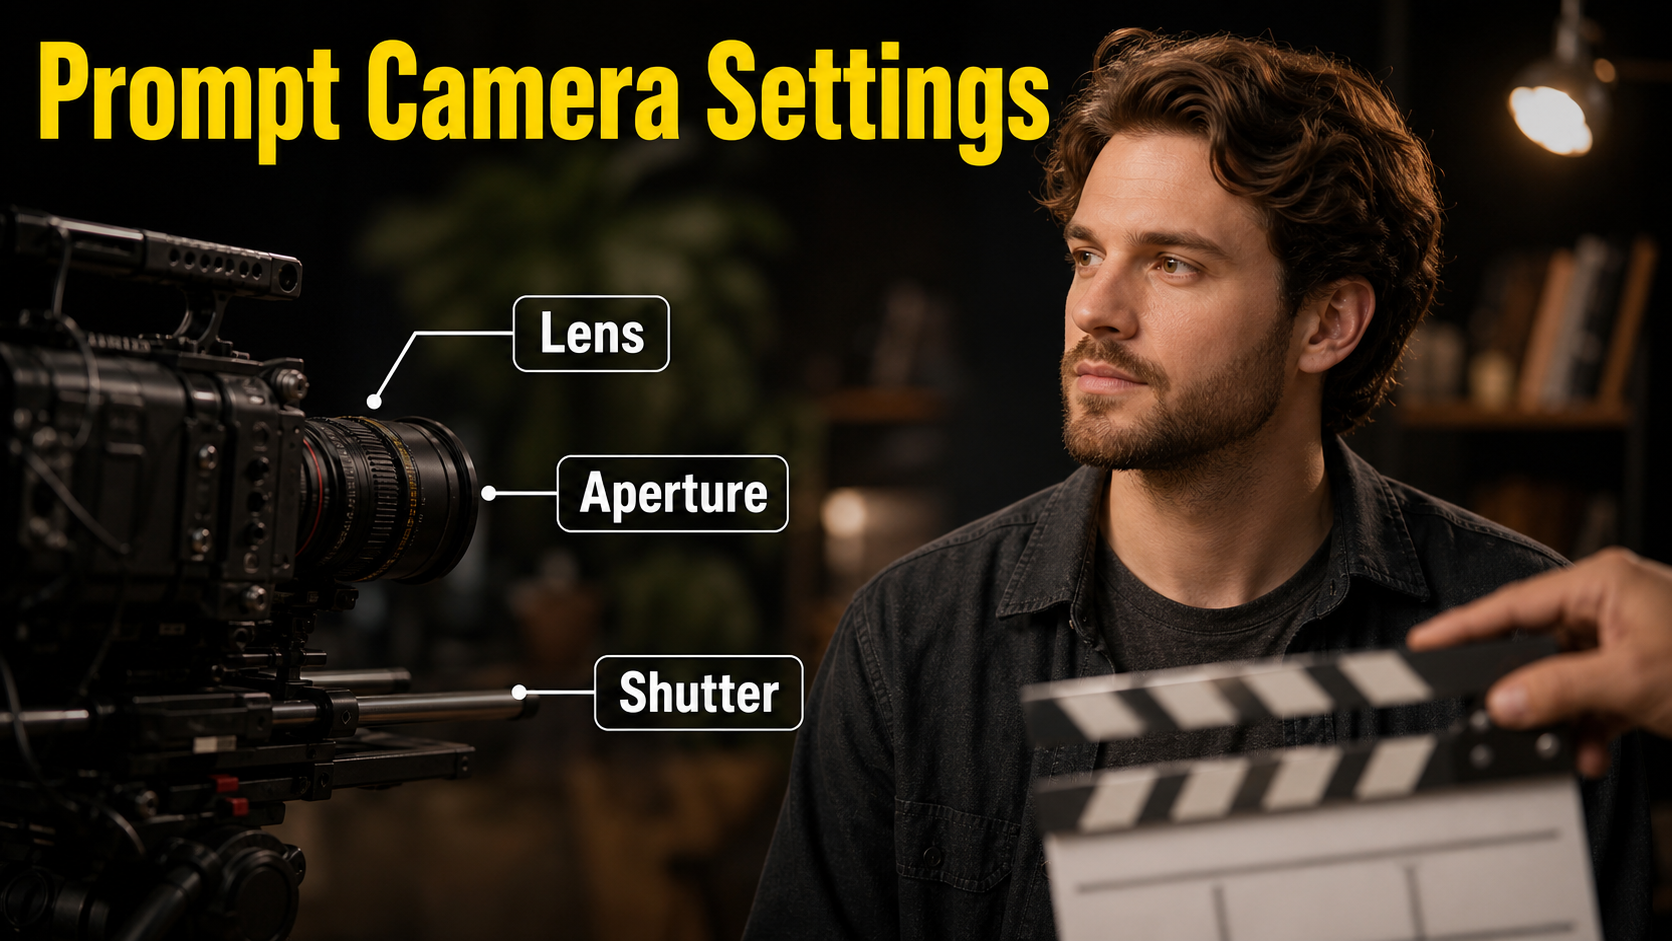
Lens terms should communicate perspective and framing, not claim calibrated physical optics. A moderate telephoto portrait look reduces perspective exaggeration and keeps attention on the face. A wider lens can include more environment but may enlarge the nose or stretch features when used too close. For a profile, a rim or edge light can clarify the outline. For a three-quarter view, a broad key placed toward the visible side of the face preserves both eye light and cheek structure.
Practical starting settings
| Control | Starting choice | Visible goal |
|---|---|---|
| Camera height | Eye level | Natural, neutral portrait perspective |
| Lens look | 50-85 mm full-frame equivalent | Controlled facial perspective and clean background |
| Aperture look | f/2.8-f/4 | Subject separation with both eyes readable |
| Frame rate | 24 fps cinematic cadence | Familiar portrait motion |
| Shutter description | 180-degree shutter look | Natural blur during a slow head turn |
| Movement | Locked frame or subtle push-in | Stable facial geometry |
| Lighting | Soft key plus gentle rim | Readable planes and separated silhouette |
If the far eye disappears in a three-quarter result, reduce the turn slightly. If both eyes become equally sized and the nose centers, the pose has drifted toward frontal. Treat these visible relationships as the acceptance criteria rather than arguing over an exact degree value.
Profile and three-quarter AI video prompt formula
Use this order: subject identity + left or right orientation + head and shoulder angle + gaze target + framing + camera height + lens look + depth of field + action + camera movement + lighting + continuity constraints. Put the angle early, and describe only one short action per shot.
Copyable profile prompt
Medium close-up of [subject], clean right-facing profile with one eye visible, nose and chin in clear silhouette, shoulders turned in the same direction, gaze fixed on [off-screen target]. Eye-level camera, natural 85 mm portrait lens look, f/2.8 depth-of-field look, soft key and narrow rim light. Locked frame while the subject breathes and blinks once. Preserve facial identity, profile outline, wardrobe, gaze direction, background, and lighting. No frontal turn, no camera orbit, no cut.Copyable three-quarter prompt
Medium close-up of [subject] in a right-facing three-quarter view, both eyes readable, near cheek dominant, far cheek slightly foreshortened, shoulders angled with the head, gaze toward [near-camera partner]. Eye-level camera, natural 65 mm portrait lens look, f/4 depth-of-field look, soft directional key with gentle fill. Very slow push-in as the subject gives a small reaction. Keep face identity, eye size, head angle, hair, wardrobe, background geometry, and light stable. No full profile, no frontal drift, no orbit.Reference image and production workflow
The reference frame is the strongest control for facial orientation. Build it at the delivery aspect ratio with the final crop, direction, wardrobe, background, and lighting. A text prompt can reinforce that design, but asking a motion model to invent the angle, identity, set, and movement at once increases uncertainty.
- Write the dramatic intent. Decide whether the face should feel hidden, observant, open, or connected.
- Create the reference. Approve the eye visibility, nose direction, shoulder turn, crop, and negative space.
- Generate a locked test. Use breathing, one blink, or a tiny expression without head movement.
- Inspect start, middle, and end. Check eye count, cheek width, nose outline, jaw shape, and gaze.
- Add one motion. Try either a slow head turn or a small camera move, not both initially.
- Save the approved seed and inputs. Keep every controllable variable stable while changing one instruction.
- Render short handles. A three- to five-second approved take is easier to edit than a long drifting clip.
Shot approval checklist
- The intended eye or eyes remain visible throughout.
- Left-facing or right-facing direction never flips.
- The nose, lips, and jaw retain shape without melting into the background.
- Shoulders and head rotate as an intentional pose.
- Hair and ears do not flicker across the far side of the face.
- Gaze remains on the same target.
- The camera follows one readable path with no surprise roll or zoom.
Model workflow and camera control
Use camera-control research to define a path or camera parameter after the portrait itself is approved. The current official materials do not support treating the phrase “three-quarter face” as a guaranteed calibrated control. That phrase belongs in the image composition and subject-direction prompt; trajectory files and camera encodings belong to the virtual camera.
What the official projects control
- CamI2V provides camera-controlled image-to-video checkpoints, trajectory examples, evaluation code, and published benchmarks. Its repository documents 256×256 and 512×320 research checkpoints and an MIT license.
- RealCam-I2V provides a CogVideoX 1.5 exploration path plus a separate DynamiCrafter-based reproduction path in the CamI2V repository. Its interface is designed around interactive complex camera trajectories.
- UCPE extends camera conditioning to intrinsics, lens distortion, pitch, and roll through relative ray and absolute orientation encodings.
- CameraCtrl uses prepared trajectory files and includes tools to visualize camera position and orientation by frame.
Check every code and weight license separately before commercial use. The RealCam-I2V repository page did not expose a repository license file during this July 30, 2026 verification, so do not assume that CamI2V’s MIT software license automatically applies to the newer repository or its dependent weights.
Limitations and common fixes
Portrait angles are fragile because a few pixels can change whether an eye is hidden, a nose clears the cheek, or a face reads as the same person. Large camera arcs also expose unseen hair, ears, and background geometry that a single reference never defined.
Troubleshooting table
| Problem | Likely cause | Practical fix |
|---|---|---|
| Profile becomes frontal | Ambiguous gaze or face language | State one eye visible, fixed side gaze, and no frontal turn |
| Three-quarter becomes profile | Turn is too strong | Request both eyes readable and reduce subject rotation |
| Identity changes during turn | Unseen facial side must be invented | Add multi-angle references where supported or shorten the turn |
| Nose or lips deform | Silhouette crosses a busy background | Use a cleaner background, rim light, and less motion |
| Gaze slides toward camera | Target is unspecified | Name a fixed off-screen target and preserve gaze direction |
| Hair flips sides | Direction changes or occlusion | Keep left-right orientation fixed and simplify hair motion |
| Camera move changes the pose | Orbit and subject turn compete | Lock the subject first; add only a short controlled path |
Edit AI videos here
Turn the approved portrait take into a finished scene at https://ai.alphatechnologies.vn. Trim unstable handles, cut from profile to three-quarter at a motivated reaction, match color and eyelines, add clean dialogue or ambience, create captions, and export platform-ready versions.
Final recommendation
Design the face angle in the reference before solving camera motion. Use profile for graphic distance and clear direction; use three-quarter for expression and connection. Start eye level with a moderate portrait lens look, approve a locked clip, and then introduce only the movement the story needs.
Explore Aikolhub for more practical AI video workflows, and reuse the prompt templates and approval checklist as a compact shot brief for your next character scene.
Frequently asked questions
What is a profile angle?
A profile angle shows the face from the side, normally with one eye visible and the forehead, nose, lips, and chin forming a clear outline. It emphasizes direction and can create distance or mystery.
What is a three-quarter angle?
A three-quarter angle shows the face partly turned away from camera while keeping both eyes readable. It combines facial depth with stronger emotional access than a strict profile.
Which lens look works best?
A 50-85 mm full-frame-equivalent look is a practical portrait range. Use the wider end for more environment and the longer end for stronger background compression and subject separation.
Can the subject turn during the shot?
Yes, but keep the turn slow and motivated. Approve both endpoint angles as references where the workflow allows, minimize simultaneous camera motion, and inspect identity at the midpoint.
Do camera-control models guarantee the face angle?
No. They can condition camera pose, paths, intrinsics, distortion, pitch, or roll, but subject performance and facial orientation can still drift. The reference image and review loop remain essential.