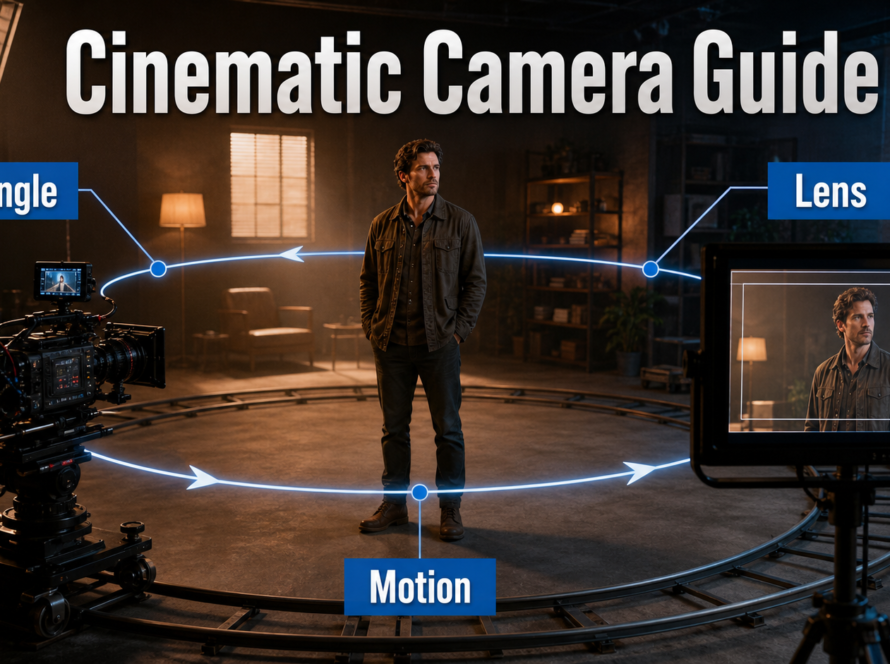
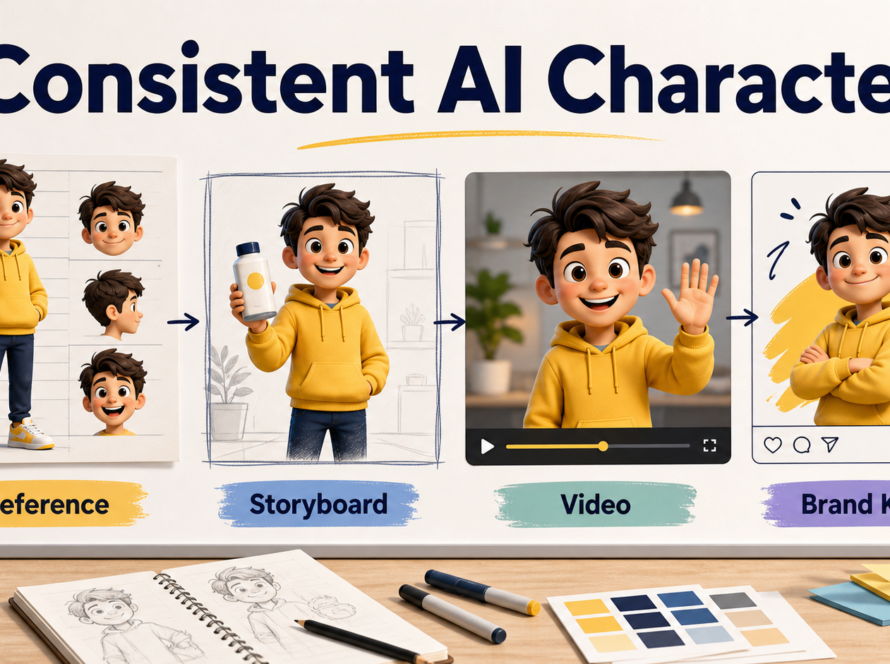
The most reliable close-ups in AI video begin with a close-up reference image, a natural portrait-lens look, restrained camera movement, and separate checks for face, wardrobe, background, and mouth motion. Do not ask one prompt to repair a weak reference: establish the eye line, crop, light direction, focus plane, and visible continuity details before generation. Updated July 20, 2026, this workflow reflects the current official CamI2V/RealCam-I2V, CameraCtrl, MotionCtrl, and UCPE repositories.
A close-up normally frames a face from roughly the shoulders or upper chest upward. Its purpose is emotional access and visual emphasis. Because the face fills the frame, small errors in eyes, teeth, hair, skin, jewelry, lip timing, or focus become much easier to notice than in a medium or wide shot.
Table of Contents
Visual Meaning of Close-Ups
A close-up tells the viewer that a face, reaction, product detail, or small action deserves attention now. It reduces environmental information and magnifies performance. Use it for a decision, emotional turn, important line, reveal, or tactile detail—not simply because portrait framing looks polished.
When a Close-Up Works
Cut into a close-up after geography and screen direction are clear. In dialogue, preserve the actor’s eye line and looking room. In a product demonstration, decide whether the important subject is the presenter, the object, or an insert of hands. Generating all three at once often creates competing motion and continuity errors.
A close-up also changes perceived performance. A small eyebrow movement can communicate more than a large gesture. Prompt one readable action: a controlled breath, a glance toward camera-right, or a slight smile. Multiple facial actions, head turns, hand gestures, and camera moves in a five-second shot increase failure risk.
Separate Each Consistency Problem
| Problem | What must stay stable | Primary control |
|---|---|---|
| Subject consistency | Face, hair, proportions | Approved character sheet and close-up reference |
| First-frame consistency | Opening crop and composition | Image-to-video input frame |
| Wardrobe and prop continuity | Collar, jewelry, glasses, held object | Visible details plus continuity notes |
| Scene continuity | Background geometry, time, light direction | Scene bible and matching plate |
| Voice identity | Speaker timbre and delivery | Approved recording or synthesis voice |
| Lip sync | Mouth shapes aligned to speech | Dedicated audio-conditioned or lip-sync stage |
Camera Placement for Stable Faces
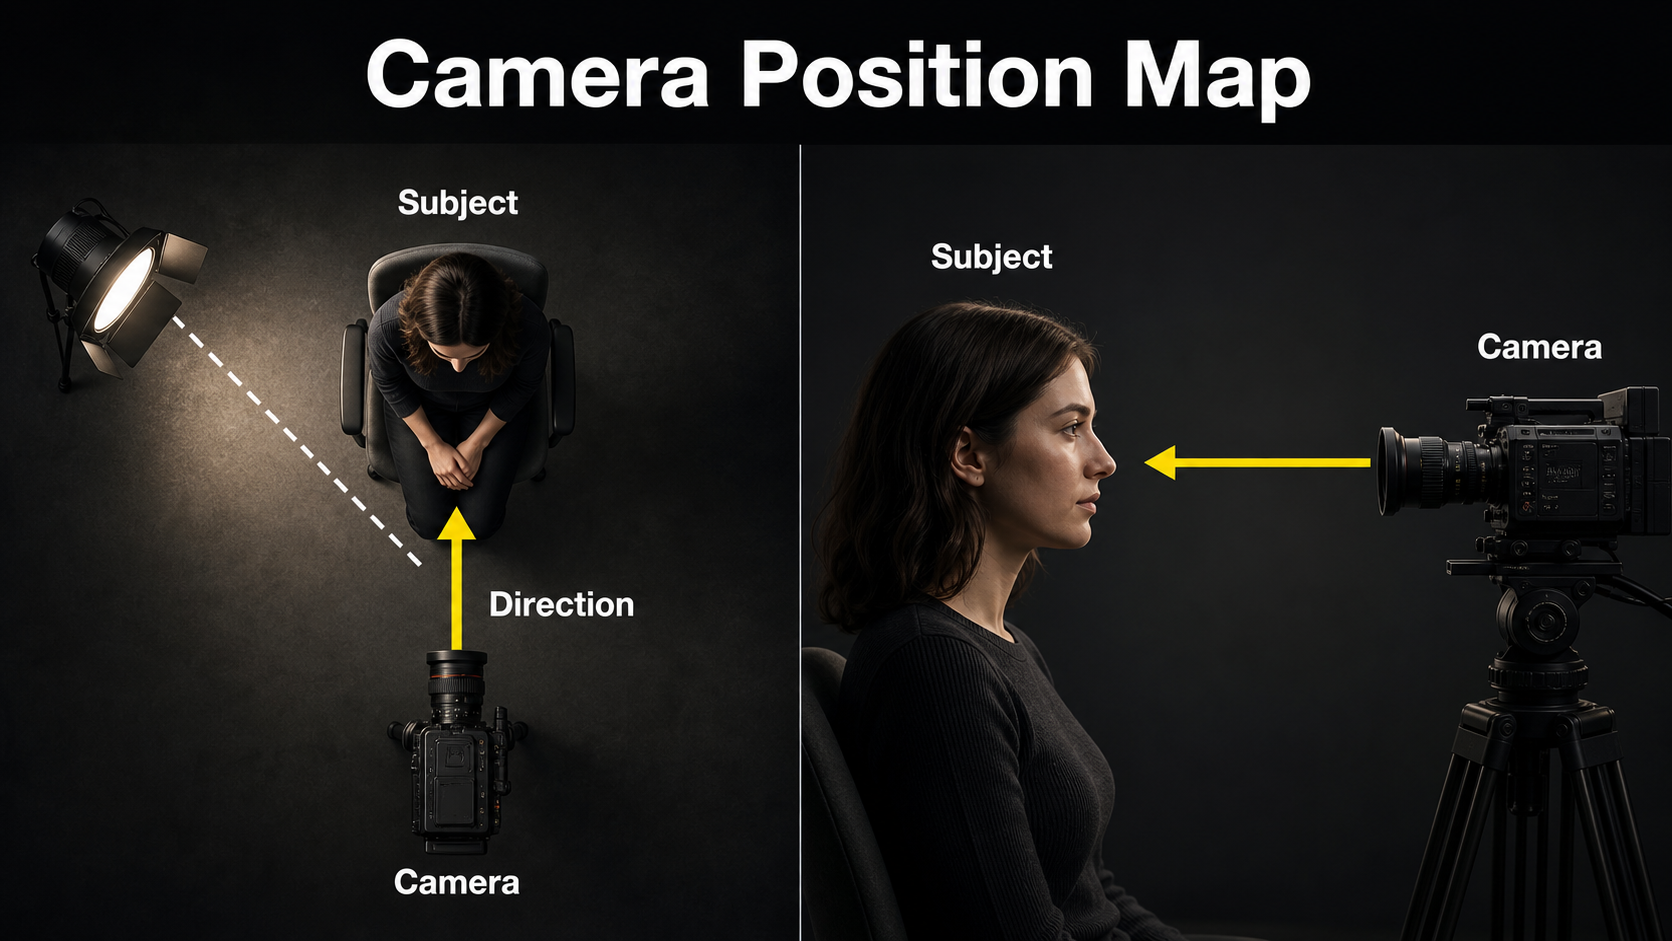
Place the virtual camera where a real portrait camera could work. An eye-level camera feels direct and neutral; a slightly high angle can make a subject feel exposed; a low angle can add authority. Extreme height or proximity may distort the face and force the model to invent hidden features.
Position, Height, and Direction
- Keep the optical axis near eye level for a natural portrait.
- Leave looking room on the side the subject faces.
- Avoid cropping exactly through the chin, eyes, or top of hair unless the composition is deliberately extreme.
- Show both ears, hairline, collar, and jewelry clearly when those details matter.
- Use a clean background with stable vertical lines and no ambiguous faces.
For a reverse angle, create a second reference. One frontal image does not describe the unseen side of a hairstyle, jacket, room, or prop. A proper reference pack should include front, three-quarter, profile, wardrobe, and set views, but each generation should receive the shot-specific image rather than a cluttered collage when the model expects one first frame.
Movement That Supports the Performance
Start with a locked camera. If movement adds meaning, request one slow action: a gentle dolly-in, a subtle lateral drift, or a small arc. Avoid combining zoom, orbit, handheld shake, rack focus, and a head turn. Camera movement changes the visible background and may expose facial angles that the reference never defined.
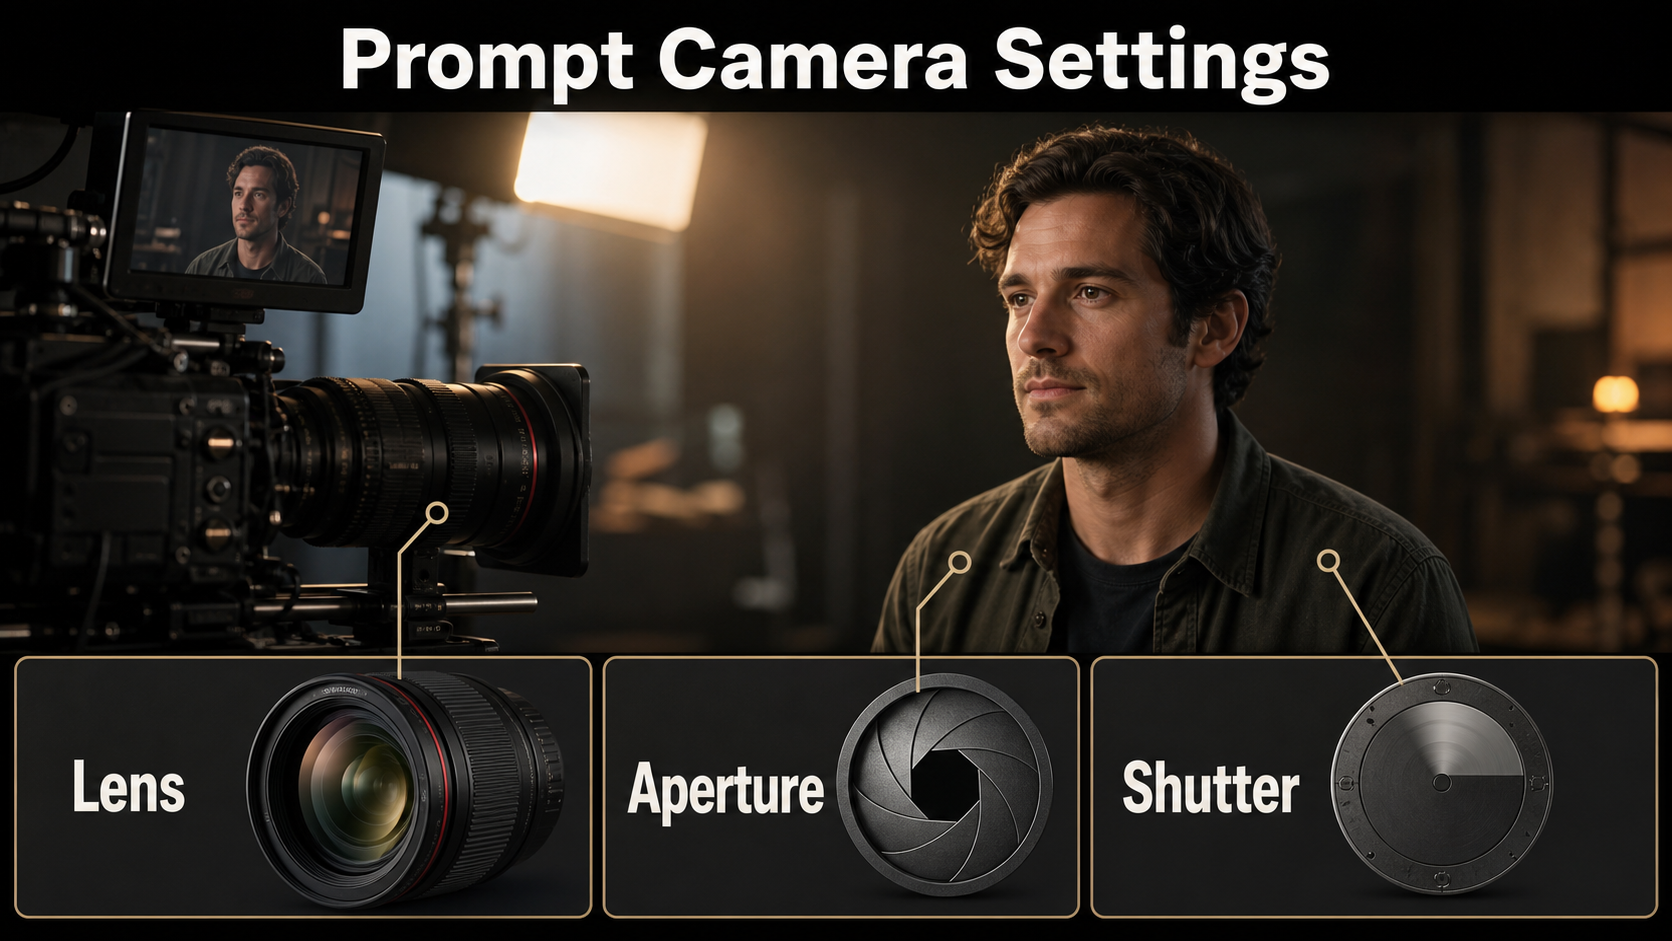
Lens, Aperture, and Motion Settings
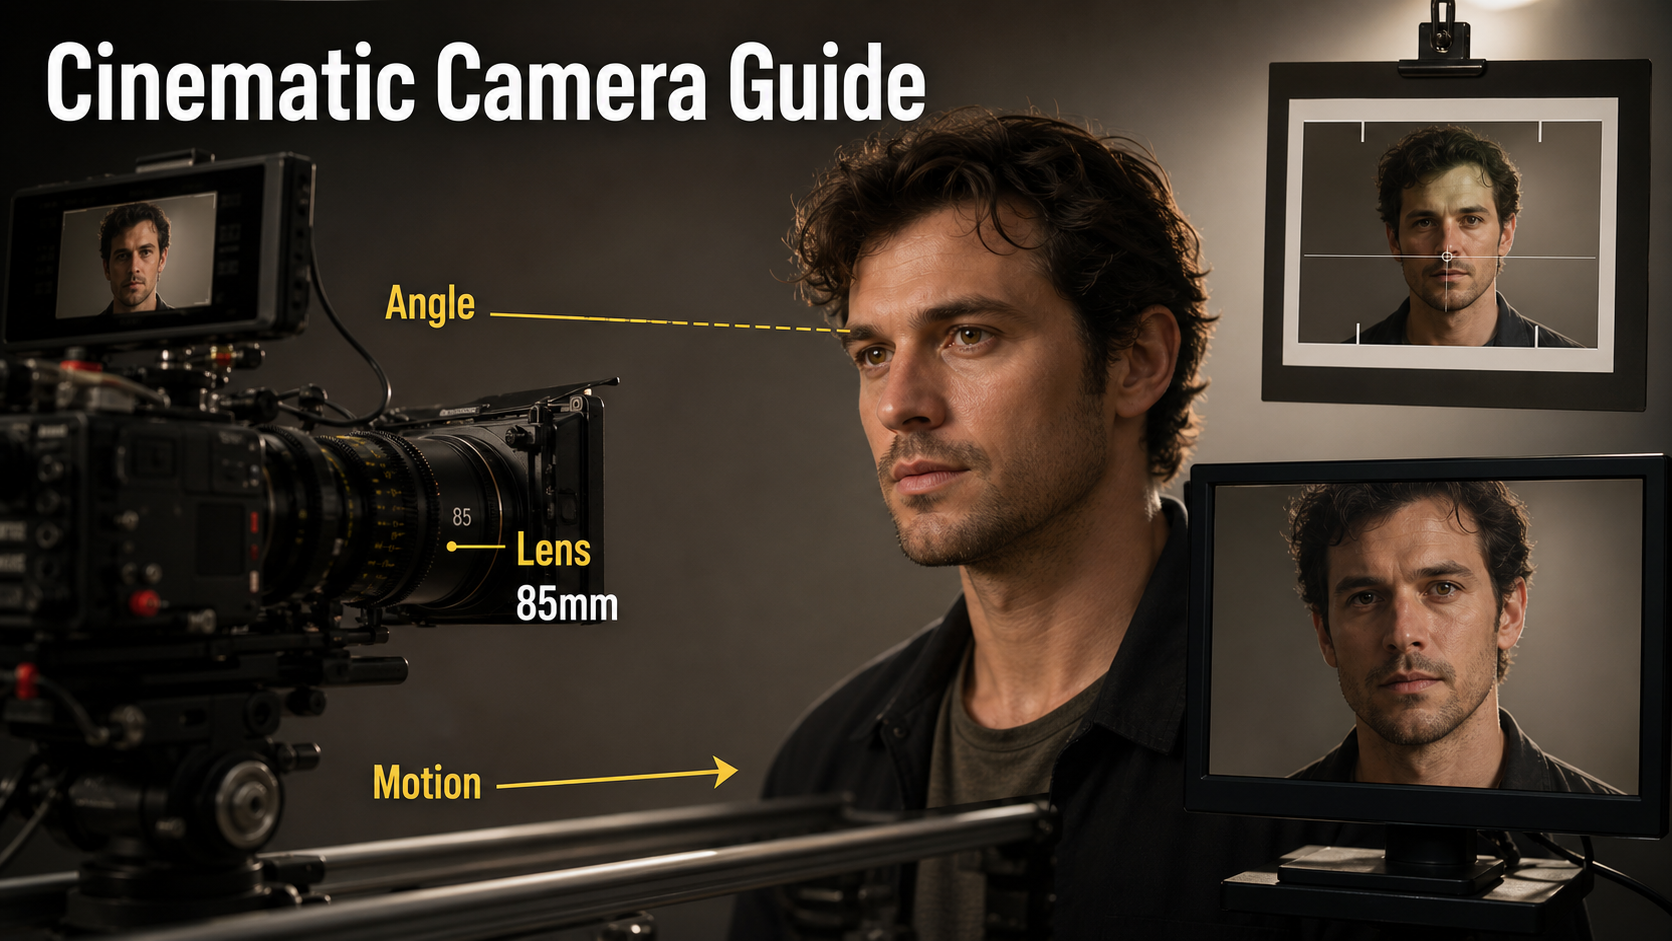
Lens and exposure terms in a text prompt usually describe a visual target, not guaranteed physical camera metadata. Evaluate their visible results: perspective, facial proportion, depth of field, motion blur, focus breathing, flare, distortion, and edge behavior.
Practical Close-Up Settings
| Control | Starting choice | Expected look |
|---|---|---|
| Focal-length look | 65-100 mm portrait perspective | Natural facial proportions and calmer background |
| Aperture look | f/2.8-f/4 | Soft background with both eyes more likely readable |
| Frame rate | 24 fps | Conventional cinematic cadence |
| Shutter look | 180-degree shutter | Natural motion blur for modest movement |
| Camera motion | Locked or very slow push-in | Lower geometry and identity risk |
| Focus | Near eye, stable plane | Clear emotional emphasis |
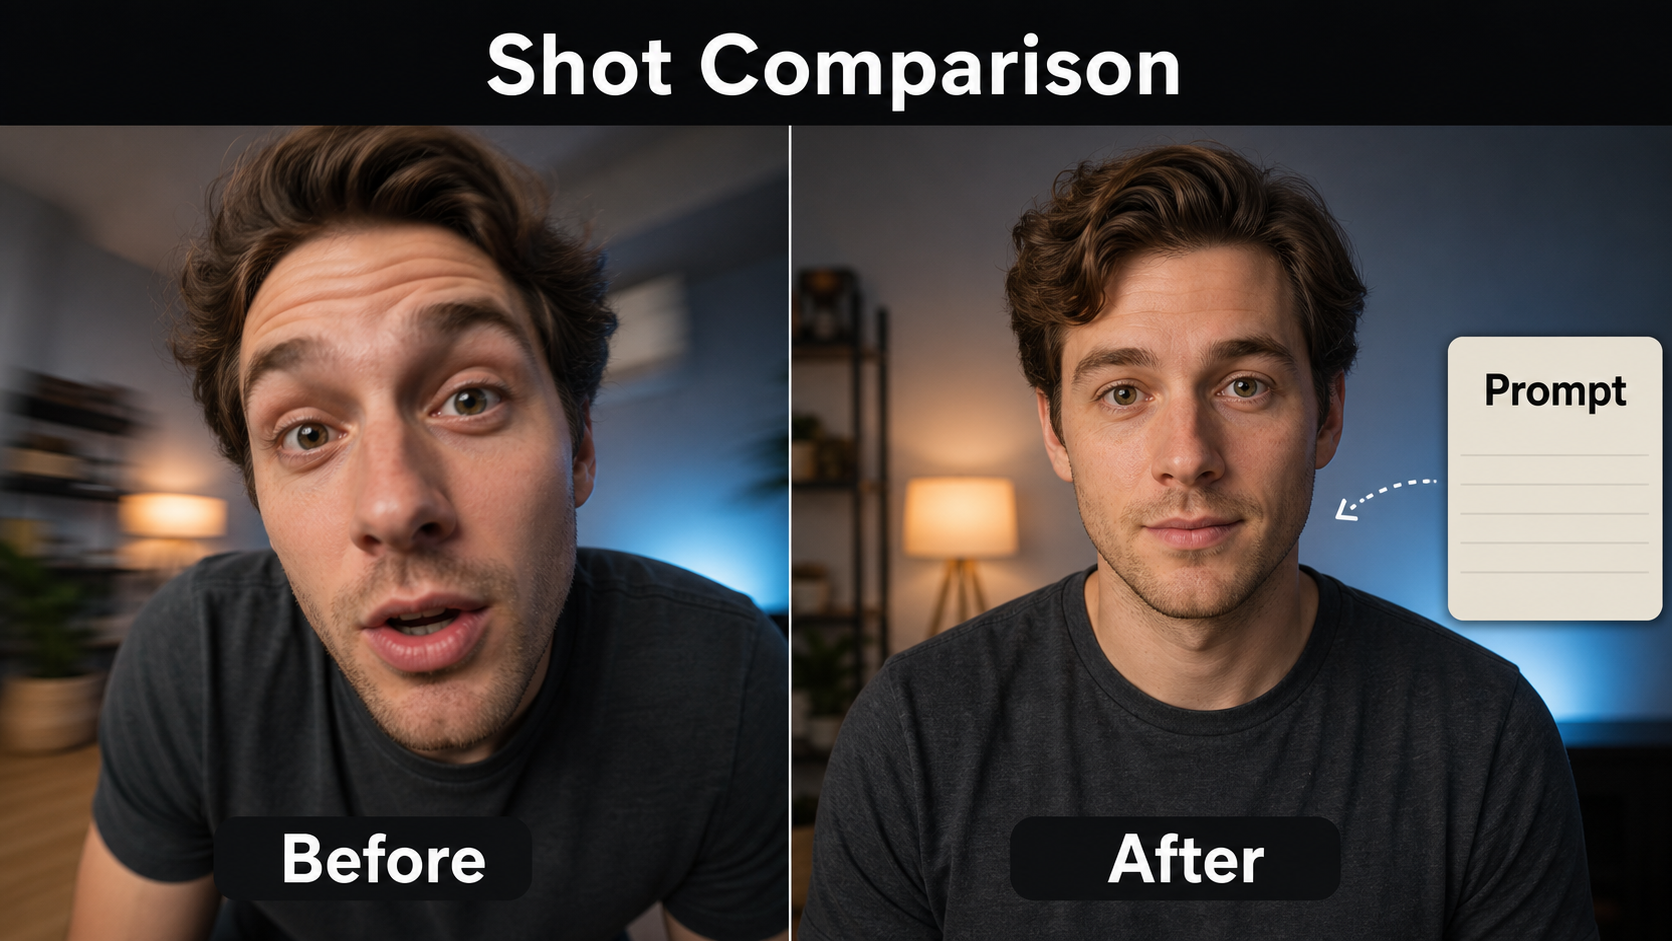
A wider 24-35 mm look can make a close face appear stretched, especially when the camera feels physically near. An extremely shallow f/1.2 look may blur one eye or make focus flicker. Use those effects only when distortion or fragile focus serves the story.
Lighting and Lens Behavior
Use a broad soft key 30-45 degrees from camera, gentle fill, and a subtle edge or practical light for separation. Keep light direction identical to the reference. Ask for restrained bloom and flare; strong anamorphic streaks, halation, chromatic aberration, film grain, or focus breathing can distract from the face and may vary frame to frame.
Build the Reference Image
The reference should already look like the desired first frame. It must communicate crop, eye line, hair, skin, wardrobe, light direction, set, and negative space without relying on the model to reinterpret them.
Reference Image Checklist
- Use the final 16:9 crop or exact delivery aspect ratio.
- Keep eyes sharp, unobstructed, and large enough to inspect.
- Resolve hands, glasses, earrings, microphone, collar, and hair edges.
- Avoid tiny text, repeated patterns, mirrors, and background crowds.
- Match the intended expression and head angle.
- Save the accepted reference, prompt, seed, model, and settings with the shot.
First-Frame Versus Subject Consistency
Image-to-video conditioning strongly anchors the opening, but it does not guarantee that the same face survives a long turn, occlusion, or large camera move. Subject consistency is tested throughout the clip; first-frame consistency is only the match at the start. Scene continuity is another test: lamps, walls, windows, and light direction must remain coherent even if the actor stays recognizable.
Close-Up AI Video Prompt Formula
A useful prompt names the shot, same subject, one action, fixed wardrobe and environment, camera position, one movement, lens behavior, exposure look, lighting, and continuity constraints.
Copyable Prompt Template
Close-up of the same [subject], wearing [fixed wardrobe].
Action: [one subtle facial or head action].
Camera: [height and angle], [locked or one slow movement], [lens look].
Exposure: [aperture look], [shutter look], [frame rate].
Lighting: [key direction], [fill], [rim or practical].
Preserve face, hair, wardrobe, eye line, background, and light direction.
No facial warping, focus flicker, extra motion, or background drift.
Worked Prompt Example
“Close-up of the same architect in a charcoal jacket and silver stud earrings. She takes one controlled breath and glances slightly camera-right. Eye-level locked camera with a natural 85 mm portrait look, f/4 depth-of-field look, 180-degree shutter motion at 24 fps. Broad soft key from camera-left, low fill, warm practical behind. Preserve facial proportions, hair part, earrings, collar, eye line, lamp position, and light direction. No zoom, orbit, lip motion, focus pumping, or background drift.”
If the tool supports explicit trajectory or intrinsics controls, configure those outside the prose prompt. Do not assume typing “85 mm” alters a real focal-length parameter unless the implementation documents it.
Model Workflow and Camera Control
Camera-control research projects solve narrower technical tasks than a general commercial generator. Use their official repository instructions, required base checkpoints, and licenses; do not transfer a feature claim from one project to another.
What Official Camera Projects Control
- CamI2V and RealCam-I2V: official research code for camera-controlled image-to-video; the repository includes released research checkpoints and reports MIT licensing for its code.
- CameraCtrl: conditions text-to-video generation on camera trajectories represented through Plücker embeddings.
- MotionCtrl: separates camera-motion and object-motion control within its research workflow.
- UCPE: extends camera-conditioned video research to camera intrinsics, lens distortion, pitch, and roll controls.
These projects provide explicit camera representations, but they do not automatically guarantee face identity, wardrobe continuity, speech, lip sync, or production-ready resolution. Check every downloaded base model and weight license separately; a repository’s code license does not necessarily relicense third-party checkpoints.
Practical Generation Workflow
- Define the narrative reason for the close-up.
- Approve the character sheet, wardrobe, scene bible, and voice source separately.
- Create a shot-specific first-frame reference at the delivery aspect ratio.
- Choose locked camera or one restrained trajectory.
- Write a compact prompt using the template above.
- Render the shortest, lowest-cost useful preview.
- Inspect first, middle, and final frames for face, eyes, teeth, hair, wardrobe, set, and focus.
- Change one variable and rerun; do not rewrite everything at once.
- Generate the final shot only after the preview passes.
- Edit separate approved shots and finish audio in post.
Voice, Lip Sync, and Audio Motion
Voice identity, speech synthesis, lip sync, and audio-driven motion are four different responsibilities. Voice identity is the authorized speaker timbre. Speech synthesis creates the spoken audio. Lip sync aligns mouth shapes to phonemes. Audio-driven motion adds expression, head, and body movement from sound. A silent image-to-video camera model does none of these automatically.
For dialogue close-ups, finalize clean speech first, then use an audio-conditioned generation or dedicated lip-sync stage that officially supports the chosen model. Obtain consent for cloned or imitated voices. Test a frontal face and a short phrase before adding music. Teeth, tongue, profile speech, rapid syllables, and occlusion are common visible failure points.
Common Failures and Fixes
Close-up failures are easiest to fix when you identify which control failed. Shorten the shot and simplify motion before increasing prompt length.
Troubleshooting Table
| Failure | Likely cause | Practical fix |
|---|---|---|
| Large nose or stretched face | Wide-lens look or camera too near | Use 65-100 mm portrait look and a new reference |
| Face drifts | Long clip, turn, or occlusion | Shorten shot; reduce head and camera motion |
| Eyes flicker | Extreme expression or shallow focus | Use moderate aperture look and one subtle action |
| Hair or earrings mutate | Hidden or low-detail reference | Show clean edges and repeat exact continuity details |
| Background bends | Large trajectory from one frame | Lock camera or build scene-aware reference views |
| Focus pumps | Conflicting focus and motion instructions | Request stable focus on near eye; remove rack focus |
| Lips lag speech | Noisy audio or unsupported workflow | Use clean short speech and a documented lip-sync stage |
Quality-Control Checklist
- Face matches the approved identity at start, middle, and end.
- Eye line, headroom, and looking room remain intentional.
- Hair, collar, glasses, jewelry, and props do not change.
- Background geometry and light direction stay stable.
- Motion blur and focus behavior suit the action.
- Voice provenance is documented and lip sync is reviewed separately.
- The cut connects logically to adjacent wide or medium shots.
Edit AI videos here
After generation, assemble approved close-ups, trim unstable frames, refine pacing, add captions, normalize dialogue, and create delivery formats at https://ai.alphatechnologies.vn. Editing turns isolated generations into a coherent scene and lets you hide a weak entrance or exit without rerendering everything.
Final Recommendation
Build close-ups from the reference outward: approve the face and set, choose a portrait perspective, keep the camera still or gently moving, and test one subtle performance beat. Review identity, first frame, scene, voice, and lip sync as separate tracks. Explore more practical AI video workflows on Aikolhub, and spend final-render compute only on a shot that has already passed a short preview.
Frequently Asked Questions
What is the best lens look for an AI video close-up?
A natural 65-100 mm portrait look is a dependable starting range. It usually avoids the exaggerated perspective of a camera that appears too close, but the best choice still depends on the story.
Does a reference image guarantee the same face?
No. It anchors the opening image, but long motion, occlusion, head turns, and large camera moves can still cause identity drift.
Should the camera move during a close-up?
Only when movement adds meaning. Start locked, then test one slow push, drift, or arc rather than stacking several movements.
Can camera-control models set a real aperture?
Not necessarily. Unless the implementation exposes an aperture parameter, f-stop language is a visual instruction for depth-of-field behavior rather than physical metadata.
How do I fix lip sync in a close-up?
Use clean authorized speech, a frontal well-lit face, short phrases, and a documented audio-conditioned or lip-sync workflow. Review mouth timing separately from voice identity and body motion.
Official sources: CamI2V and RealCam-I2V repository; CameraCtrl repository; MotionCtrl repository; UCPE repository.