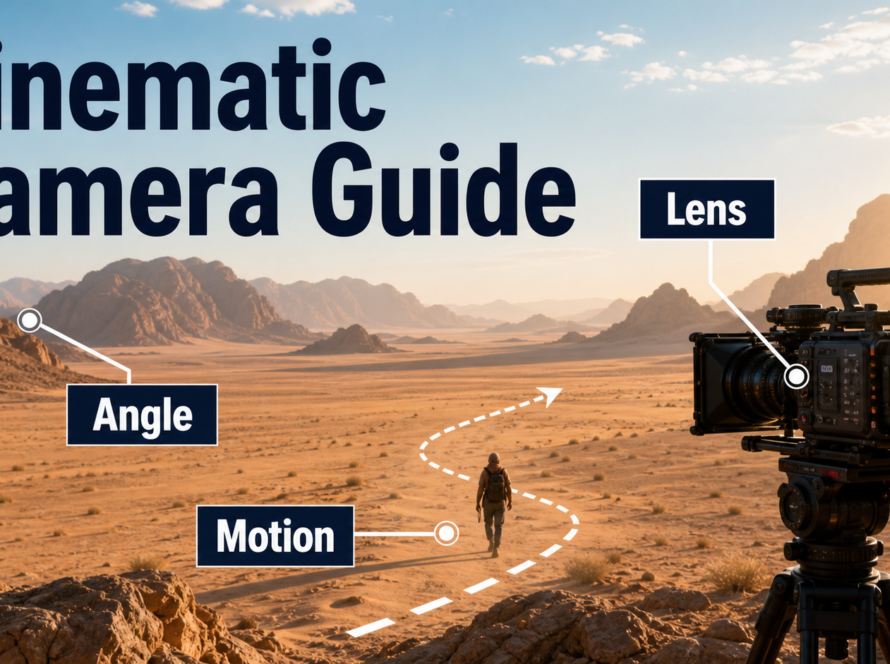
For a convincing orbit or arc camera move in AI video, keep the subject as the visual center, define a short curved path, and use a reference image with enough foreground and background depth for parallax. A 20- to 60-degree arc is usually more reliable than a complete orbit because it reveals less unseen geometry. Lock character, wardrobe, props, environment, lens behavior, lighting, and screen direction before adding motion.
Updated August 5, 2026, this workflow separates cinematography from model marketing. Prompt language can suggest an orbit, but exact paths require a compatible system that accepts camera trajectories, poses, intrinsics, or related controls. Camera motion also does not solve subject identity, scene continuity, voice identity, speech synthesis, lip sync, or audio-driven performance.
Table of Contents
Orbit and Arc Visual Meaning
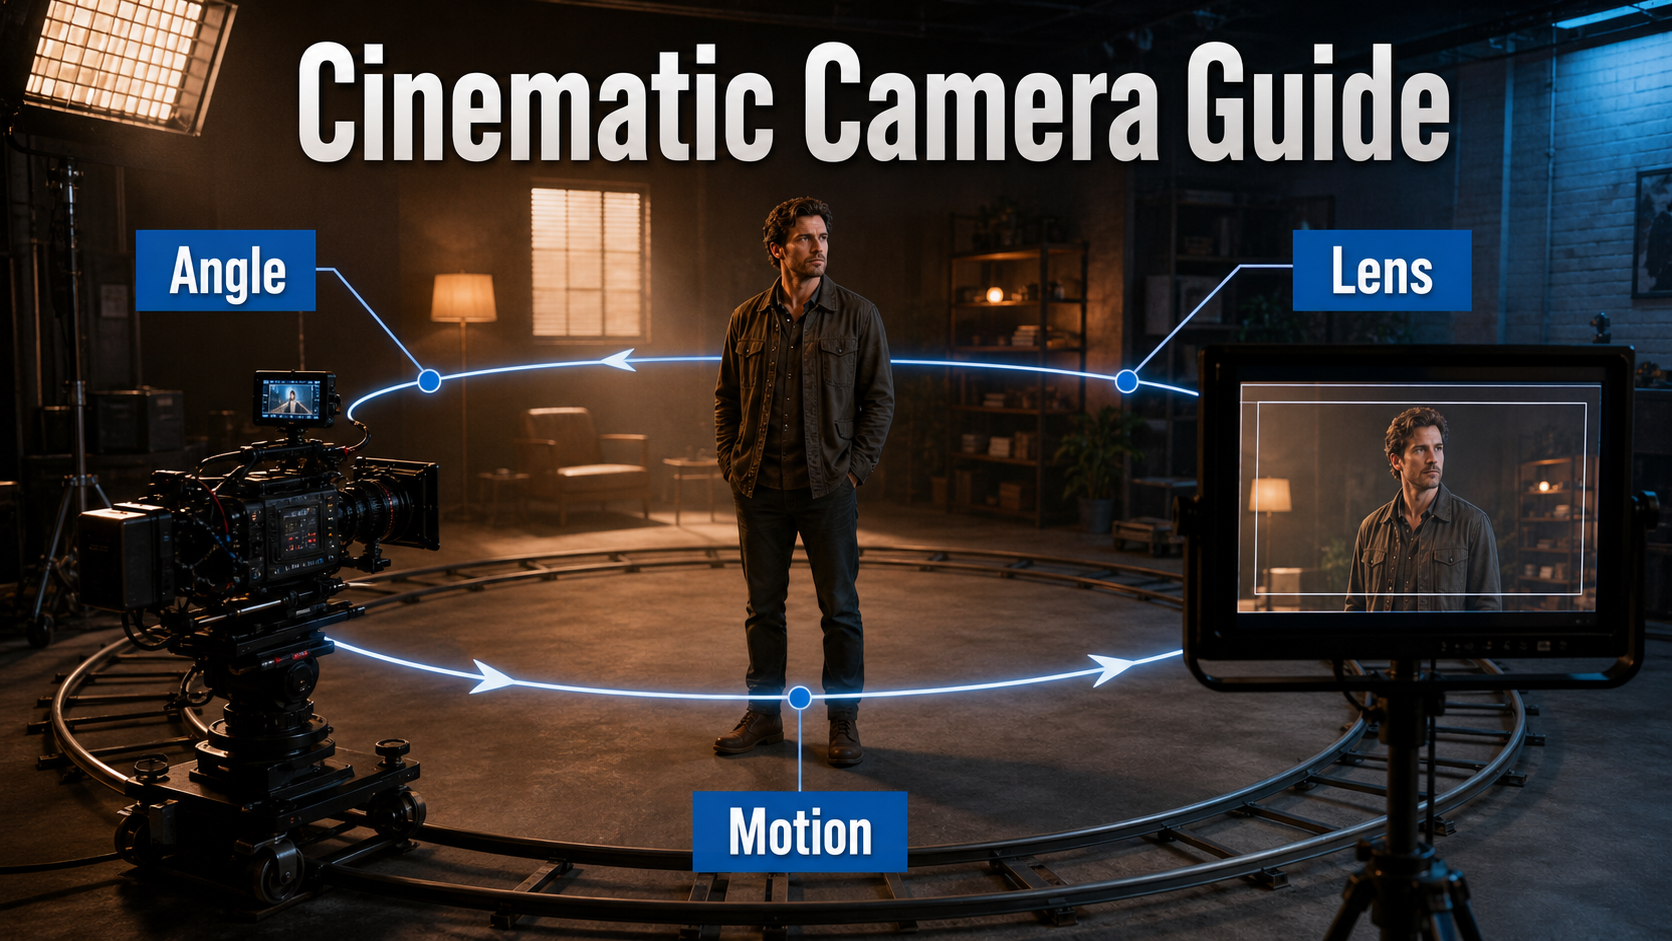
An orbit rotates the viewer around a subject, changing the background and visible side while the subject remains the center of attention. An arc is a limited segment of that circular path. Both create depth through parallax: nearby objects move across the frame faster than distant objects.
Orbit Versus Arc
In production language, the terms are often interchangeable. For AI video, the distinction is useful. A full orbit demands hidden sides of the face, body, prop, and set, so the generator invents more information. A short arc reveals a three-quarter profile or shifts the background while staying close to known reference content. Start with 20–30 degrees for dialogue and products; test 45–60 degrees only after identity and set remain stable.
When the Move Works
Use an arc to reveal a relationship, expose a prop, or add parallax to a static performance. Avoid it when the environment lacks depth cues, the costume has an unknown back, the subject makes broad gestures, or continuity matters more than spectacle. A locked camera or gentle lateral slide may be better for lip-sync, tutorials, and precise product demonstrations.
Camera Placement and Path Design
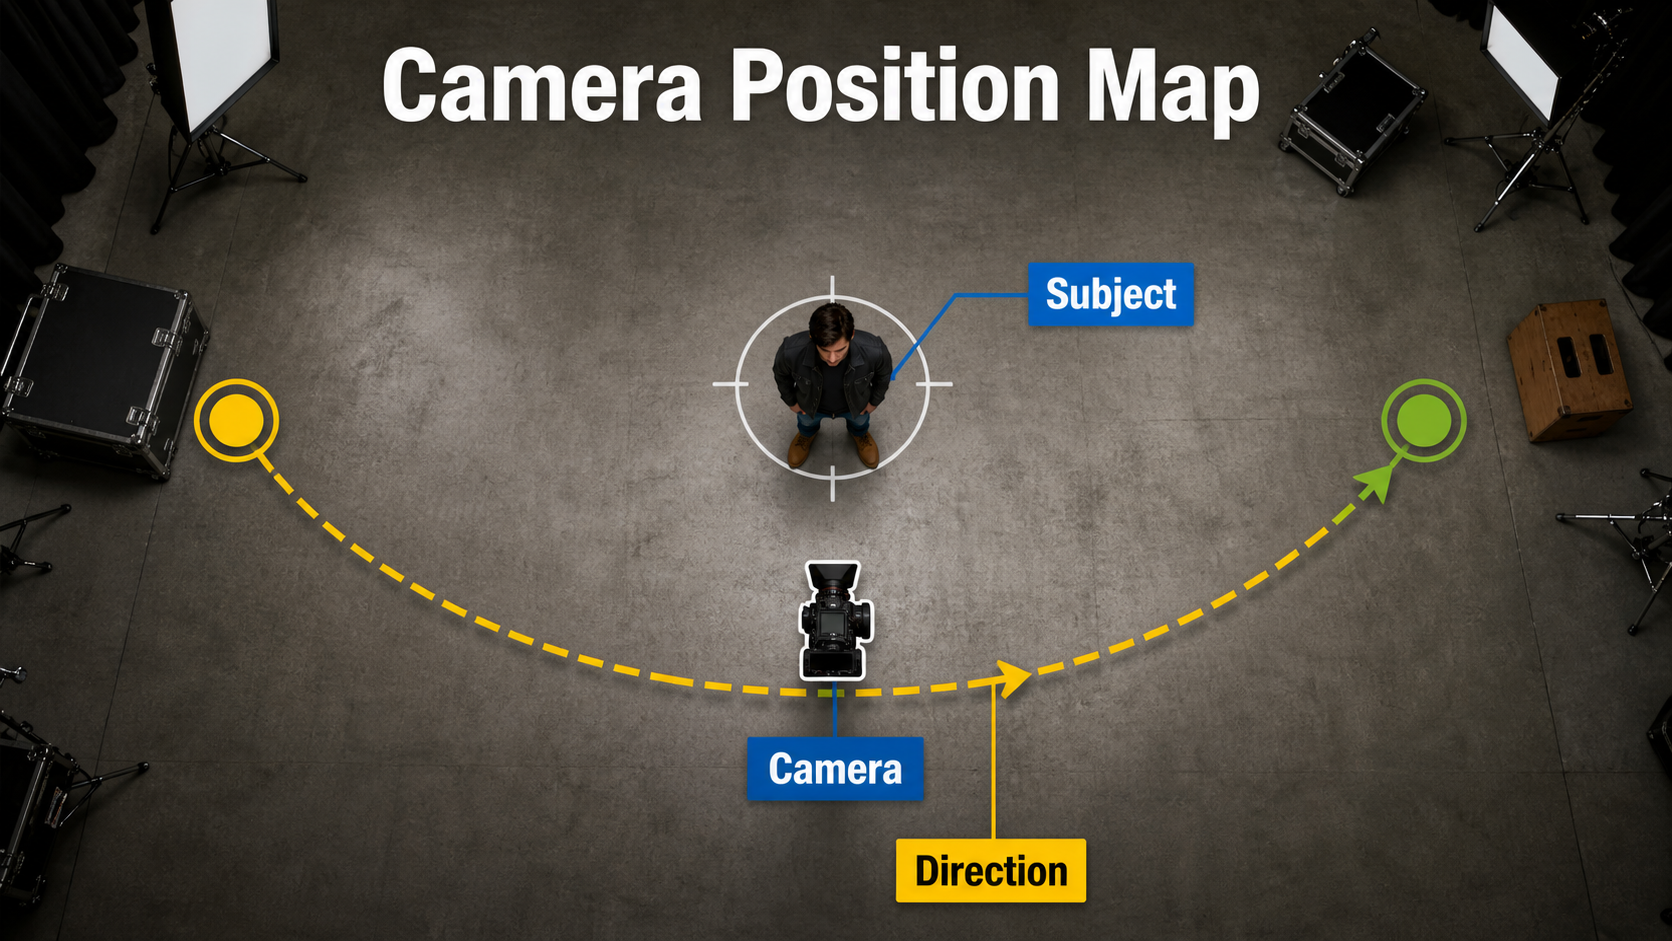
Plan the move as geometry before converting it into prompt language. Define the subject center, camera radius, starting angle, ending angle, height, direction, and look-at point. Keep camera-to-subject distance nearly constant unless a spiral move is deliberate.
Map Start, Center, and End
- Mark the face or product as the look-at target.
- Choose a start frame that works alone.
- Draw a shallow curved path around the target.
- Choose an end frame revealing useful information.
- Keep horizon, height, and speed stable.
- Place one foreground object away from the face to show parallax.
A constant-radius arc feels like circling. Moving closer creates an arc plus push-in; moving farther creates an arc plus pull-out. Combining moves increases ambiguity and geometry drift, so test the pure arc first.
Control Parallax and Screen Direction
Specify clockwise or counterclockwise, but also describe the result: “move from frontal view to the subject’s camera-right three-quarter profile.” Preserve eyeline and screen direction across adjacent shots. Keep foreground elements simple because fast occlusion can deform faces, hands, and props.
Lens, Aperture, Shutter, and Lighting
Camera values in a prompt describe a visual target, not guaranteed metadata. Judge perspective, distortion, depth of field, motion blur, focus behavior, highlights, and parallax.
Practical Settings Table
| Control | Starting point | Why |
|---|---|---|
| Arc | 20–45 degrees | Limits unseen geometry |
| Lens look | 35–50 mm | Depth without extreme distortion |
| Portrait option | 65–85 mm | Flatter face, softer parallax |
| Aperture | f/2.8–f/4 look | Separation with context |
| Shutter | 180-degree look | Natural motion blur |
| Frame rate | 24 fps | Cinematic cadence |
| Duration | 3–5 seconds | Manageable identity load |
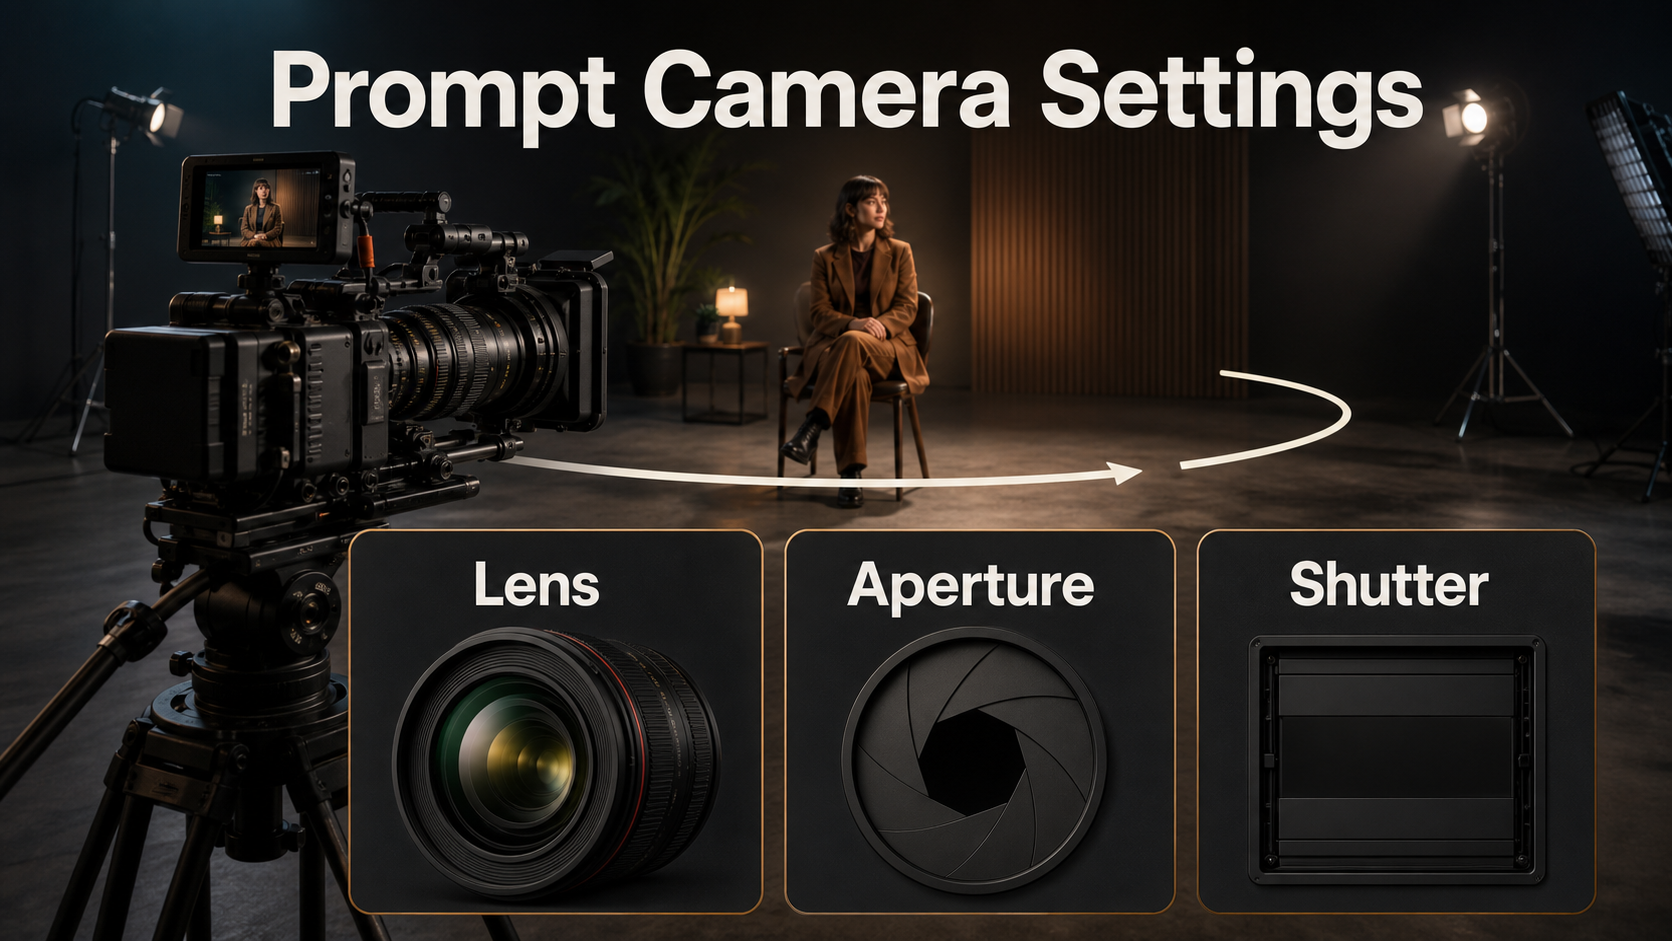
Lens Behavior and Effects
A 20–28 mm look exaggerates parallax but can stretch faces and bend edges. A 35–50 mm look is safer. Longer lenses reduce the feeling of travel and need more distance. Request stable focus on the eyes or product. Add subtle halation, bloom, grain, or flare only after motion works; strong effects can hide errors and flicker.
Reference Image Workflow
A reference establishes identity, wardrobe, props, composition, camera height, and lighting. It provides first-frame consistency, not a guarantee that subject or environment stays coherent as unseen surfaces appear.
Build the Reference Pack
Create a clean start frame at final aspect ratio. Keep face and hands sharp, show seams and accessories, and avoid cropped props. For larger arcs, add front and three-quarter identity views, a wardrobe sheet, prop views, and a set map. These describe what should exist; the video pipeline determines which inputs it can condition on.
Record wall color, doors, windows, furniture order, practical lights, and floor texture. Include foreground depth without placing a bright object across the planned face path. If the end angle reveals the opposite room side, prepare a compatible end-frame concept.
Continuity Checklist
- Same facial proportions, hairline, age, and expression range.
- Same wardrobe color, fabric, seams, and accessories.
- Same prop shape, scale, material, and holding hand.
- Same room geometry, furniture, and light direction.
- Same camera height, lens family, focus target, and horizon.
- Same approved voice asset and timing when dialogue is added.
Voice identity belongs to the voice system; lip sync aligns mouth motion; audio-driven motion controls performance. None is automatically preserved by camera control. Obtain consent and preserve provenance for synthetic voices.
Orbit and Arc Prompt Formula
Write in production order: subject and action, environment, start framing, path, end framing, lens, exposure look, lighting, and preservation constraints.
Reusable Prompt Template
[Shot size] of the same [subject] performing [simple action]. Environment: [set] with [foreground cue]. Camera starts at [angle], then makes a slow [degree] arc [direction] at constant radius, ending at [end angle]. Keep subject centered, horizon stable, speed smooth, no zoom. Lens: [focal length], [aperture], 180-degree shutter, 24 fps. Preserve face, hair, wardrobe, prop, hands, set, and screen direction. No reframing, focus hunting, extra objects, text, or logos.Prompt Examples
Presenter: “Medium shot of the same presenter in a navy overshirt, speaking with restrained gestures. Start frontal at eye level, then make a slow 30-degree camera-right arc at constant distance, ending three-quarter. Natural 50 mm perspective, f/4 look, stable eye focus, 180-degree shutter, 24 fps. Preserve face, shirt pockets, desk, lamp, and shelves.”
Product: “Close shot of the same silver speaker on a walnut table. Slow 40-degree counterclockwise arc at constant radius, revealing side controls while the product stays centered. 65 mm look, f/5.6 depth, soft key camera-left. Preserve dimensions, grille, table edge, and highlights.”
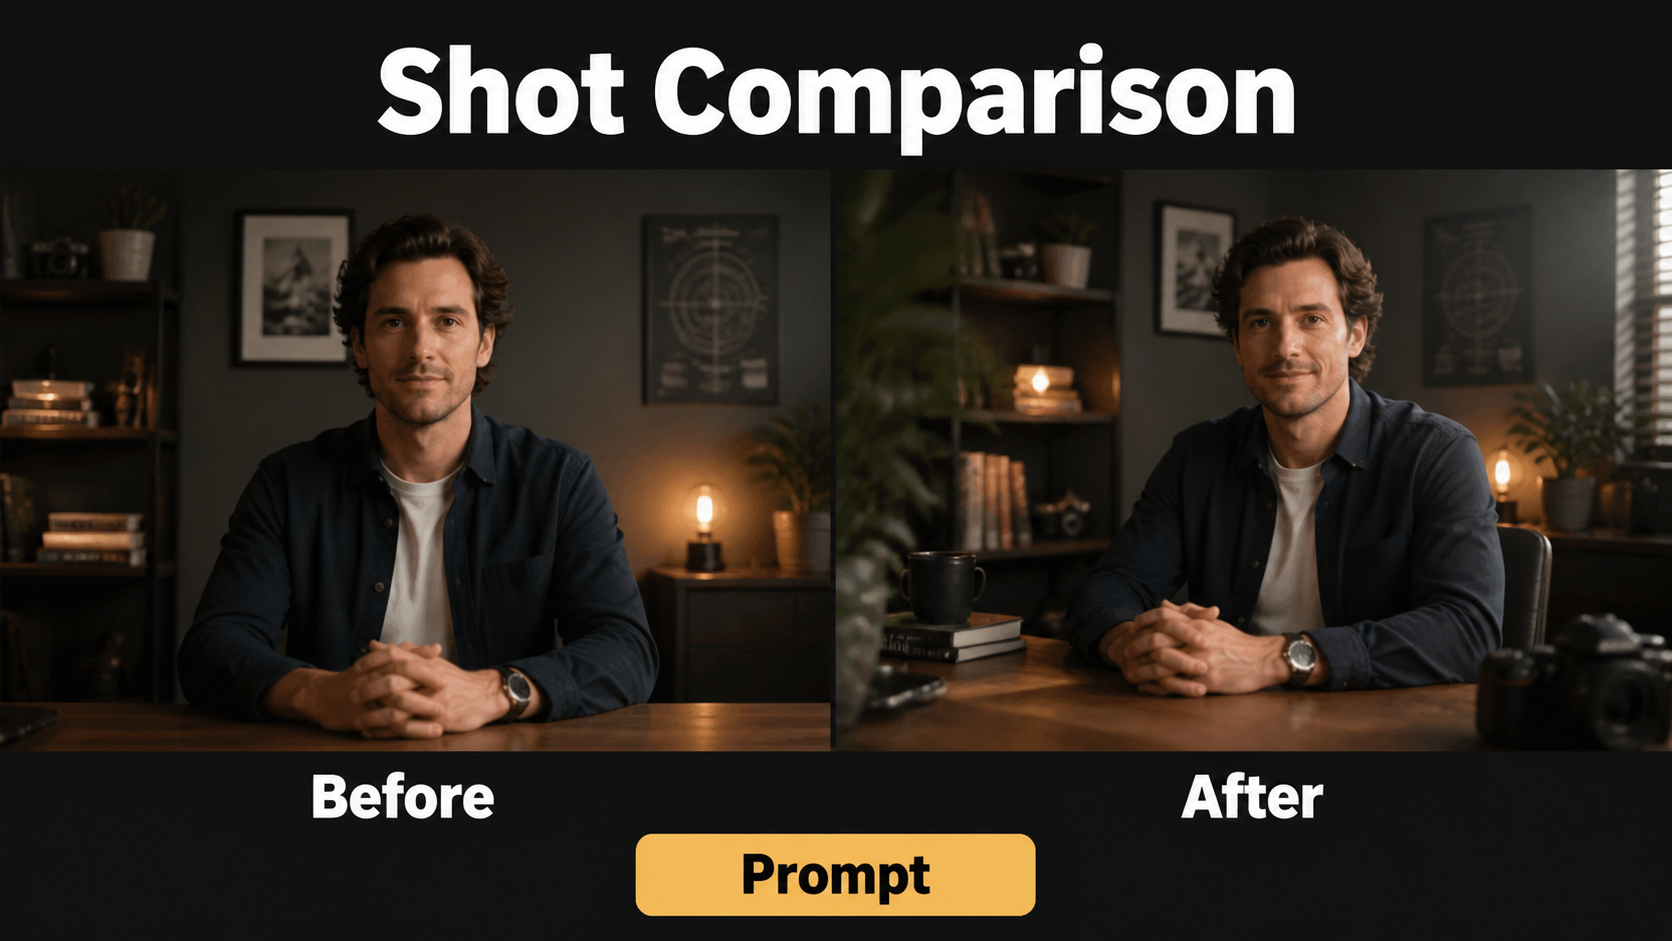
Open Camera-Control Workflow
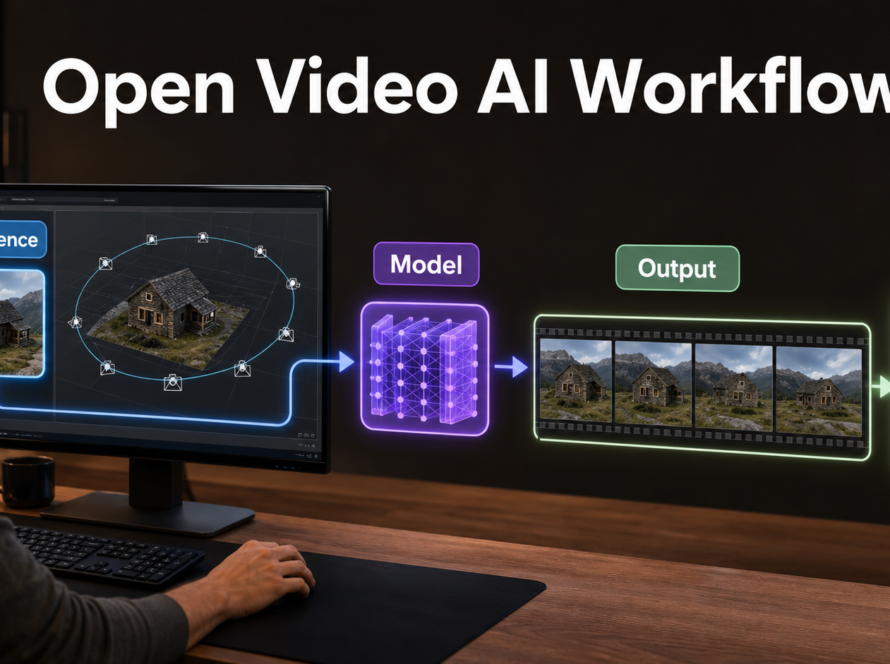
Prompt-only generators interpret “orbit” statistically. Open research tools provide more explicit control, but base models, checkpoints, resolution, hardware, and licenses differ. Verify every dependency.
What Official Projects Control
As verified August 5, 2026, the official CamI2V repository is MIT-licensed and provides CamI2V and RealCam-I2V research code and checkpoints, including 512×320 options. Examples combine rotations, translations, and zoom-like movement; published GPU figures describe the documented research configuration, not universal requirements.
CameraCtrl is an Apache-2.0 implementation using prepared camera trajectory files with text prompts. Its main workflow targets AnimateDiffV3 and links a separate SVD branch. UCPE, updated through May 14, 2026, uses an MIT license and demonstrates research control of motion, intrinsics, lens distortion, pitch, and roll. These implementations are open source, but dependent weights and datasets may have separate terms.
Practical Model Workflow
- Create the start reference and continuity pack.
- Generate a locked-camera identity test.
- Test a 20-degree prompt-only arc.
- If compatible, prepare one constant-radius trajectory.
- Keep prompt, seed, reference, lens, and lighting unchanged.
- Review first, middle, and final frames.
- Increase the arc only after the short test passes.
- Render final clips and edit around unstable frames.
Limitations and Common Fixes
Orbit shots stress 3D understanding because every frame exposes a new view. Failures include face drift, costume changes, duplicated props, bending rooms, inconsistent shadows, speed ramps, unintended zooms, and foreground objects passing through the subject.
Troubleshooting Table
| Failure | Cause | Fix |
|---|---|---|
| Face changes | Too much unseen profile | Shorten arc; add three-quarter reference |
| Move becomes zoom | Ambiguous path | Say constant radius and no zoom |
| Background melts | Large reveal | Use set map and smaller angle |
| Foreground crosses face | Bad occlusion | Move depth cue away |
| Wide distortion | Lens too wide | Use 35–50 mm look |
| Focus pulses | Too shallow | Use f/2.8–f/4 and stable focus |
| Lighting flips | Unspecified source | Name physical key direction |
| Path ignored | Prompt-only control | Use compatible trajectory system |
Edit AI videos here
Trim unstable frames, combine short arcs, and add dialogue, captions, sound, transitions, color, and delivery formats at https://ai.alphatechnologies.vn. Editing can create a longer move from several controlled generations.
Final Recommendation
Begin with a 20–30-degree constant-radius arc, 35–50 mm lens look, moderate depth, one motivated light, and a reference built for the exact start frame. Preserve identity and scene facts explicitly, change one variable per test, and use trajectory tools only when compatible models and licenses fit. Explore more AI video production guides on Aikolhub before attempting a full orbit.
Frequently Asked Questions
What is an orbit camera move?
It is a curved movement around a subject, keeping that subject near the visual center while angle and background change.
How large should an AI video arc be?
Start with 20–30 degrees. A 45–60-degree arc needs stronger identity and set references; a full orbit is substantially harder.
Can a prompt create an exact orbit?
Not reliably. Text communicates intent; exact paths generally require trajectories, camera poses, or intrinsic parameters.
Which lens is best for an orbit?
A 35–50 mm look shows parallax without extreme distortion. Longer lenses create a flatter portrait effect.
Does an orbit preserve character consistency?
No. Use identity references, exact wardrobe and prop descriptions, short clips, continuity checks, and compatible conditioning.
Official sources: CamI2V and RealCam-I2V; CameraCtrl; UCPE.