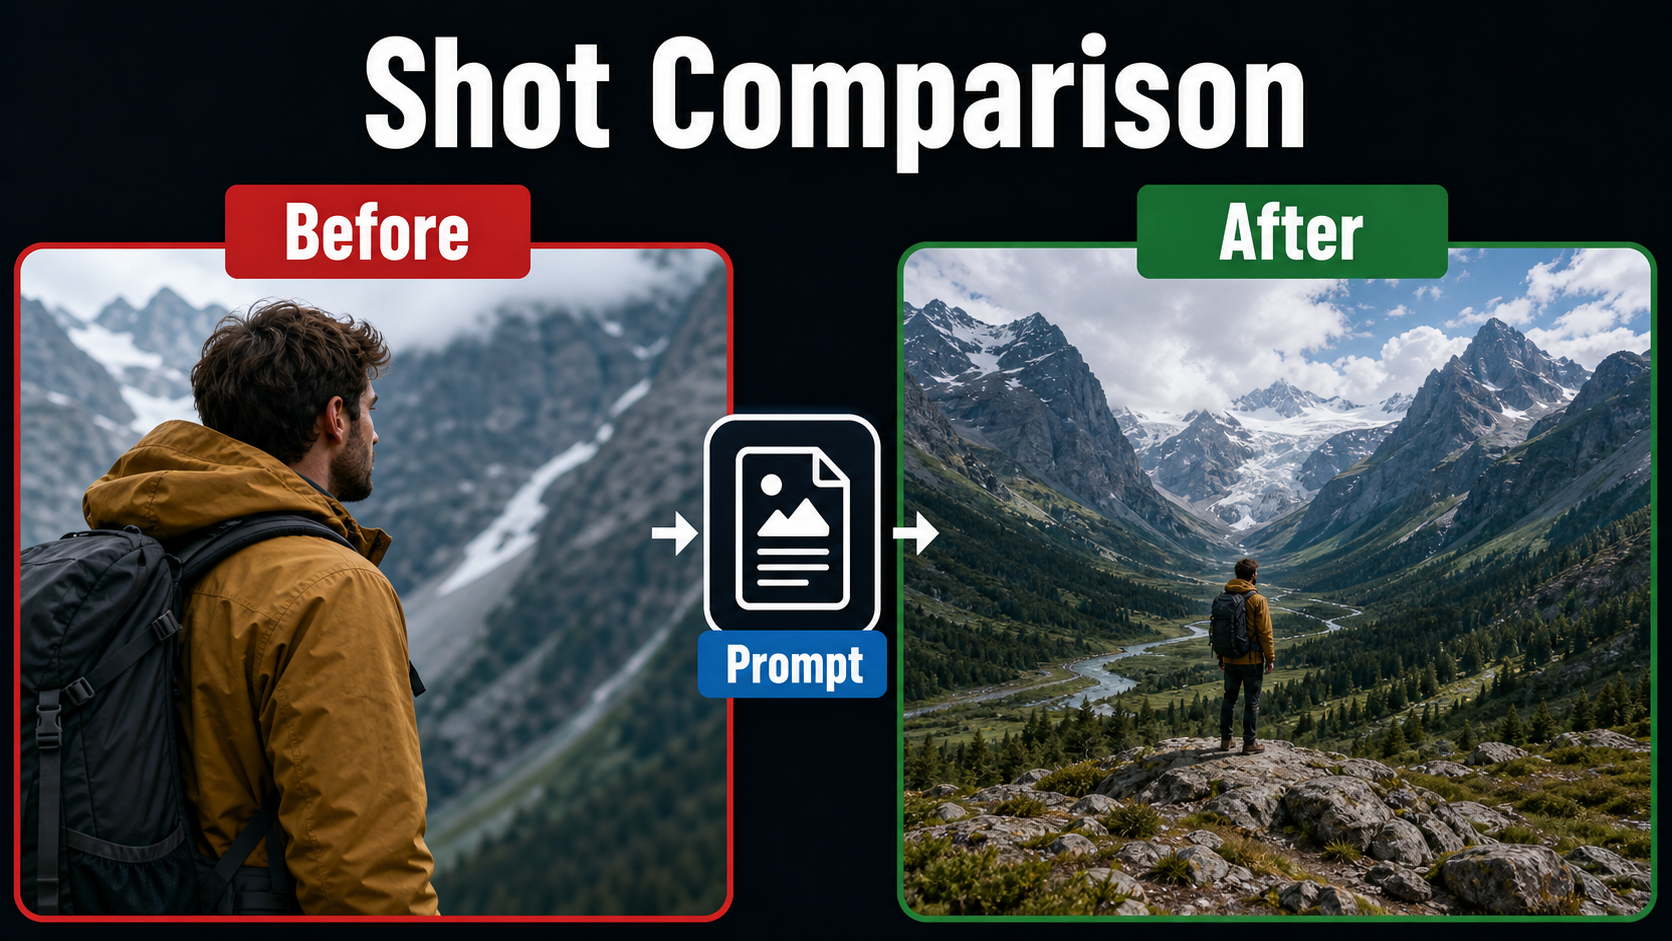
A strong wide shots AI video prompt does more than say ‘wide shot.’ It defines subject scale, camera distance and height, environment layers, lens behavior, movement, lighting, and the continuity details that must not change. Updated July 16, 2026, the most reliable workflow is to build a clean 16:9 reference frame first, animate a restrained camera move, and judge composition and continuity separately.
Use a wide shot when the location, blocking, or distance between characters matters as much as facial expression. Keep the subject readable but small, preserve foreground–middle-ground–background separation, and avoid combining a dramatic camera move with complicated body action in the first generation.
Table of Contents
What Wide Shots Communicate
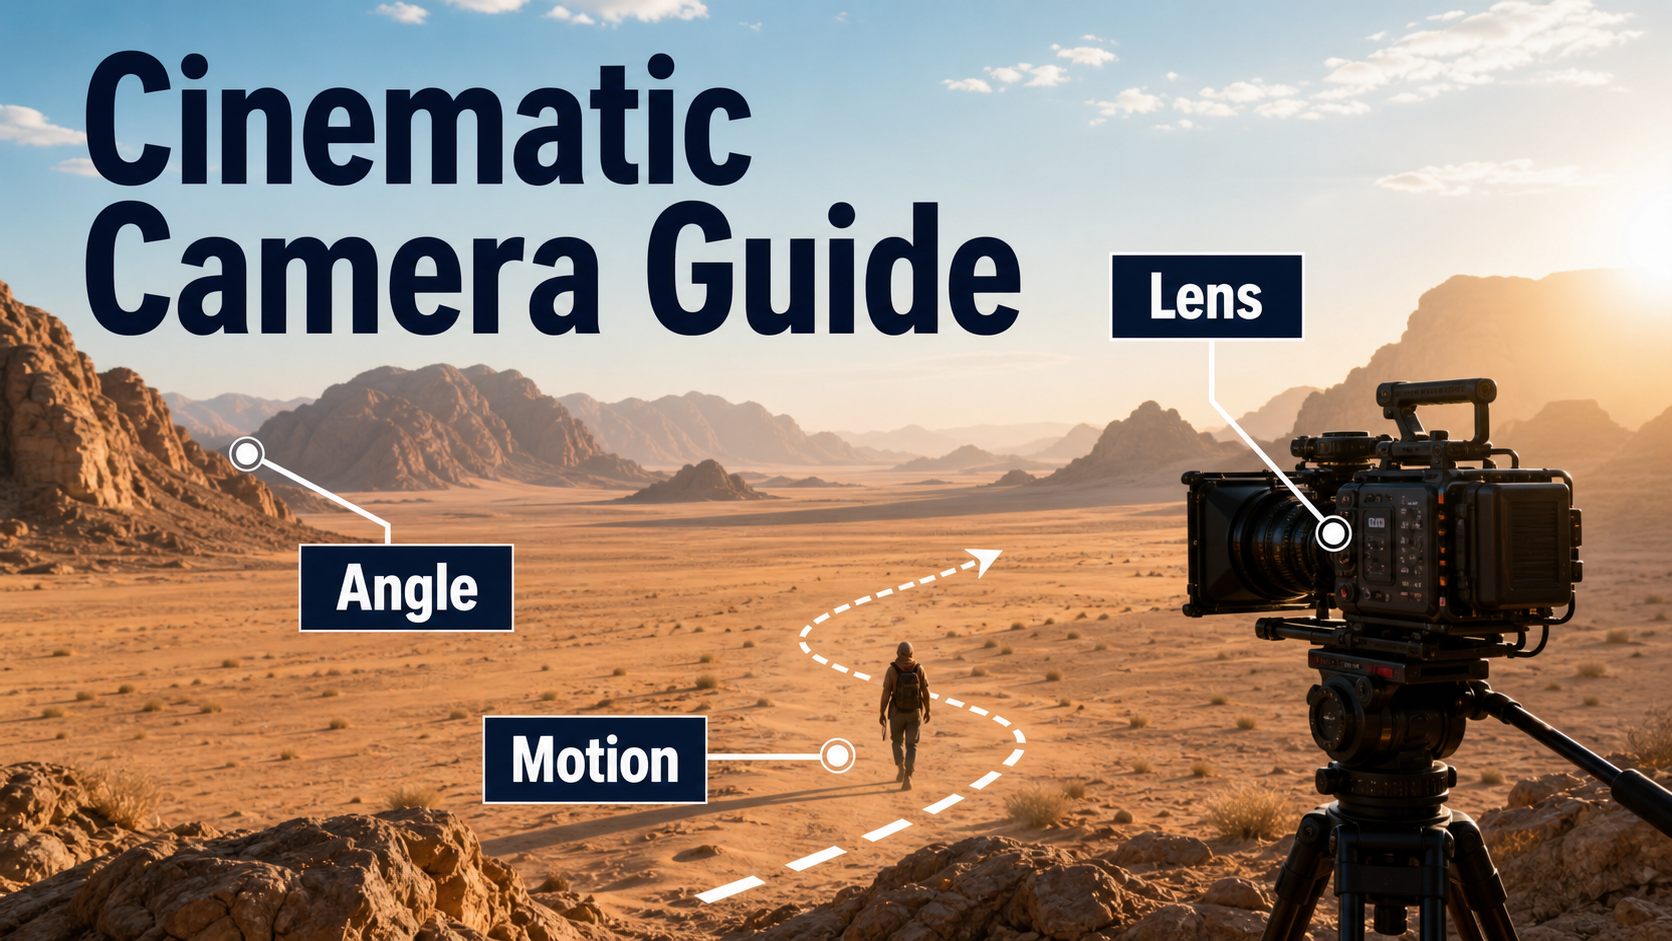
A wide shot explains spatial relationships. It shows where a character is, what surrounds them, where they can move, and how powerful or vulnerable they appear relative to the setting. A traveler occupying five percent of a desert frame feels isolated; two people at opposite ends of a room can feel emotionally divided without dialogue.
Wide Shot Versus Establishing Shot
“Wide shot” describes framing: the camera includes a large area around the subject. “Establishing shot” describes function: a shot introduces the place or spatial logic. One image can be both, but a wide shot can also stage action after the location is known. State the narrative function in the prompt instead of relying on the model to infer it.
Separate the Consistency Problems
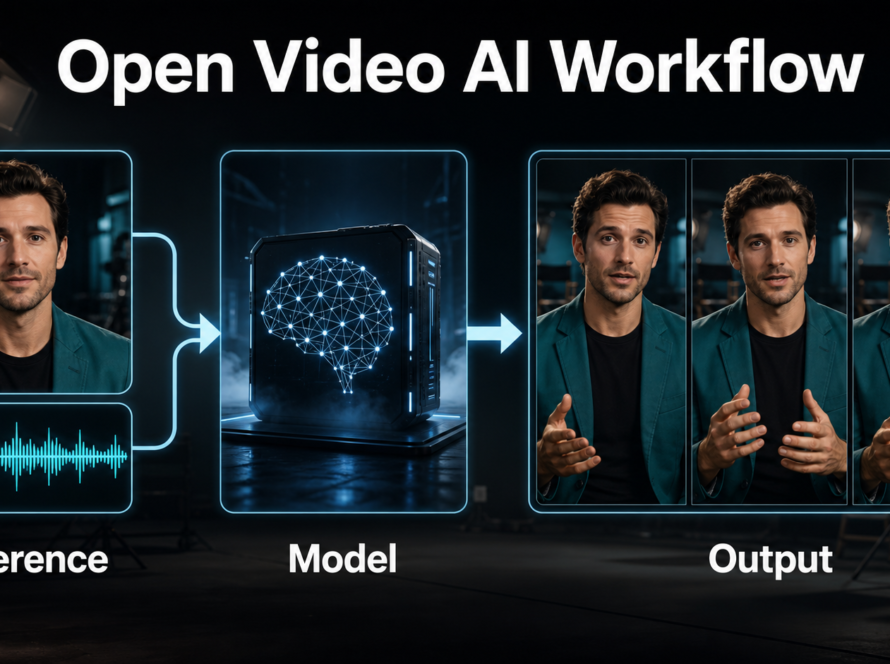
Subject consistency means the same face and body remain recognizable. Wardrobe and prop consistency mean colors, shapes, and carried objects do not mutate. First-frame consistency asks whether animation respects the supplied image. Scene continuity covers geography, lighting direction, time of day, and object placement across shots. Voice identity and speech synthesis concern the sound of the speaker; lip sync concerns mouth timing; audio-driven motion concerns gestures and body movement derived from audio. A camera workflow does not automatically solve any of these other problems.
Camera Placement for Readable Wide Shots
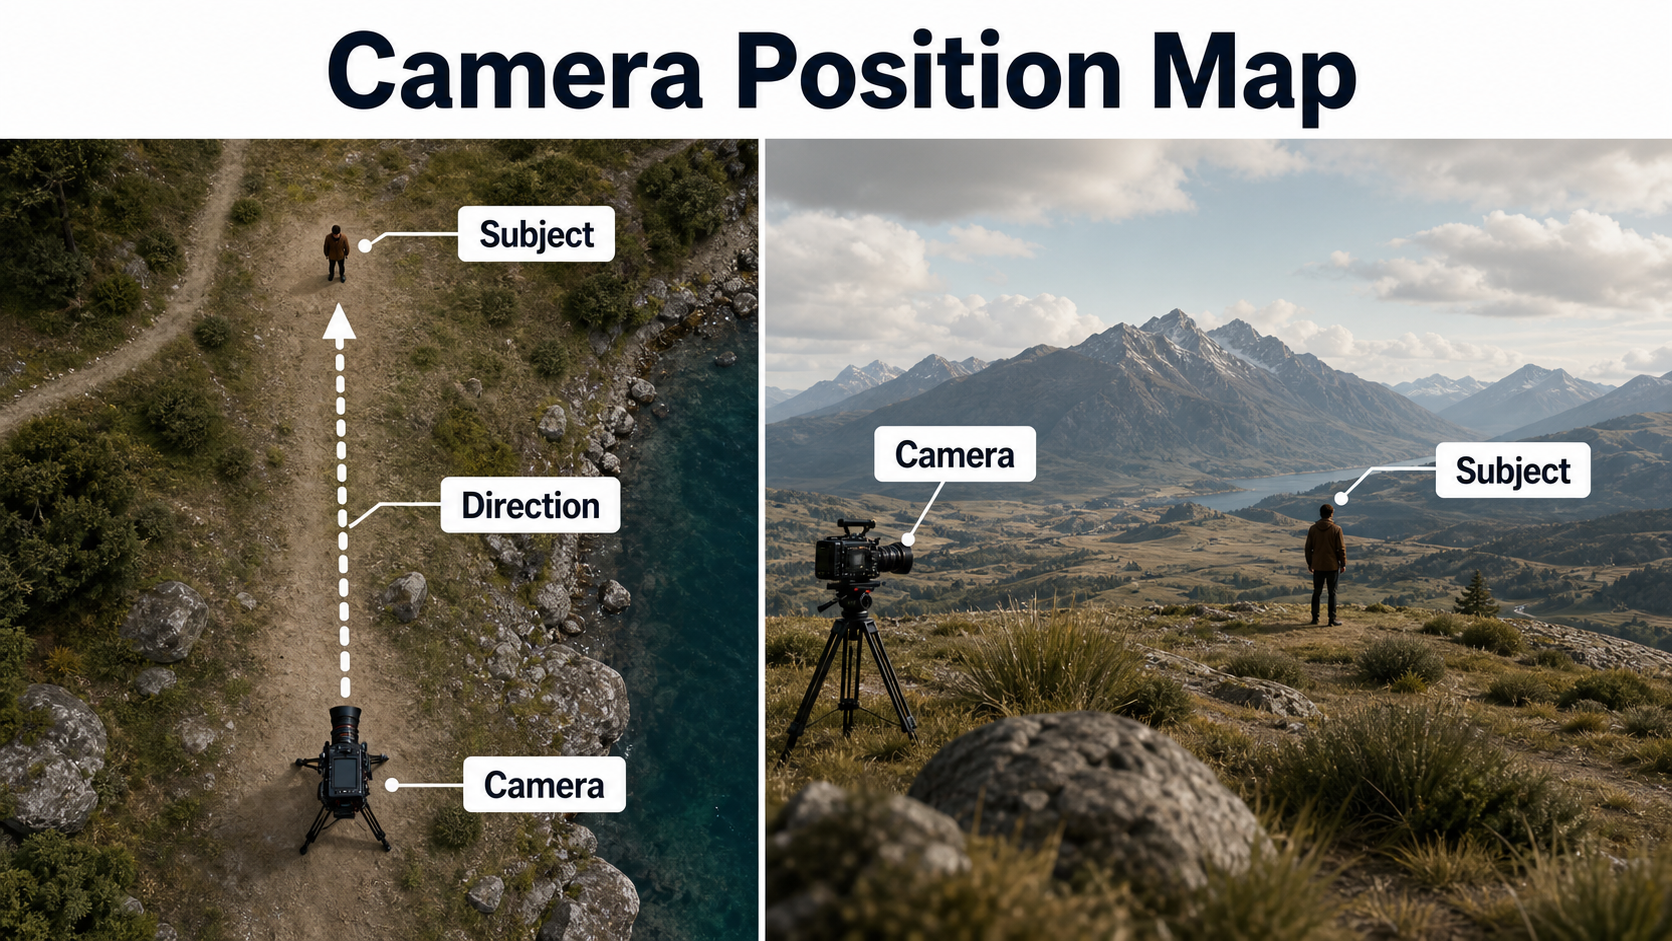
Start with physical relationships: camera position, camera height, subject distance, and viewing direction. “Wide” is not synonymous with “ultra-wide lens.” Moving the camera farther back often preserves natural proportions better than putting a very short lens close to the actor.
Build Depth in Three Layers
Place one simple element in the foreground, the subject in the middle ground, and a readable landmark in the background. Keep tangencies under control: a tree should not appear to grow from a character’s head, and horizon lines should not cut through faces. For a 16:9 frame, test the subject around one-third of the width and leave directional space in front of movement.
Camera height changes meaning. Eye level is observational; a low position gives foreground scale and can make the subject heroic; a high angle reveals paths and blocking but can reduce the character’s power. Describe both height and tilt: “camera 1 meter high, level horizon” is clearer than “low cinematic angle.”
Choose Movement After Composition
Lock a readable static frame before adding motion. A slow push-in preserves orientation while increasing attention. A lateral track reveals parallax and depth. A gentle crane or rise uncovers geography. An orbit is demanding because the model must invent unseen surfaces, so reserve it for scenes with a strong reference pack or explicit trajectory control. Avoid asking for a whip pan, running actor, flowing coat, moving vehicle, and changing weather in one short clip.
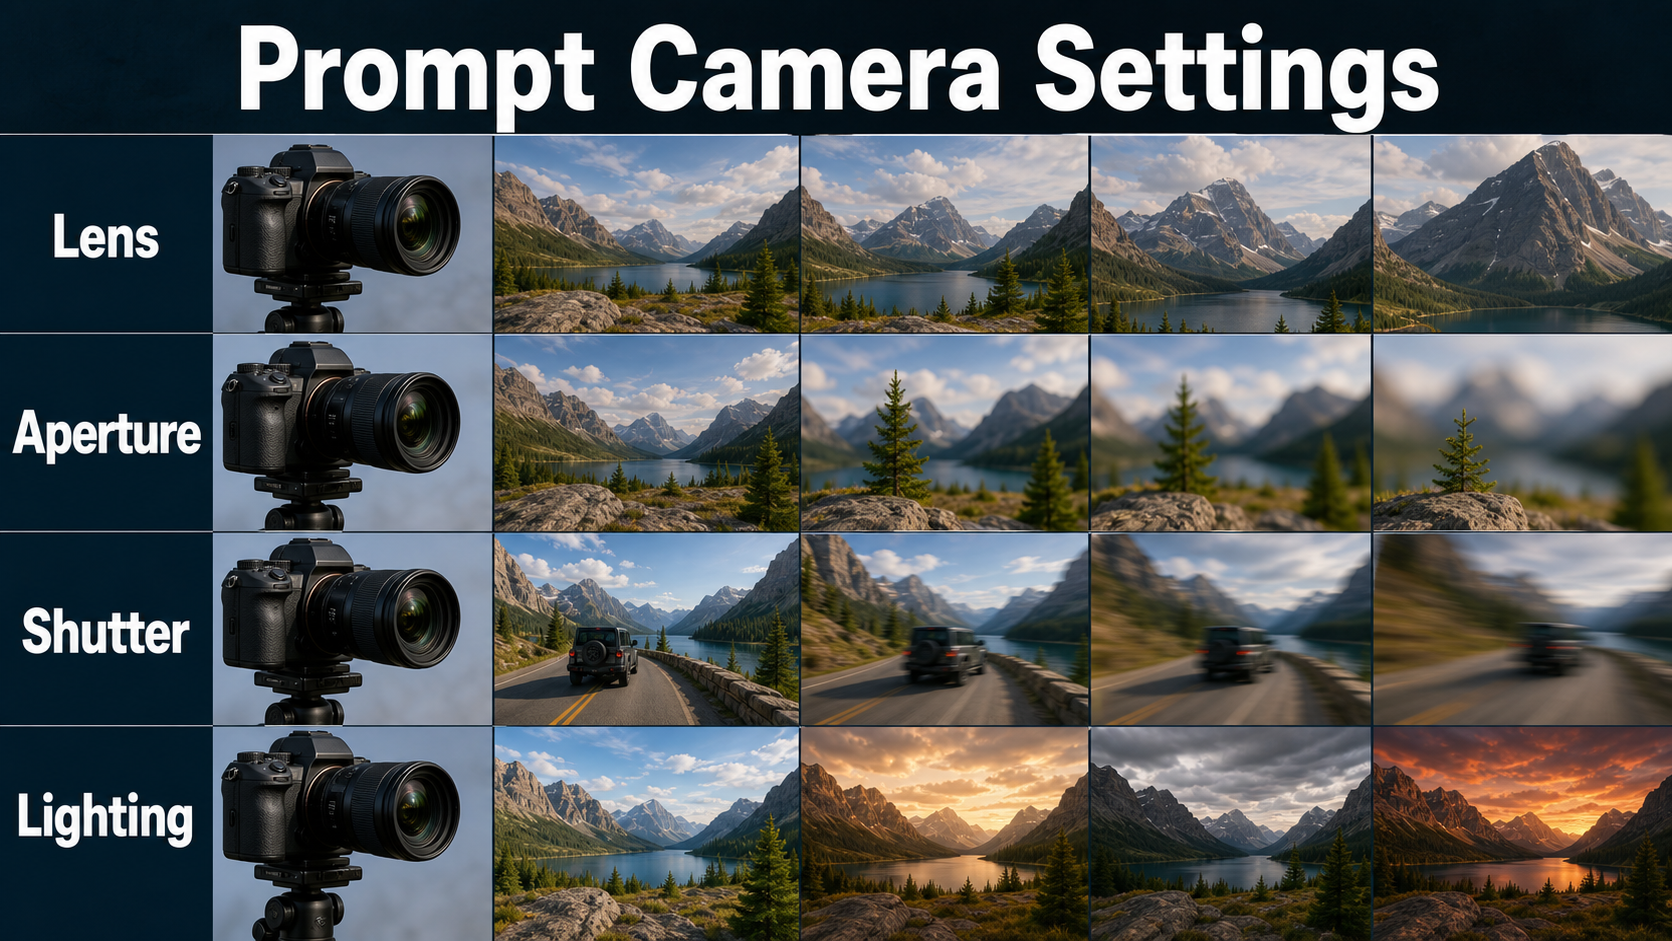
Lens, Aperture, and Motion Settings
Lens terms in a text prompt are visual guidance unless the pipeline exposes true camera intrinsics. Focal length affects field of view only in relation to sensor size and camera distance. Aperture influences depth of field but also depends on focus distance and sensor format. Treat settings as a coherent look recipe, not magical isolated keywords.
Practical Settings Table
| Choice | Useful starting point | Visual result | Risk |
|---|---|---|---|
| Focal length | 24–35mm full-frame equivalent | Broad environment with manageable distortion | Very short lenses can stretch edges |
| Aperture look | f/5.6–f/8 | Subject and location remain readable | Heavy blur defeats the wide-shot purpose |
| Frame rate | 24 fps | Conventional cinematic cadence | Fast action may judder |
| Shutter angle | 180 degrees | Natural motion blur at each frame rate | Prompted values are not guaranteed metadata |
| Camera move | Slow push, track, or rise | Controlled parallax | Large moves expose unseen geometry |
| Lighting | One motivated key direction | Stable shadows and depth | Mixed directions cause flicker |
Specify focus behavior too: “deep focus, stable focus plane, no focus breathing.” Lens breathing is the apparent framing change during a focus pull; if you do not need it, ask for a locked focus distance. Add restrained flare, halation, diffusion, or chromatic aberration only after the clean generation works.
Wide-Shot Prompt Formula
Use this order: shot function + subject and action + environment geometry + camera position + lens and focus + movement + capture cadence + lighting + continuity locks + exclusions. The order helps the model prioritize composition before surface effects.
Copyable Prompt Templates
Static reference prompt: “Narrative wide shot introducing a windswept coastal station. One woman in a mustard raincoat stands small in the right third, holding a red hard-shell suitcase. Foreground wet rails, middle-ground platform, distant lighthouse and ocean. Eye-level camera 18 meters away, 28mm full-frame look, f/8 deep focus, level horizon, cool overcast daylight from camera left, realistic lens contrast. Preserve coat, suitcase, station layout, weather, and light direction. No extra people, no text, no warped rails.”
Image-to-video prompt: “Use the reference as the first-frame composition. The woman takes three slow steps toward frame left while keeping the red suitcase in her right hand. Camera performs a gentle two-meter lateral track right with subtle foreground parallax; no orbit and no zoom. 24 fps cinematic cadence, 180-degree shutter look, stable deep focus and exposure. Keep face, mustard coat, suitcase shape, lighthouse position, horizon, cloud cover, and shadow direction unchanged.”
Negative constraints: “No camera roll, no horizon bend, no sudden reframing, no duplicated limbs, no wardrobe color change, no prop swap, no background morphing, no focus pumping, no flicker, no cuts.” Use negative language sparingly; a short prioritized list works better than a catalogue of every possible defect.
Reference Image Setup
The reference should already solve composition. Generate or photograph it at the intended aspect ratio, with enough resolution to inspect the face and props even though the subject is small. Avoid motion blur in the source. Use clean silhouettes, a level horizon, one dominant light direction, and visible depth cues.
Build a Continuity Pack
- Character sheet: front, three-quarter, and profile views with stable hair, face, body proportions, and skin tone.
- Wardrobe card: exact garment colors, materials, closures, footwear, and accessories.
- Prop card: shape, scale, hand placement, orientation, and wear details.
- Environment bible: map, landmarks, horizon, weather, time of day, and light direction.
- Shot record: seed, model version, aspect ratio, prompt, reference order, frame rate, and camera path.
Reference-image support varies by model. Some pipelines anchor only the first frame; others use subject or image conditioning throughout. Do not claim “character reference” merely because a system accepts image-to-video input. Test face, wardrobe, props, and environment separately.
Open-Weight Camera-Control Workflow
As of July 16, 2026, open research repositories can provide more explicit camera control than plain prompting, but they are not interchangeable production products. Check each code license, checkpoint terms, base-model terms, resolution, and hardware requirements before commercial deployment.
What Official Repositories Support
CamI2V is an official research implementation for camera-controlled image-to-video diffusion. Its repository also reports RealCam-I2V releases and provides example combinations such as translation, rotation, zoom, upward movement, and downward movement. The published checkpoints include research-scale 256×256 and 512×320 variants; that is evidence of controllable trajectories, not a promise of final delivery resolution.
CameraCtrl conditions text-to-video generation on camera trajectories represented per frame. Its official repository includes inference code, pretrained weights, trajectory examples, and an Apache-2.0 code license, while also describing the project as academic use. Verify all dependent model and weight licenses separately.
UCPE, updated April 12, 2026 in its official repository, is research on unified camera positional encoding. It adds control over camera intrinsics, lens distortion, pitch, and roll in addition to motion and uses a 7.3B base model in the reported setup. It is valuable evidence that “lens behavior” can become explicit geometry in specialized pipelines; ordinary video prompts do not automatically expose those parameters.
Production Pass Order
- Create the clean reference and continuity pack.
- Generate a short static or near-static motion test.
- Test one camera move with simple subject action.
- Approve subject, wardrobe, prop, environment, and first-frame consistency independently.
- Extend or assemble shots only after the short test passes.
- Create speech and voice in a dedicated audio pass.
- Run lip sync or audio-driven motion as a separate controlled pass if needed.
- Edit, stabilize, color-match, mix audio, and export.
Common Failures and Fixes
Most weak wide shots fail because too many variables move or the reference never established clear spatial logic. Fix the highest-level problem first: framing before identity, identity before texture, and motion before effects.
Troubleshooting Checklist
| Failure | Likely cause | Practical fix |
|---|---|---|
| Subject grows during clip | Push-in confused with character motion | Remove zoom language; specify fixed focal look and measured track |
| Bent horizon or buildings | Extreme field of view or large camera move | Use 28–35mm look, level horizon, shorter motion |
| Face becomes generic | Subject too small for identity signal | Use stronger character references and cut to a medium shot for dialogue |
| Wardrobe or prop changes | Ambiguous description or occlusion | Name color, material, hand, orientation, and visible silhouette |
| Background melts | Orbit reveals unseen geometry | Switch to push or lateral track; add environment views |
| Light flickers | Competing light directions | Use one motivated source and lock exposure and weather |
| Motion looks smeared | Excessive action or blur request | Reduce action; use 24 fps and moderate 180-degree shutter look |
| Lips do not match speech | Video generation treated as lip sync | Use a dedicated lip-sync pass and preserve voice identity separately |
Edit AI videos here
After generating your wide-shot clips, assemble selects, trim unstable frames, add sound, match color, and create platform-ready exports at https://ai.alphatechnologies.vn. Aikolhub readers can use this editing stage to turn several controlled generations into one coherent sequence instead of expecting a single prompt to finish the film.
Limitations and Responsible Use
Camera words may be interpreted stylistically rather than physically. Exact focal length, aperture, shutter angle, and frame rate are not guaranteed unless the pipeline exposes and preserves those controls. Open-weight availability does not automatically mean open-source or unrestricted commercial use; code, checkpoints, datasets, and base models can have different licenses.
For recognizable people and cloned voices, obtain permission, document provenance, and avoid deceptive impersonation. Keep source files and generation metadata. A consistent face is not proof that the depicted event occurred.
Final Recommendation
Build the shot as a cinematographer would: decide what the environment means, place the camera, block the subject, choose a restrained lens and movement, then lock continuity. Start with a 28–35mm deep-focus reference, animate one simple camera path, and add voice, lip sync, effects, and editing in separate passes. Explore more practical AI video workflows on Aikolhub when you are ready to compare models and refine your production stack.
Frequently Asked Questions
What is the best lens for an AI video wide shot?
A 24–35mm full-frame-equivalent look is a useful starting range. Choose camera distance before going extremely wide, because short lenses near the subject exaggerate edges and perspective.
Should the reference image be the first frame?
Usually yes for an image-to-video workflow, but verify the model’s conditioning method. First-frame anchoring does not guarantee that identity or environment will remain stable later.
How do I keep a character consistent?
Use a character sheet, explicit wardrobe and prop cards, a stable seed when available, simple motion, and short clips. Evaluate face, clothing, and props as separate checks.
Does camera control fix scene continuity?
No. Camera control guides viewpoint or trajectory; scene continuity still requires stable geography, lighting, objects, weather, and reference coverage.
How do voice and lip sync fit?
Create or approve the voice identity and speech track separately, then use dedicated lip sync if dialogue is visible. Audio-driven body motion is another distinct pass and should not be confused with speech synthesis.