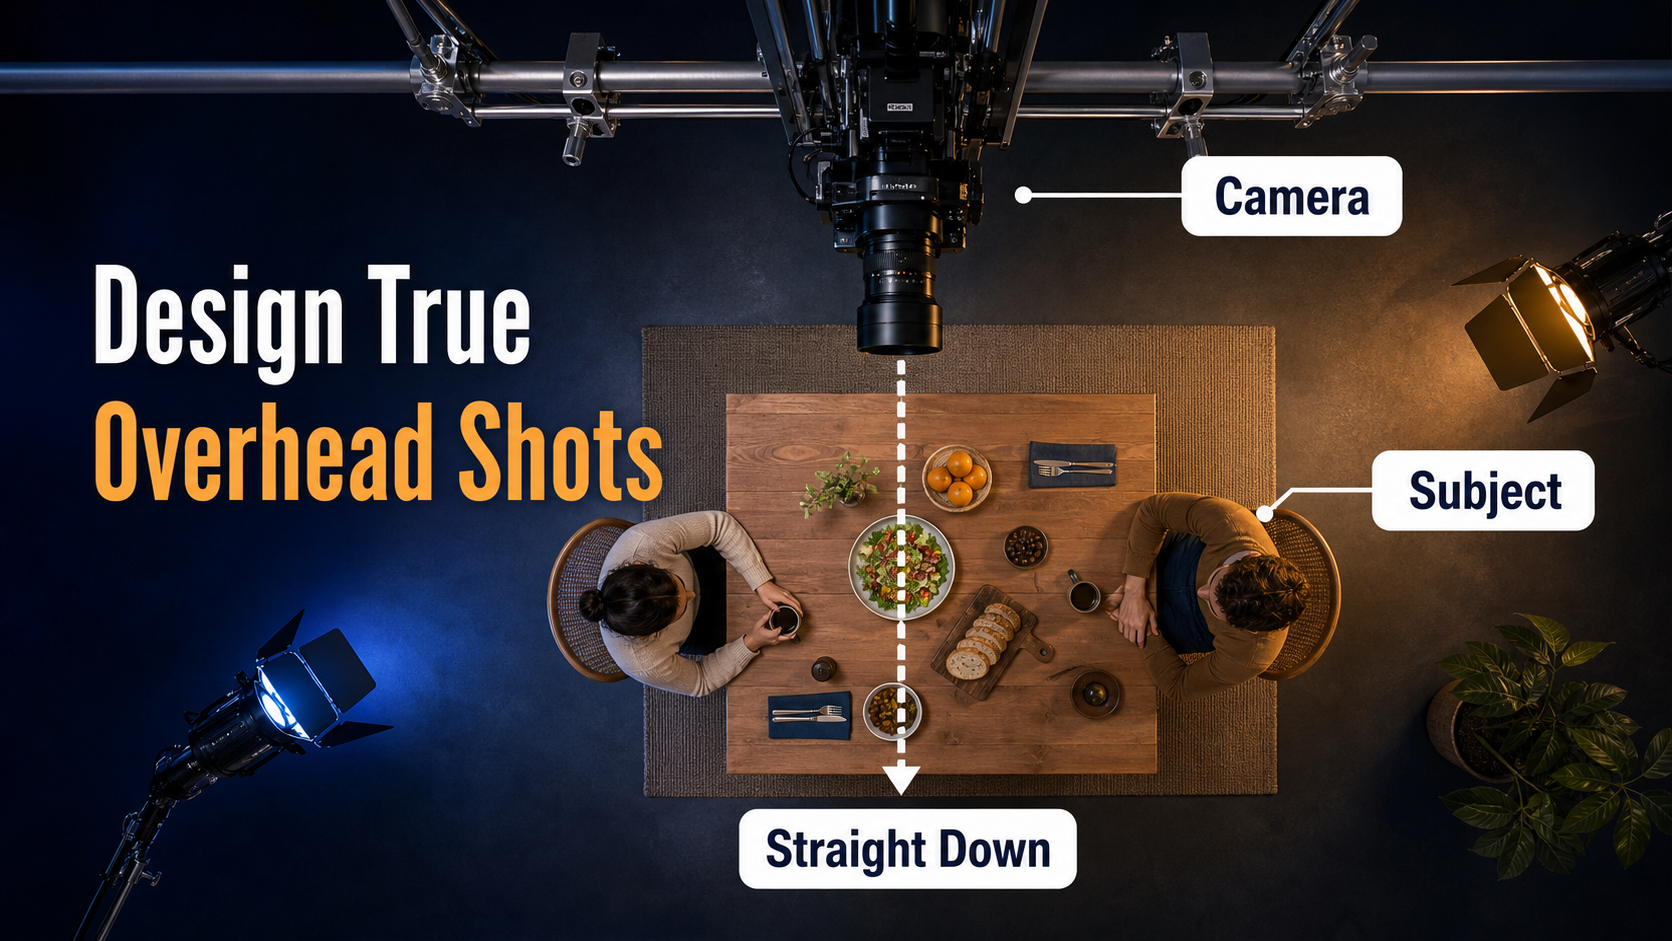
A true overhead AI video shot puts the camera directly above the action and points the optical axis close to straight down. Build the composition as a two-dimensional layout, show every important object in the first-frame reference, and request one simple movement at a time. This guide was verified on July 26, 2026 against the official CamI2V/RealCam-I2V, UCPE, CameraCtrl, and MotionCtrl repositories.
Overhead framing turns bodies, tables, roads, tools, ingredients, and shadows into graphic shapes. It can communicate order, ritual, surveillance, isolation, choreography, or practical clarity. It is not simply a high-angle portrait: the face often becomes secondary while position, spacing, paths, and top surfaces carry the shot.
Table of Contents
Overhead Visual Meaning
An overhead shot removes ordinary eye-level depth cues and emphasizes a plan view. People become shapes within architecture; ingredients become a pattern; vehicles become moving marks on roads. That abstraction can make a scene feel controlled, observed, playful, clinical, or fatalistic depending on color, rhythm, performance, and sound.
Design for Shape and Path
Choose the shot because the audience needs to read position or transformation. A recipe can show ingredients entering a bowl, a product assembly can reveal part order, dancers can create a pattern, or a thriller can show a person boxed in by corridors. If the emotional beat depends on facial micro-expression, cut to another angle rather than forcing the overhead view to do everything.
Create visual hierarchy with contrast, spacing, and movement. Keep the main subject distinct from the floor, separate hands from nearby objects, and leave a clear path for the action. Repeated small props increase mutation risk, so remove anything that does not support the beat.
Overhead Versus High Angle
A high angle is elevated and pitched down while retaining a side view of the subject. An overhead camera is centered above the scene with a near-vertical optical axis. In prompts, say “directly above, straight down, top surfaces visible, no side view” when the distinction matters. Do not combine “overhead” with “eye-level face” unless you intentionally want conflicting cues.
Overhead Camera Placement
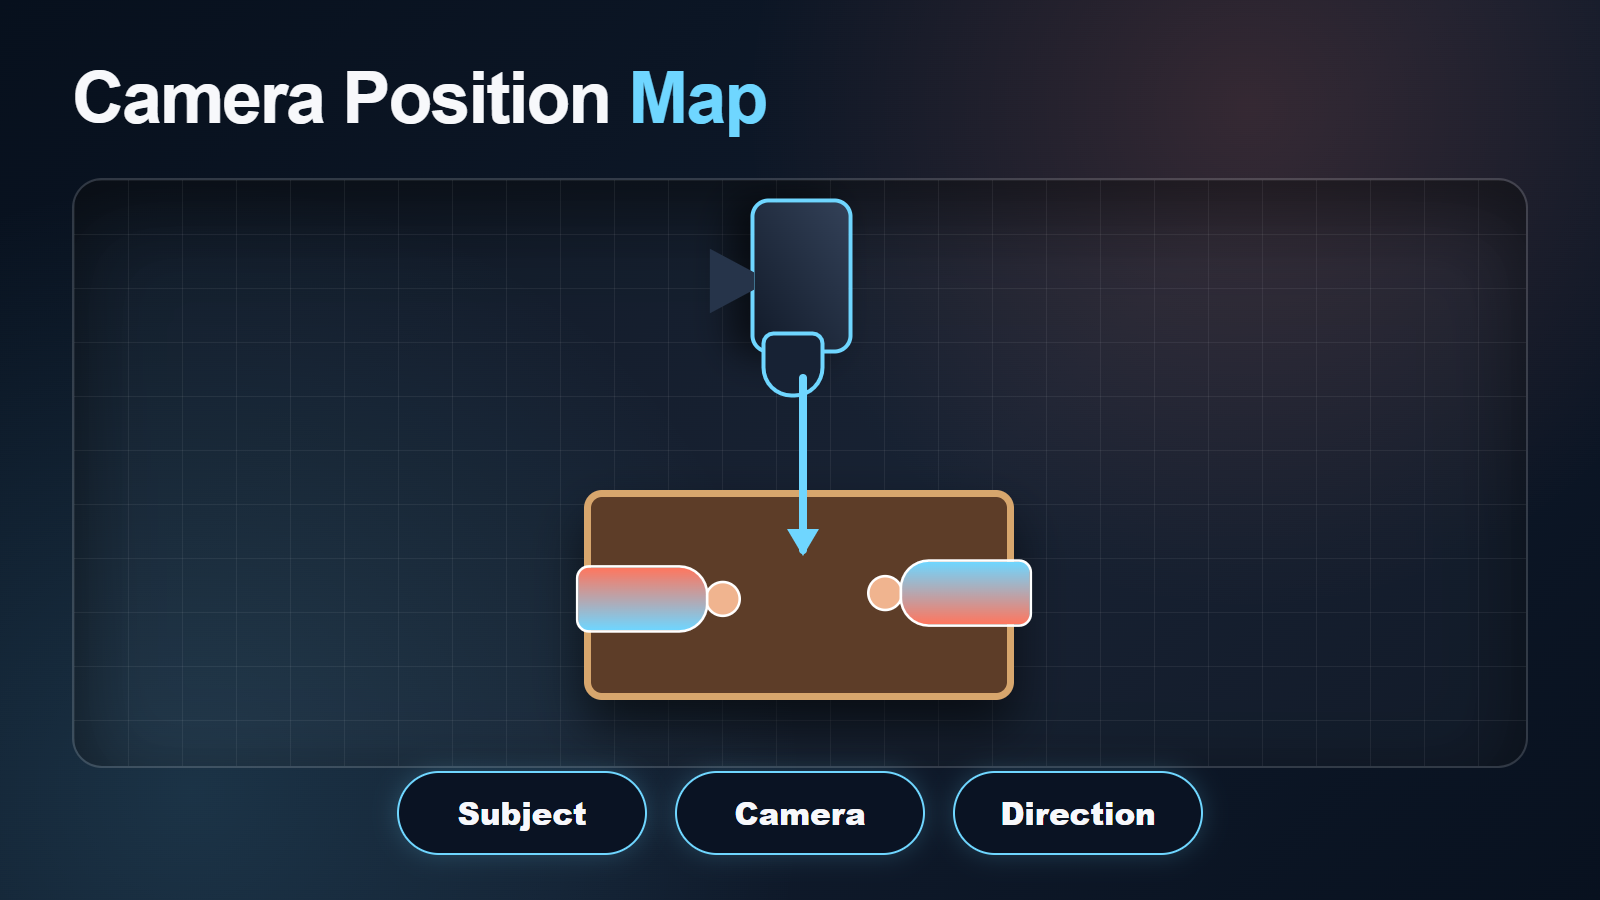
Plan the scene as both a physical rig and an image. In real production, overhead rigging requires qualified crew and safety procedures; in an AI reference, the same geometry still matters. Mark the camera center, optical direction, subject, action path, frame boundaries, and every prop that must remain fixed.
Map the Vertical Axis
- Place the camera above the visual center, not automatically above the room center.
- Point the optical axis close to vertical and keep roll neutral unless a rotated plan is intentional.
- Decide whether the camera is locked, rises, descends, or tracks across the plane.
- Keep the subject within the safe frame throughout the action.
- Define floor seams, table edges, and major shadows as continuity anchors.
A moving overhead shot exposes new floor regions and objects. The longer the move, the more geometry the model must invent. Use a wide environment plate or generate adjacent reference zones before requesting a track across a large space.
Build the Layout Reference
The reference should contain the final top-down crop, aspect ratio, subject position, prop arrangement, palette, and light direction. For a tabletop, use large objects with clear silhouettes and sufficient spacing. For a person, check hair, shoulders, hands, shoes, and floor contact because familiar facial landmarks may be less visible.
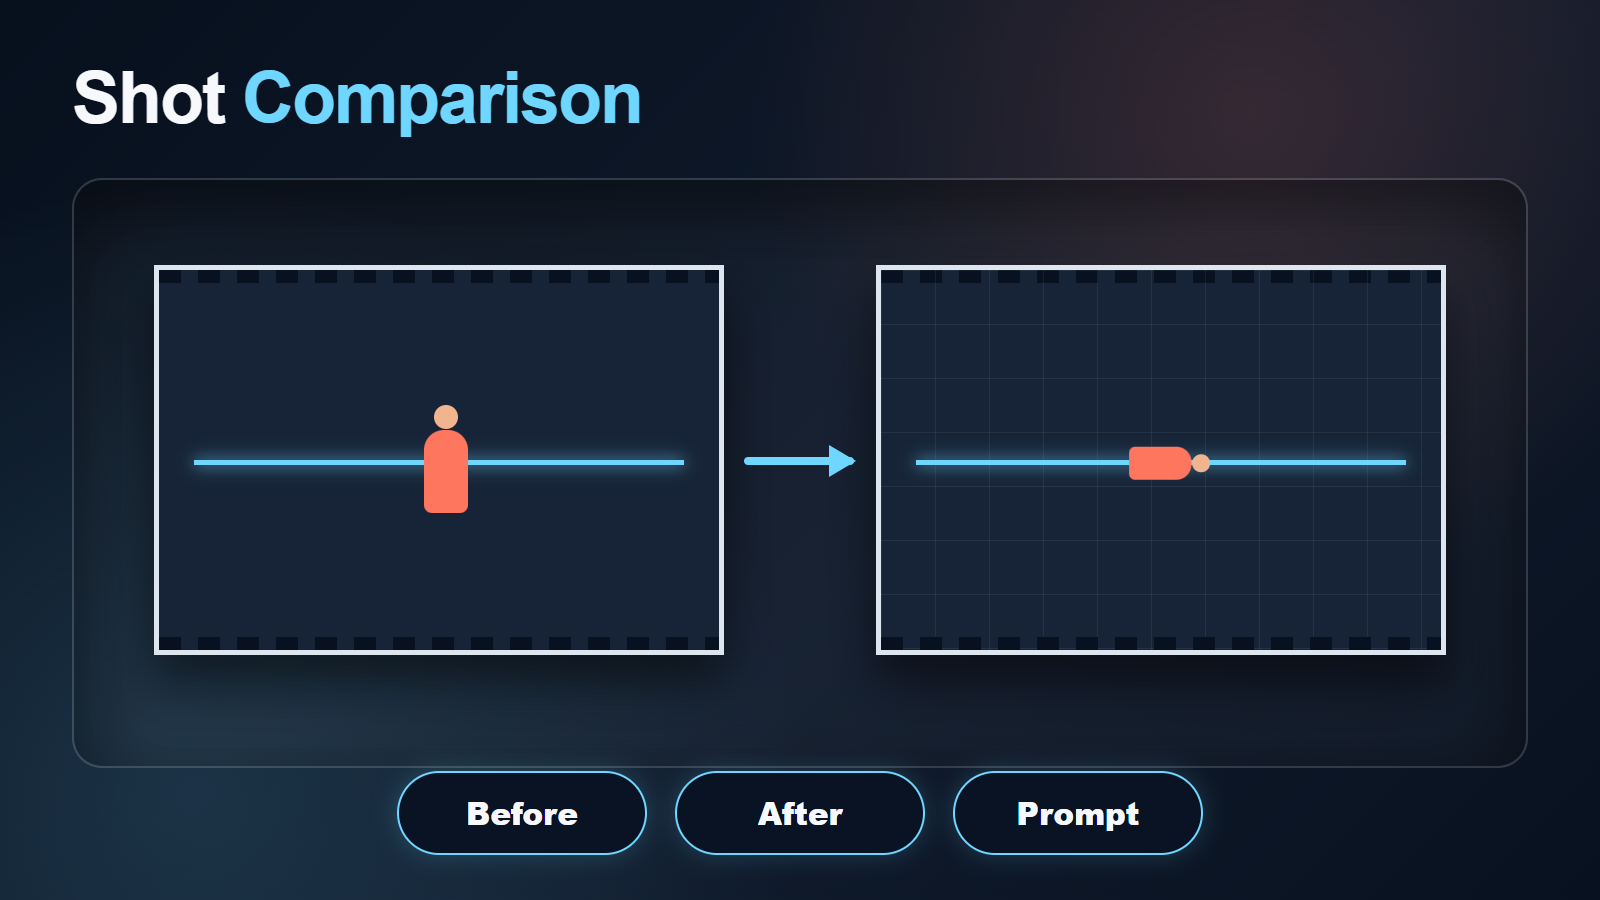
Make a before/after acceptance comparison. The “before” can be a high three-quarter view; the “after” should reveal top surfaces, reduce side planes, and make floor or table geometry dominant. Reject an output that only rotates the room or makes the subject lie down while leaving the camera at eye level.
Overhead Lens, Aperture, and Motion
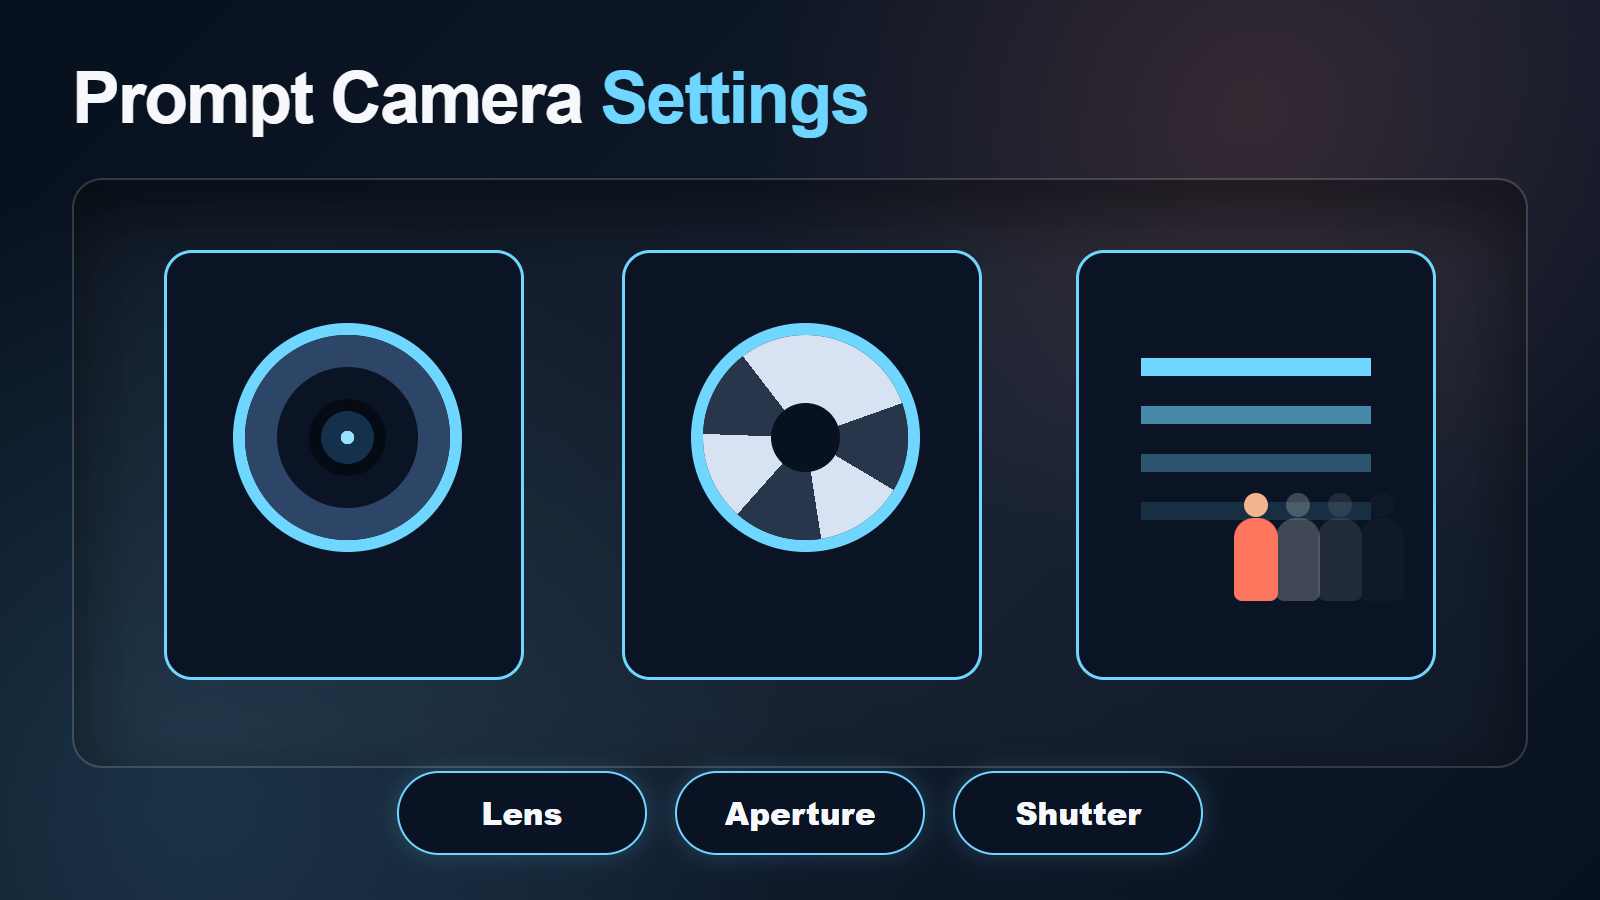
A moderate lens look usually keeps the plan readable without extreme edge stretching. A very wide look can include more area but may enlarge objects near the edges and bend straight lines. A longer look requires more virtual height and can flatten the layout cleanly.
Overhead Starting Settings
| Control | Starting target | Visible goal |
|---|---|---|
| Optical axis | Near 90 degrees down | True top view with minimal side planes |
| Lens look | 35–50 mm | Readable layout with restrained edge distortion |
| Aperture look | f/4–f/8 | Multiple objects remain legible |
| Frame rate | 24 fps | Standard cinematic cadence |
| Shutter look | 180 degrees | Natural hand and object motion blur |
| Movement | Locked or slow vertical rise | Stable floor geometry |
These are visual targets unless the tool documents real camera parameters. Review line straightness, scale across the frame, depth of field, motion blur, shadow direction, and edge behavior. For instructional content, a deeper focus look often works better than strong blur because multiple objects carry meaning.
Overhead Prompt Formula
Order the prompt as layout, subject, action, camera geometry, movement, lens/exposure look, lighting, and continuity constraints. The layout comes first because it is the shot’s main information.
Copyable Overhead Template
True overhead [shot size] of [subject and exact layout] in [fixed environment].
Action: [one readable action across the plane].
Camera: directly above, optical axis straight down, neutral roll.
Movement: [locked, slow vertical rise, or one short planar track].
Lens look: [focal length]. Exposure look: [aperture], [shutter], [frame rate].
Lighting: [soft direction and shadow design].
Preserve subject identity, object count, spacing, floor/table lines, colors, and shadow direction.
No side view, tilted horizon, new props, fused hands, layout drift, or unintended orbit.
Worked Overhead Prompt
“True overhead shot of the same ceramic artist at a square pale-wood table: blue bowl centered, three tools aligned on the right, folded cloth at the upper left. Both hands shape one clay coil around the bowl. Camera directly above the table, optical axis straight down, neutral roll; locked frame, natural 45 mm look, f/5.6 depth-of-field look, 180-degree shutter motion at 24 fps. Large soft key from frame-left, gentle fill, clean soft shadows. Preserve hand count, sleeve color, bowl shape, tool order, table edges, and shadow direction. No side view, camera orbit, extra tools, fused fingers, sliding objects, or focus pumping.”
Overhead Model Workflow
Text descriptions can suggest overhead framing, while trajectory-conditioned research can make camera geometry more explicit. Capabilities are implementation-specific, so verify the exact repository, branch, weights, base-model license, and examples.
Verified Camera-Control Scope
- CamI2V and RealCam-I2V publish image-to-video camera-control checkpoints, trajectory examples, and evaluation code.
- UCPE documents camera motion plus intrinsics, distortion, pitch, and roll control with a Wan2.1-based research workflow.
- CameraCtrl uses camera trajectories represented by per-frame position and orientation.
- MotionCtrl addresses camera motion and object motion as separate controls.
None guarantees object count, exact prop positions, hands, face identity, voice, or lip sync. A camera path can be geometrically correct while the scene content drifts.
Overhead Production Steps
- Write the story purpose and required layout.
- Create a top-down diagram with frame boundaries and action path.
- Approve subject, wardrobe, props, floor/table, and light references.
- Generate the shot-specific first frame at delivery ratio.
- Use a locked camera for the first motion test.
- Review object count and position in the first, middle, and last frames.
- Add only one modest rise, descent, or track after the locked shot passes.
- Render final quality and keep the shortest stable section.
Overhead Continuity and Audio
Continuity failures are often spatial: props slide, limbs cross, shadows rotate, or floor lines bend. Maintain a layout bible with object count, order, distances, colors, and screen-relative direction. Face identity may be less visible from above, so hair, silhouette, wardrobe, gait, and props become stronger anchors.
Voice identity, speech synthesis, lip sync, and audio-driven motion remain separate. Overhead dialogue rarely shows mouth shapes clearly, but the production still needs authorized speech, consistent timing, and believable body rhythm. Keep consent and provenance for synthetic voices and finish sound after the visual clip passes.
Overhead Limitations and Fixes
Overhead Troubleshooting Table
| Failure | Likely cause | Fix |
|---|---|---|
| Looks merely high-angle | Optical axis not vertical | State directly above, straight down, no side view |
| Subject appears horizontal | Model rotates content instead of camera | Strengthen top-surface and floor references |
| Props multiply | Too many small repeated objects | Reduce object count and increase spacing |
| Hands fuse | Complex overlap and fine motion | Simplify action and separate hands visually |
| Table or floor bends | Long movement exposes undefined space | Use a wider environment plate and shorter move |
| Shadows rotate | Lighting direction is underspecified | Define one large key and preserve its direction |
| Edge objects stretch | Wide lens look | Use a moderate lens target and safer framing |
Overhead Review Checklist
- The optical axis reads as straight down.
- Top surfaces dominate and side planes are minimal.
- Subject identity, silhouette, wardrobe, and hand count remain stable.
- Object count, order, spacing, floor lines, and shadows do not drift.
- The action remains readable without relying on facial detail.
- Only the requested camera move occurs.
Edit AI videos here
Trim unstable frames, match overhead clips to supporting eye-level coverage, add authorized audio, captions, speed changes, and delivery exports at https://ai.alphatechnologies.vn. Keep each selected shot linked to its layout diagram, reference, prompt, model version, seed, and settings.
Overhead Final Recommendation
Design the layout before writing the prompt. Start with a locked, straight-down camera, a moderate lens look, deeper focus, and one simple action. Add motion only after object count, spacing, floor geometry, and shadows pass. Find more official-source AI video workflows and practical camera guides on Aikolhub.
Overhead FAQ
What is a true overhead shot?
It is a view from directly above with the optical axis pointing close to straight down, emphasizing top surfaces and plan geometry.
When should I use an overhead shot?
Use it when layout, choreography, process order, isolation, or graphic pattern matters more than facial expression.
Which lens look is best overhead?
A 35–50 mm visual target is a practical baseline. It balances coverage with restrained edge distortion; adjust height to control framing.
How do I stop layout drift?
Use a shot-specific top-down reference, reduce small objects, lock the camera first, shorten duration, and review object positions across the clip.
Can overhead video include dialogue?
Yes, but audio and lip sync are separate stages. Use authorized clean speech and judge body rhythm even when mouths are not visible.
Official sources: CamI2V/RealCam-I2V, UCPE, CameraCtrl, and MotionCtrl.