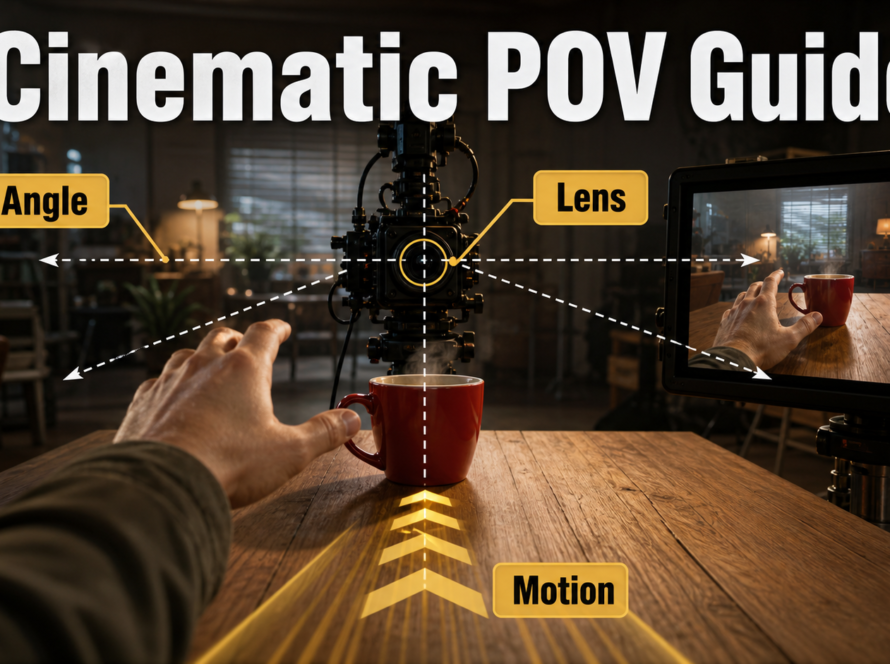
A convincing gimbal or Steadicam-style AI video shot follows a planned path with a level horizon, controlled camera height, stable subject distance, coherent parallax, and gentle acceleration. Stabilized does not mean motionless: retain subtle human movement while preventing random roll, framing jumps, rubbery backgrounds, and a subject that slides independently of the camera.
Updated August 6, 2026, this workflow separates real production language from generative control. Official CameraCtrl, CamI2V, RealCam-I2V, MotionCtrl, and UCPE research can accept camera trajectories or geometry, but prompt-only systems may treat “gimbal” or “Steadicam” as a visual suggestion. Approve the shot by observable movement, not the equipment word.
Table of Contents
What Gimbal and Steadicam Motion Means
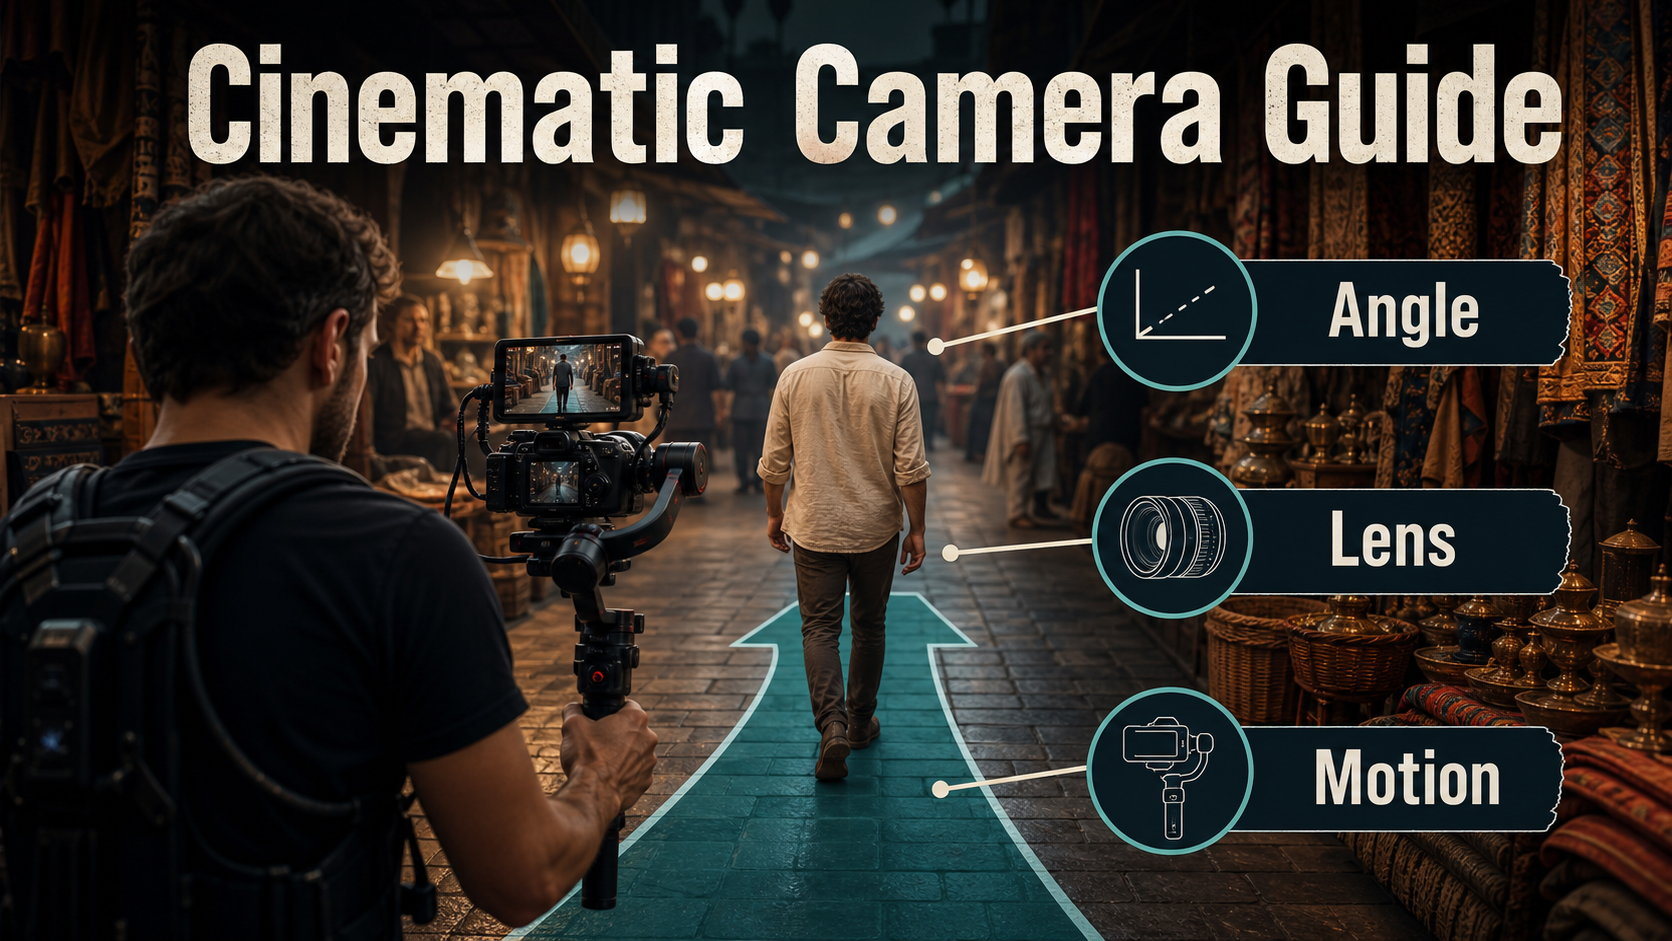
Both terms suggest a camera that travels with a person or through a location while unwanted rotation is reduced. The shot may follow from behind, lead from the front, move beside the subject, circle a mark, pass through a doorway, or connect rooms without a cut. For an AI prompt, define the actual relationship: camera path, camera orientation, height, subject speed, distance, screen position, and endpoint.
Visual and Emotional Meaning
A stabilized moving camera can make the viewer feel physically present with a character. A close follow creates urgency or intimacy; a wider lead shot lets performance and environment share attention. A slow passage through a workspace can feel observant and premium, while a faster chase can feel immediate without the disorientation of uncontrolled handheld shake.
Perfectly frictionless motion is not always desirable. A trace of human vertical rhythm can preserve scale and embodiment. The goal is intentional movement: the horizon, subject relationship, and path remain clear while small motion communicates that a person is carrying the camera.
Gimbal Versus Body-Mounted Stabilizer
A motorized three-axis gimbal actively corrects pan, tilt, and roll around its motors, but the operator must still manage footsteps, vertical displacement, focus, framing, cables, and acceleration. A Steadicam-style mechanical system uses a balanced sled, isolating arm, and vest to separate many operator movements from the camera. It also requires balance and practiced body control. Neither system automatically creates a straight path, constant distance, or good composition.
In generative video, the distinction often describes texture rather than a simulated rig. Use “motorized gimbal follow” for a very controlled, level move; use “body-mounted stabilized camera with subtle human float” when a slightly organic response is desired. Then state the path explicitly.
Plan Camera Position and Path
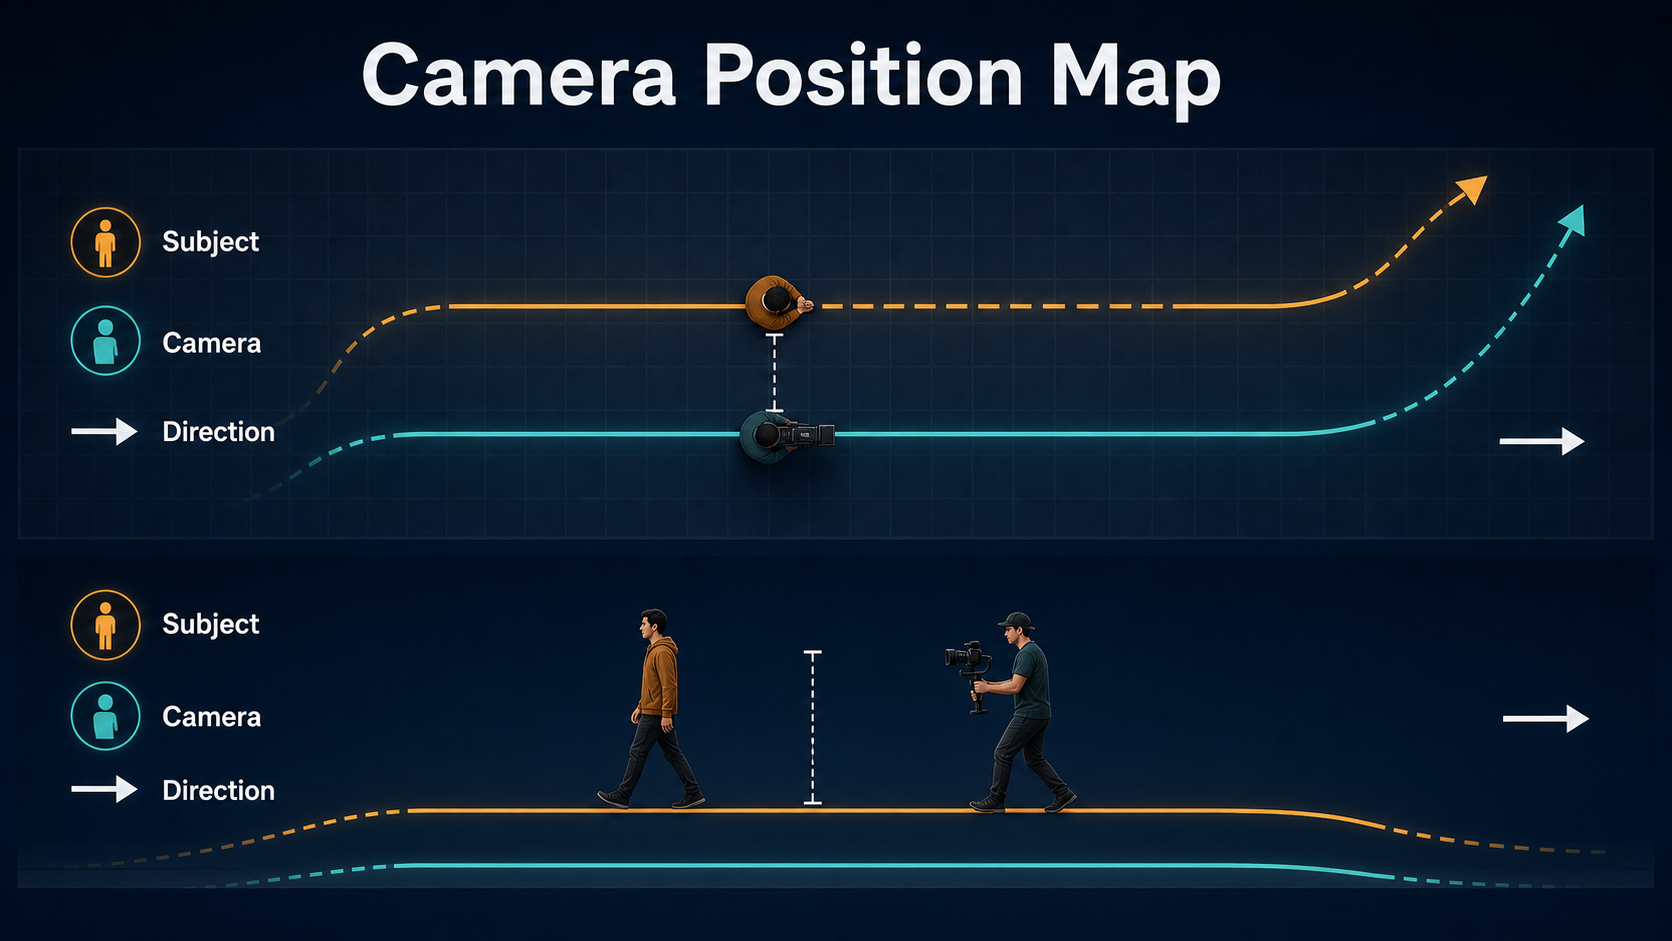
Draw the subject and camera together. A top view reveals screen direction, distance, turns, obstacles, foreground occlusions, and the optical axis. A side view reveals camera height, vertical bob, stairs, floor changes, eye line, and whether the operator must boom up or down during the move.
Map Follow, Lead, and Side Paths
- Follow: camera travels behind the subject at a fixed or deliberate changing distance.
- Lead: camera retreats while facing the approaching subject; keep a clear safe path and a defined endpoint.
- Side follow: camera travels parallel to the subject, creating strong lateral parallax.
- Three-quarter follow: camera path and aim reveal both face and destination.
- Pass-through: camera crosses a doorway or foreground wipe that can hide a transition or generation seam.
Choose one primary path for the diagnostic render. Combining a lead move, orbit, vertical rise, rack focus, and a turn in five seconds makes it hard to identify why the result failed.
Control Speed, Height, and Turns
Match camera speed to the subject if stable scale is required. If the camera lags, the subject grows or exits; if it overtakes, the subject shrinks or moves backward in frame. Specify a gentle start, steady middle, and gentle stop. Enter turns with a wide, readable arc rather than an instant direction change.
Keep camera height consistent through the first test. A waist-height follow emphasizes stride and environment; chest or eye height favors faces; a lower path feels energetic but increases foreground speed. On stairs, define whether the camera rises with the subject or stays level while the subject changes height.
Lens, Aperture, Shutter, and Frame Rate
Lens wording controls the desired field of view and perspective from the chosen path. Aperture wording controls the appearance of depth, while shutter and frame-rate wording control motion rendering. Stabilization cannot correct a lens choice that makes edge distortion or focus errors too obvious.
Choose Lens and Depth Behavior
| Choice | Useful starting point | Watch for |
|---|---|---|
| 24-28mm look | Immersive environmental travel | Stretched faces and fast edge motion |
| 35mm look | Balanced follow shot | Foreground occlusion and subject distance |
| 50mm look | Natural medium framing | Narrower operator path and focus demand |
| f/4-like depth | Readable subject plus environment | Background remains coherent |
| Continuous focus | Changing distance | No pumping or accidental background lock |
A very wide lens magnifies small height changes and bends people near frame edges. A long lens magnifies rotational error and makes a backward lead path harder. A 35mm-like perspective with moderate depth is a practical test because it shows both subject and spatial behavior.
Preserve Natural Temporal Motion
Start at 24 fps with a 180-degree shutter look for familiar motion. A shorter shutter look makes steps and foreground edges crisper; a longer one adds smear. Motion blur should follow the direction and speed of visible movement. It should not appear as a general haze that hides a sliding subject or warped set.
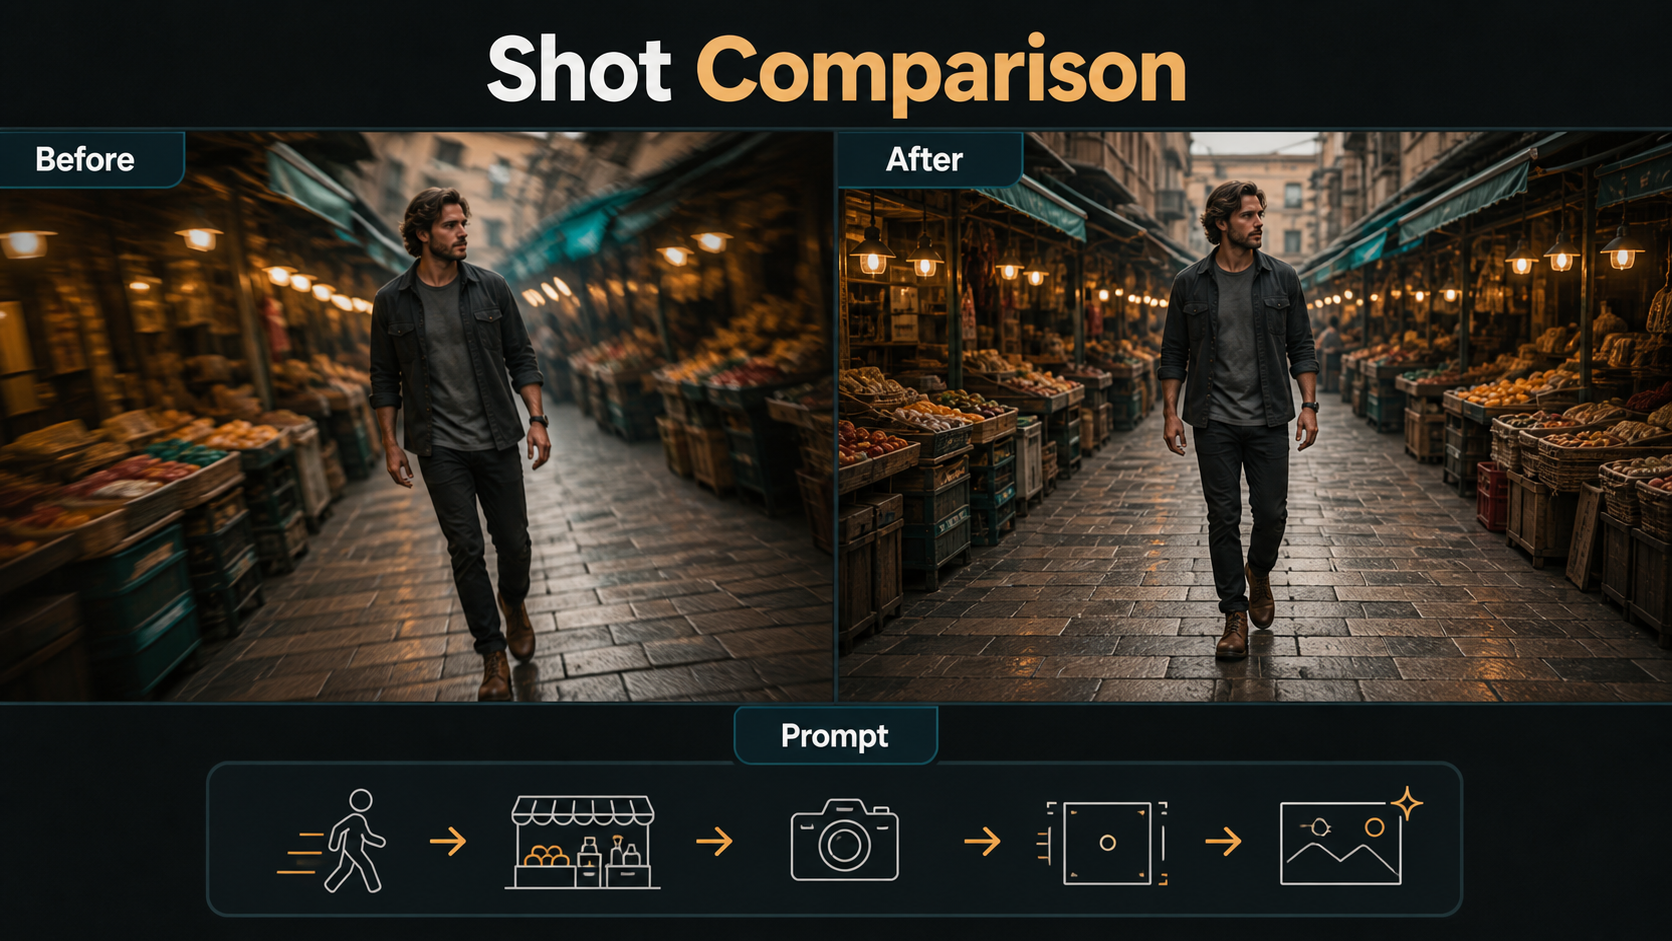
Reference Image Before-and-After Workflow
The opening reference establishes identity, wardrobe, environment, light, aspect ratio, and starting composition. It does not encode future camera speed, route, or unseen geometry, so pair it with a path diagram and an endpoint board.
Build the Opening Reference
- Use the final aspect ratio and intended opening shot size.
- Show a readable floor, horizon, and depth layers.
- Leave travel space in front of the subject and safe margins around limbs.
- Separate hair, clothing, hands, and props from the background.
- Avoid mirrors, dense crowds, tiny signs, and repeating shelves in the first test.
- Match key-light direction and color across start and endpoint boards.
Evaluate Before and After Correctly
Compare the same subject, set, duration, prompt, checkpoint, seed when possible, and intended path. Review at normal speed, half speed, and frame by frame. A successful result keeps the horizon intentionally level, maintains subject size and screen position, produces coherent foreground and background parallax, preserves feet-ground contact, and ends on the planned composition.
Do not approve a result merely because high-frequency shake is absent. A smooth clip can still contain a rubbery wall, sliding feet, pulsating lens perspective, invisible cuts, or a camera that rotates from one point rather than travels.
Prompt Templates and Model Workflow
Gimbal and Steadicam Prompt Templates
GIMBAL FOLLOW SHOT
[Shot size] of [same subject] walking through [specific location].
A motorized gimbal camera follows on a straight path at [height] and constant distance.
Keep the horizon level, subject at [screen position], and [lens] perspective stable.
Show coherent foreground and background parallax with gentle start and stop.
No orbit, zoom, random roll, framing jumps, or artificial slow motion.
ORGANIC STABILIZED LEAD
The camera moves backward ahead of [same subject] at matching walking speed.
Body-mounted stabilized movement with subtle natural human float, not handheld shake.
Maintain [distance], [shot size], [lens look], continuous focus, and [light direction].
End at [specific mark and composition] with a smooth deceleration.Example: “Medium three-quarter follow of the same florist in a blue apron walking through the covered market. A motorized gimbal camera follows at chest height on a straight path, two meters behind, matching her pace. Natural 35mm perspective, moderate f/4 depth, level horizon, continuous focus, coherent stalls and shoppers, gentle start and stop. No orbit, zoom, random roll, speed ramp, or wardrobe change.”
Verified Camera-Control Options
The official CameraCtrl repository conditions video diffusion with camera positions and orientations and provides trajectory preparation. CamI2V publishes camera-controlled image-to-video research checkpoints; its technical paper describes epipolar attention for cross-frame geometry. The related RealCam-I2V repository explores real-world and metric-scale paths. UCPE adds controls for intrinsics, distortion, pitch, and roll, while MotionCtrl separates camera and object motion conditions.
Check the selected code, base model, checkpoints, resolution, hardware, and license. Explicit paths are stronger than prompt words, but they still cannot recover every hidden wall, face angle, or occluded limb from one reference.
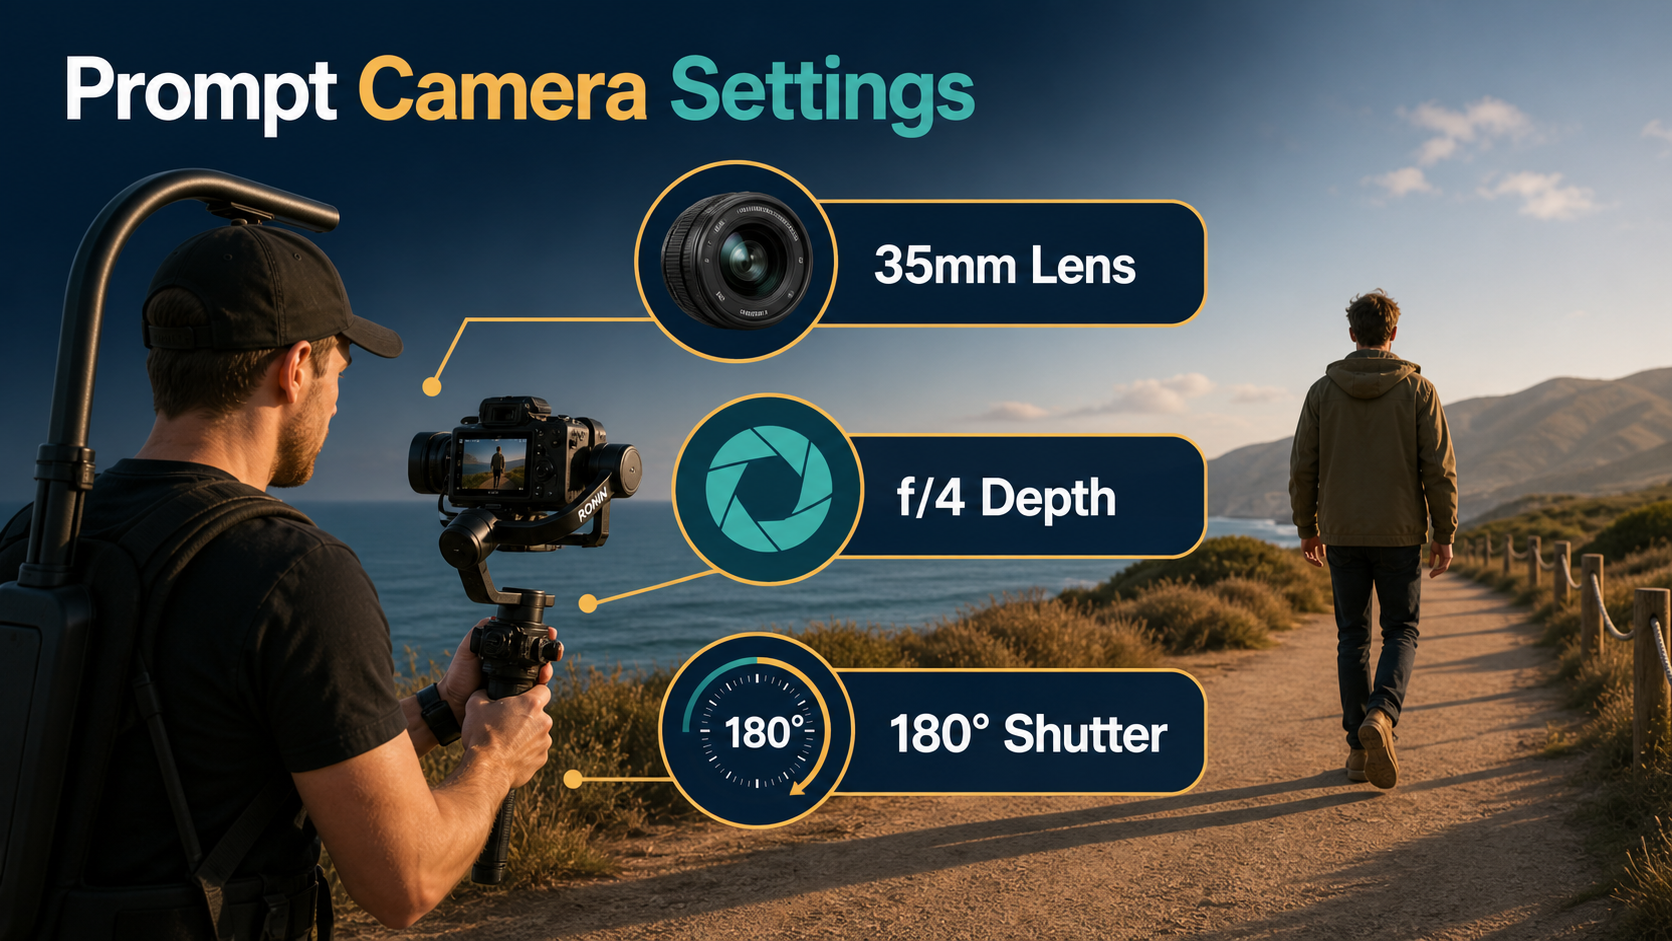
Practical Settings and Shot Checklist
| Control | Diagnostic starting point | Acceptance check |
|---|---|---|
| Path | Straight follow, short distance | No drift into orbit or static pan |
| Speed | Normal walk, matched camera pace | Subject scale stays intentional |
| Height | Chest or eye level | No random vertical bounce |
| Lens | 35mm-like perspective | Face and edges remain natural |
| Depth | Moderate f/4-like look | Subject and path remain readable |
| Motion | 24 fps, 180-degree shutter look | Blur follows actual movement |
| Duration | Short preview | Start and endpoint both pass |
Repeatable Generation Process
- Write the story purpose, path type, start frame, and endpoint.
- Map camera and subject positions in top and side views.
- Choose camera height, distance, speed, lens, depth, focus, and shutter look.
- Create opening and endpoint references at delivery aspect ratio.
- Use one dominant prompt move or load a supported trajectory.
- Render a short preview with simple action and a recorded seed.
- Review horizon, framing, scale, feet, occlusions, parallax, identity, focus, and geometry.
- Change only path, speed, reference, prompt clause, or one render control.
- Add turns, gestures, crowds, or longer duration after the base move passes.
- Cut the accepted shot next to neighboring material before final export.
Limitations and Troubleshooting
A moving viewpoint reveals unseen surfaces and makes temporal errors obvious. Models may remove shake while bending walls, lock the camera and slide the subject, turn a follow into a zoom, or confuse operator motion with subject motion. Post stabilization can crop and smooth rotation, but it cannot reconstruct consistently broken content.
Common Failures and Fixes
| Failure | Diagnosis | Fix |
|---|---|---|
| Subject slides through the set | Object motion replaced camera travel | State both paths and add depth layers |
| Horizon slowly rolls | Orientation is underconstrained | Request level roll or use explicit orientation control |
| Vertical bob is excessive | “Walking camera” interpreted as handheld | Specify stabilized height with only subtle human float |
| Movement feels robotic | Zero easing and perfectly linear speed | Add gentle acceleration, deceleration, and restrained organic motion |
| Camera orbits the subject | Path and aim are ambiguous | Specify straight follow and constant relative angle |
| Background melts at turns | Turn radius is too tight | Use a wider arc, simpler set, or shorter clip |
| Face changes during follow | Small face, occlusion, or compound action | Use a sharper reference and reduce simultaneous motion |
| Post stabilization warps edges | Source geometry is already inconsistent | Regenerate the source instead of increasing stabilization |
Edit AI videos here
Trim bad starts, hide a doorway seam, match screen direction, stabilize lightly when the source is sound, mix footsteps and location tone, add captions, and export platform versions at https://ai.alphatechnologies.vn. Preserve some natural motion when it supports the point of view.
Final Recommendation
Design stabilized motion as a relationship between camera, subject, and space. Use one short path, moderate lens and depth, fixed evaluation criteria, and a matching endpoint. Explore more practical AI-video guides on Aikolhub, and approve coherent geometry and intentional human movement instead of judging smoothness alone.
Frequently Asked Questions
What is the difference between gimbal and Steadicam motion?
A gimbal uses motors to stabilize rotation. A Steadicam-style system uses a balanced sled, arm, and vest. Both still depend on operator path, height, focus, and framing.
What lens is best for a stabilized follow shot?
A 35mm-like perspective is a strong starting point because it shows environment and subject without the most extreme wide-angle distortion.
Should a gimbal shot have zero bob?
Not necessarily. Unwanted bounce should be controlled, but subtle human vertical rhythm can make the shot feel embodied rather than mechanically floating.
Can a reference image define camera speed?
No. It anchors appearance and composition. Speed, path, easing, and endpoint need prompt, trajectory, or workflow controls.
Does AI stabilization fix broken geometry?
No. Stabilization can reduce rotation and crop movement, but warped people, walls, props, or parallax usually require a new generation.
Official sources: CamI2V repository; RealCam-I2V repository; CameraCtrl repository; UCPE repository; MotionCtrl repository; CamI2V technical paper.