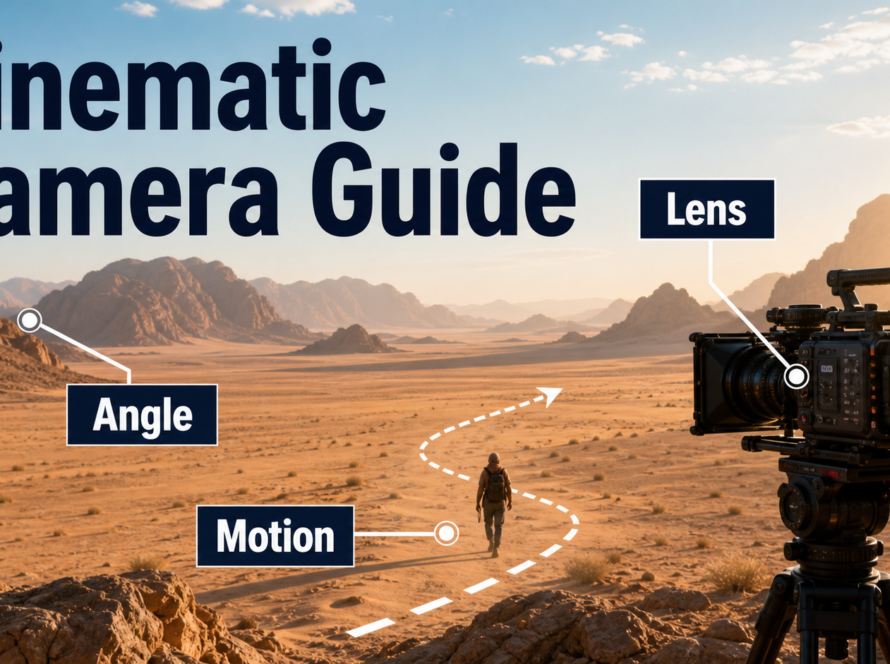
An effective extreme close-ups AI video prompt tells the model exactly which detail fills the frame, where focus must sit, how the camera moves, and what must remain unchanged. Use the shot to reveal a tiny emotional or physical detail—an eye tightening, a fingertip touching a switch, or condensation moving on a product—not merely to make the subject larger.
This guide was updated on July 22, 2026. Official camera-control repositories were checked immediately before writing; their capabilities are identified separately from ordinary prompt language and from consistency or audio systems.
Table of Contents
What an extreme close-up means
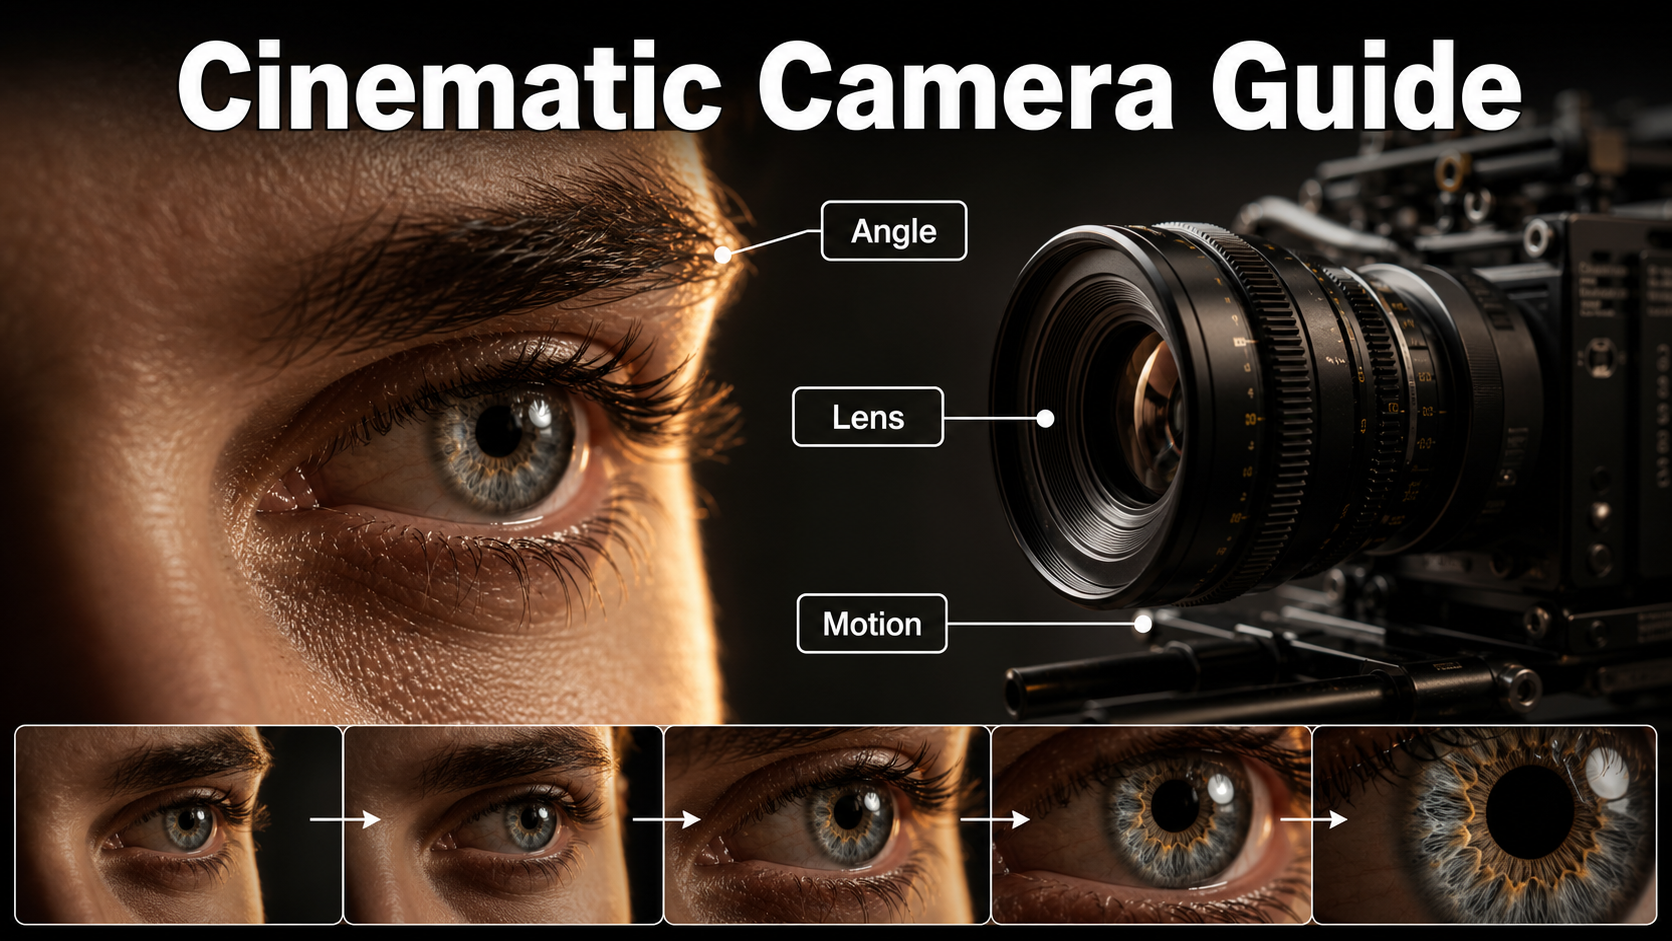
An extreme close-up isolates a detail smaller than a normal close-up: one eye, the lips, a ring turning, a trigger finger, fabric stitching, or a product mechanism. Its cinematic meaning comes from forced attention. The viewer cannot comfortably inspect the wider scene, so the selected detail carries the story.
When the shot works
Use it for revelation, pressure, intimacy, sensory texture, or a decisive action. A pupil reacting to an off-screen event can communicate fear; a drop of water sliding across a bottle can communicate temperature; a thumb hovering above a send button can communicate hesitation. The surrounding wide and medium shots should establish context before the detail appears.
When it feels excessive
The shot becomes empty when it has no narrative target, lasts too long, or follows another close shot without a change in meaning. AI generators may also treat “extreme close-up” as a generic beauty portrait. Name the exact feature and crop boundaries to prevent that fallback.
Camera placement and composition
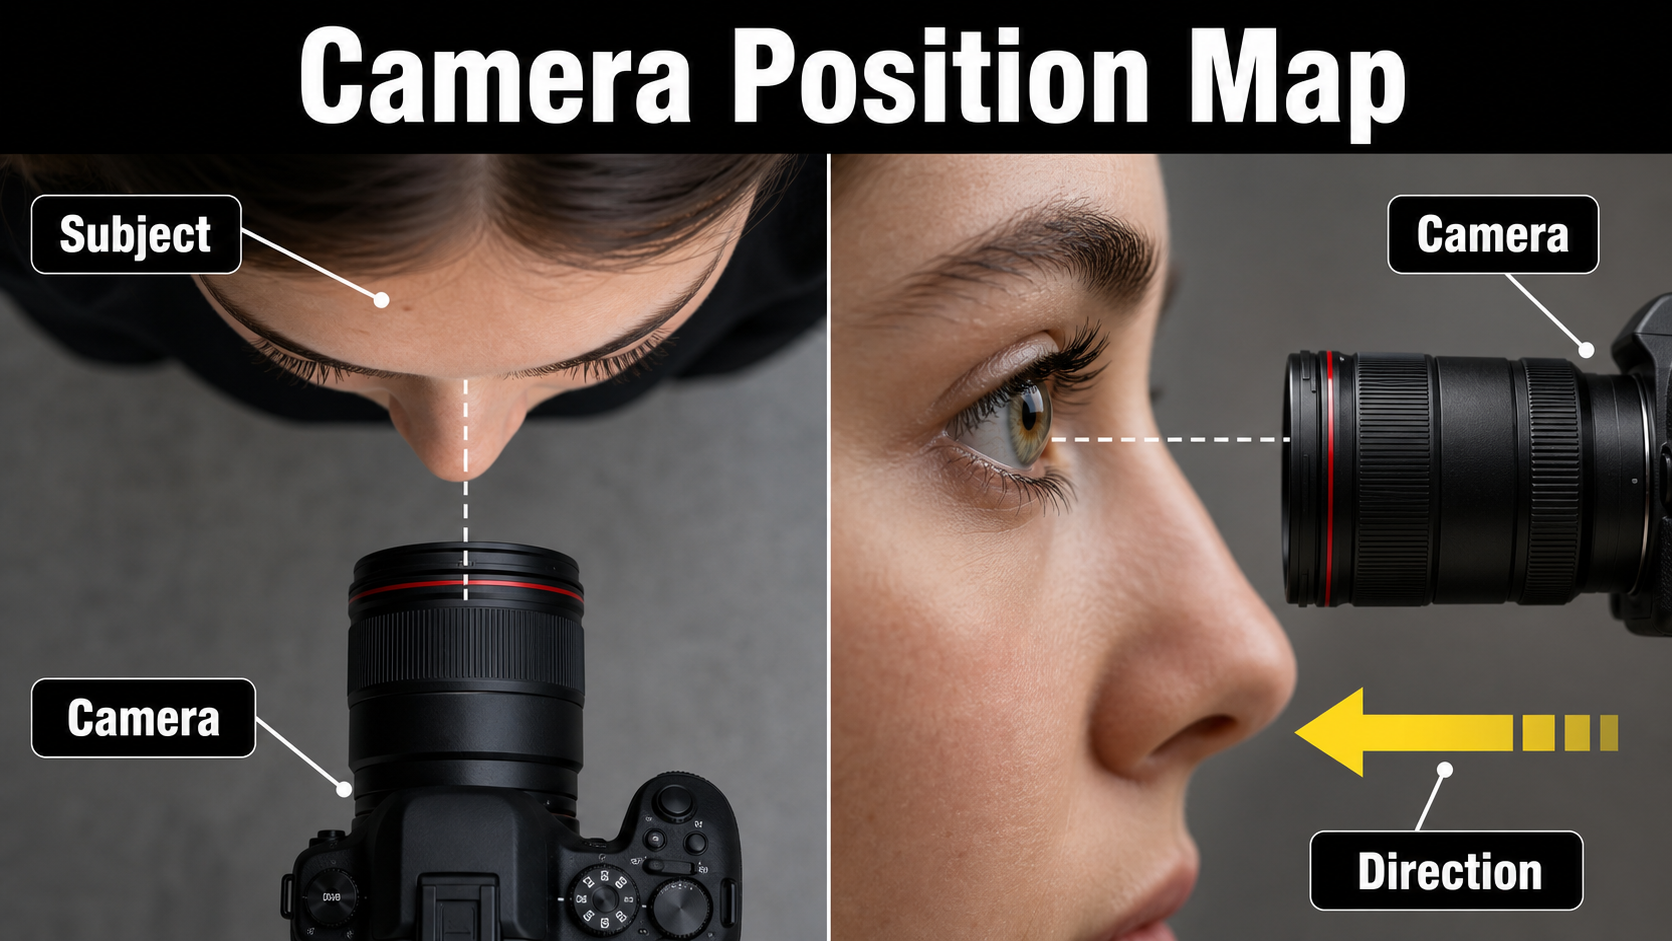
Describe placement as a relationship: the camera faces the subject at eye level, the eye occupies most of the frame, and the bridge of the nose exits frame right. This is more actionable than stacking adjectives such as “epic, cinematic, ultra-detailed.”
Choose one visual anchor
Select one critical plane of focus. For a face, it may be the near iris or the lip edge. For a product, it may be the engraved control or a bead of condensation. State what can fall soft and what must stay sharp. Leave a little breathing room in the movement direction so a micro push-in does not immediately crop away the anchor.
Control angle and movement
Eye-level placement feels direct; a slight low angle adds dominance; an oblique angle emphasizes texture and depth. Keep movement restrained: locked camera, millimeter-scale push-in, slow lateral slide, or a tiny rack focus. A large orbit at this distance can reveal invented facial geometry and unstable backgrounds.
Lens, aperture, and motion settings
Camera values in a prompt are visual instructions, not guaranteed physical simulation. Use them consistently so the model receives a coherent request.
Focal length and lens behavior
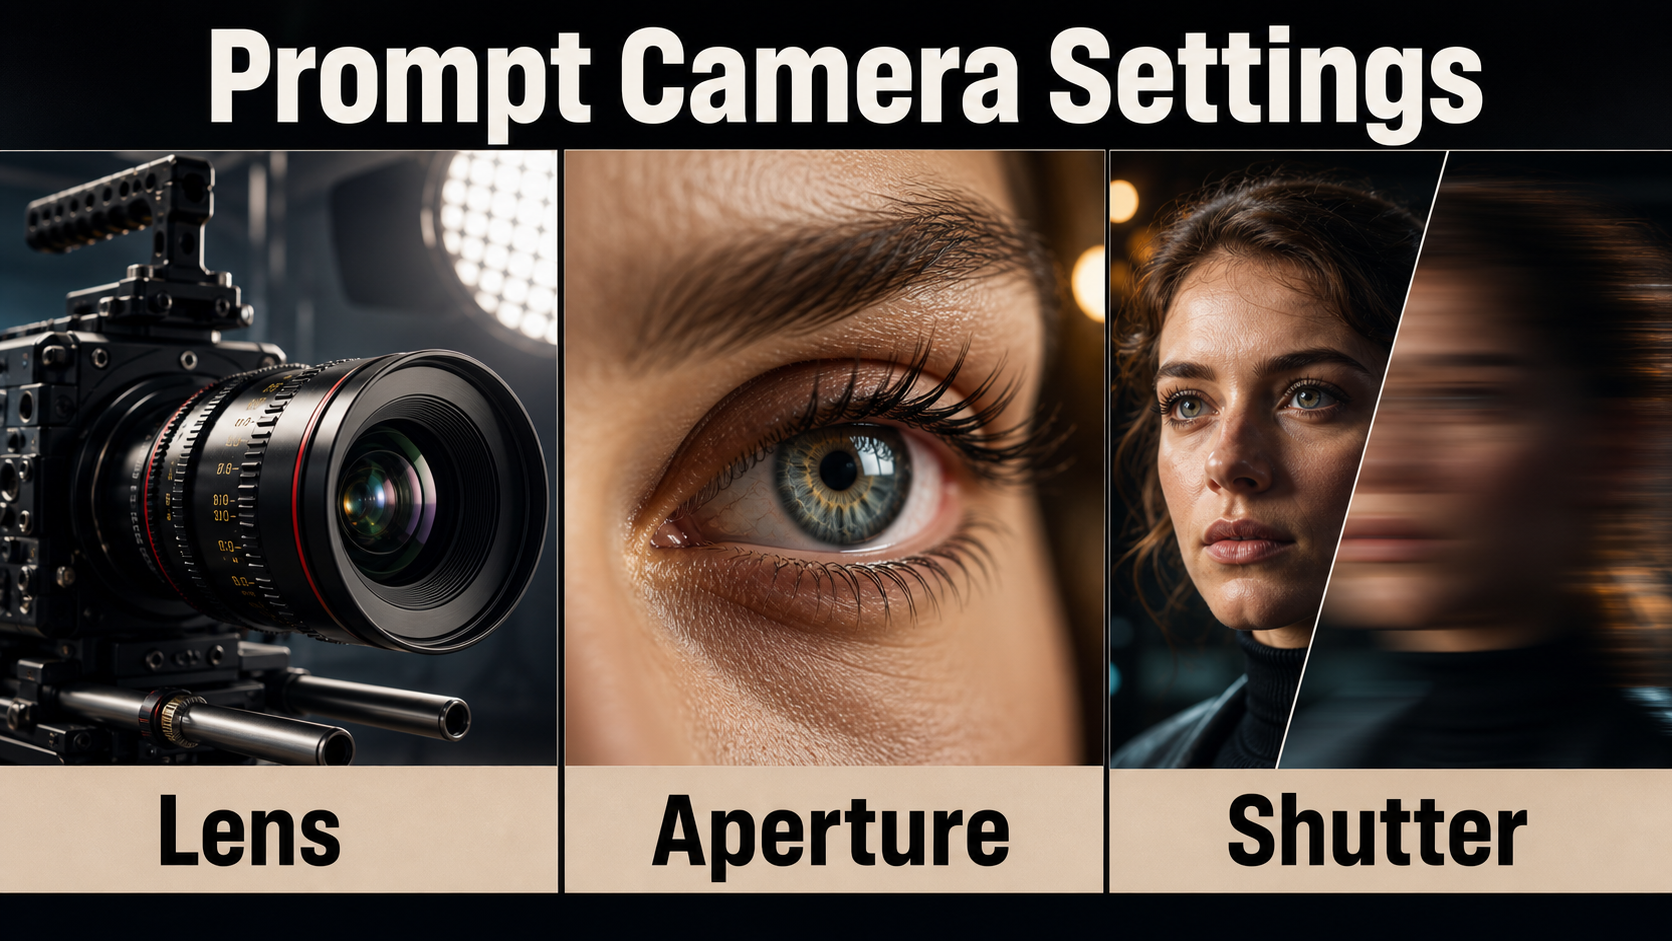
A 85–135mm portrait or macro-style description usually suggests compressed perspective and controlled facial proportions. A 35mm lens placed extremely close suggests stronger perspective, a larger near feature, and more edge distortion. Use “minimal breathing” if the focus changes but framing should remain steady; use “subtle optical breathing” only when that imperfection is intentional.
Aperture, focus, and lighting
Very shallow depth of field can look luxurious but causes eyelashes, jewelry, or product edges to swim in and out of focus. Prompt f/2.8–f/4 as a practical starting look, then identify the focus plane. Use a large soft key for skin, negative fill for shape, and a controlled catchlight. Product details may need harder grazing light to reveal texture.
Shutter angle and frame rate
At 24 fps, a 180-degree shutter is the familiar motion-blur baseline. A 90-degree description implies crisper, tenser movement; a 270-degree description implies more smear. For slow motion, ask for 48 or 60 fps capture interpreted at 24 fps, but remember that a generator may imitate the look rather than perform literal capture physics.
Extreme close-up AI video prompt formula
Write the prompt in layers: subject detail, crop, angle, lens behavior, focus, action, camera movement, light, timing, continuity, and exclusions.
General prompt template
Extreme close-up of [exact detail], filling [frame area].
Camera at [angle/height], [focal-length or macro look].
Focus locked on [anchor]; [foreground/background] falls softly out of focus.
[One small subject action]. [One restrained camera movement].
[Lighting direction, quality, and color].
24 fps, 180-degree shutter look, [duration].
Preserve [identity/wardrobe/prop/environment details].
No reframing, face morphing, focus pulsing, extra objects, or text.
Three practical examples
Emotion: “Extreme close-up of the actor’s left eye filling two-thirds of frame, eye-level 100mm macro look, focus locked on the iris, one slow blink, almost imperceptible push-in, cool window key and warm catchlight, 24 fps, preserve eyebrow shape and skin texture, no eye-color shift or face morphing.”
Product: “Extreme close-up of a thumb rotating the knurled metal dial on the same black camera, 90mm macro look, dial engraving sharp, slow quarter turn, locked camera, hard grazing rim light, f/4 look, no logo changes, no extra fingers, no text mutation.”
Suspense: “Extreme close-up of lips drawing a quiet breath, lower face cropped above the chin and below the nose, slight side angle, 85mm compressed perspective, fixed focus on the lip edge, subtle handheld tension without translation, low-key tungsten light, no speech or lip-sync claim.”
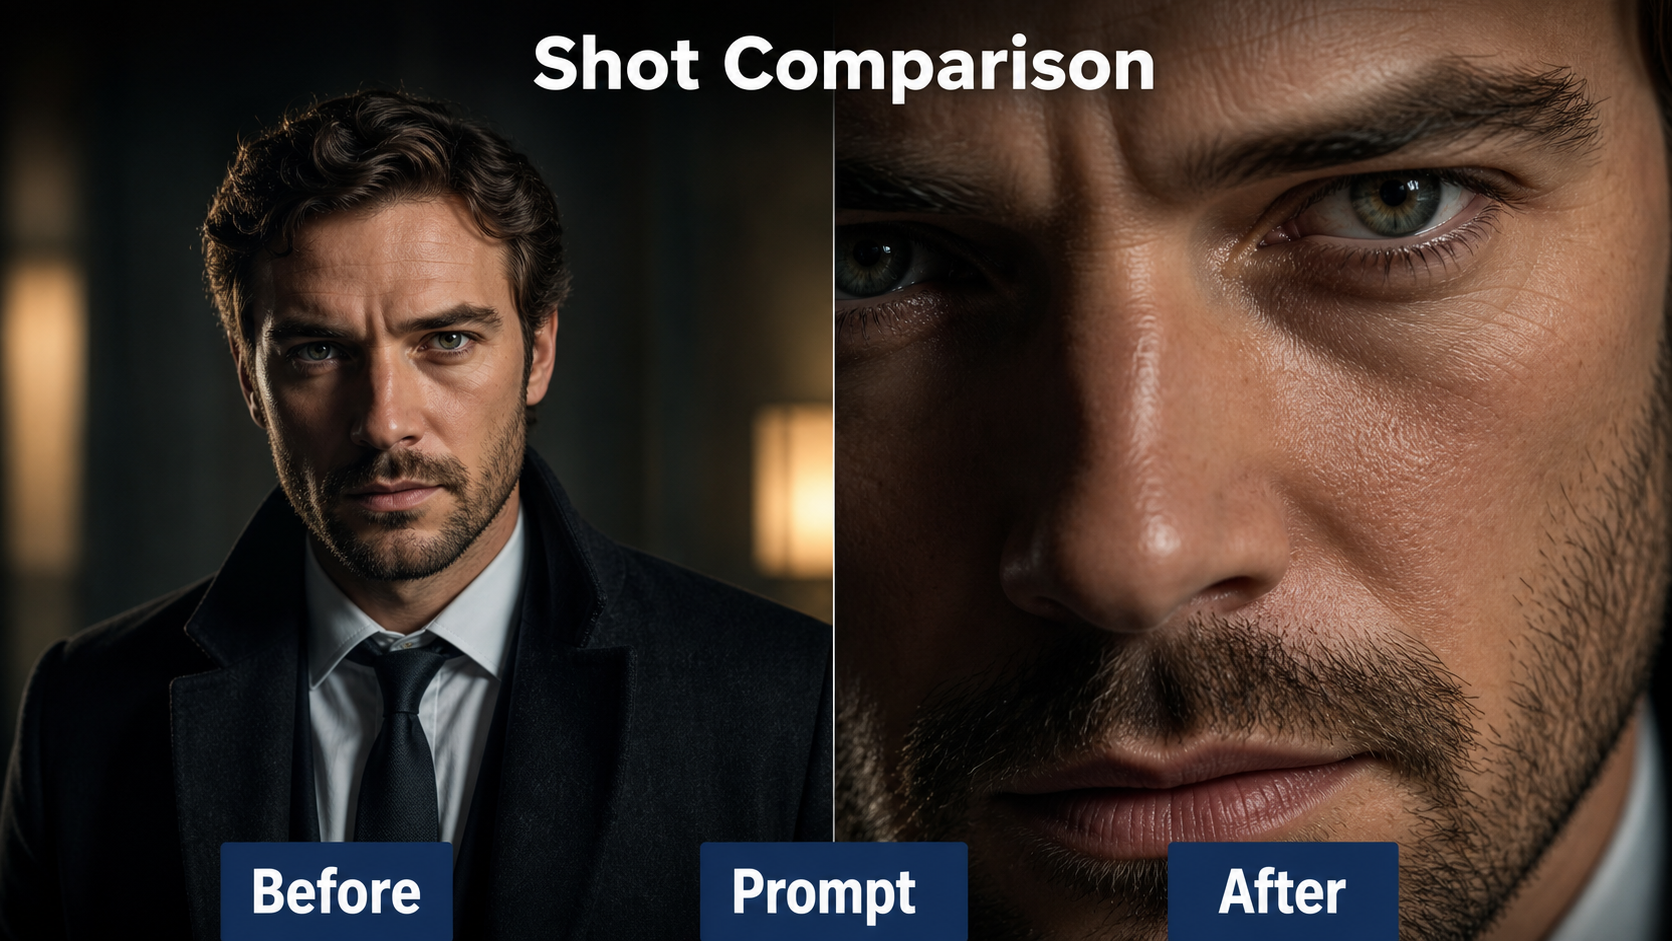
Reference image and context workflow
A reference image should already approximate the final crop. Asking a model to transform a wide portrait directly into an eye-filling frame forces it to invent pores, eyelashes, reflections, makeup boundaries, and off-frame geometry.
Build a reference pack
- Identity sheet: neutral front, three-quarter, and profile views in consistent light.
- Detail frame: a high-resolution crop of the exact eye, hand, prop, or texture.
- Wardrobe and prop sheet: stable colors, materials, fasteners, jewelry, and handedness.
- Environment frame: the room, light direction, background color, and practical lights.
- Shot card: crop boundary, camera side, focal anchor, movement, duration, and seed or workflow version.
Separate the consistency problems
Subject consistency keeps identity and anatomy recognizable. First-frame consistency keeps the opening close to the supplied image. Scene continuity preserves lighting, environment, props, wardrobe, and screen direction across edits. Voice identity is an audio-generation problem; speech synthesis creates spoken audio; lip sync aligns visible mouth motion; and audio-driven motion may animate the face or body from sound. A camera-control method does not automatically solve any of those audio tasks.
Official camera-control options
As checked on July 22, 2026, the cited repositories are research implementations, not a promise that every commercial AI video interface accepts identical controls.
What the repositories actually control
CameraCtrl conditions text-to-video generation on camera trajectories. CamI2V applies camera control to image-to-video and demonstrates rotations, translations, and zoom-like combinations; its repository also links the newer RealCam-I2V work. UCPE publishes code for camera motion plus intrinsics, lens distortion, pitch, and roll control. These repositories use MIT licenses for their code, but dependent model weights and datasets can carry separate terms.
Practical model workflow
- Create and approve the identity, prop, wardrobe, and environment references.
- Crop a dedicated first frame near the intended extreme close-up.
- Write one subject action and one camera action.
- Generate a short 2–4 second test with a fixed seed where supported.
- Review identity, anatomy, focus, crop, texture, lighting, and motion separately.
- Change one variable per test. Extend duration only after the short shot holds.
- Generate or edit voice separately, then perform lip sync only if visible speech is required.
Settings checklist
| Control | Safe starting instruction | Creative alternative | Main risk |
|---|---|---|---|
| Crop | One eye fills 60–70% of frame | Mouth or mechanical detail fills frame | Model returns a normal portrait |
| Lens look | 85–135mm macro/portrait | 35mm close perspective | Distortion or flattened depth |
| Aperture look | f/2.8–f/4 | Very shallow f/1.4 | Focus flicker |
| Movement | Locked or micro push-in | Slow lateral slide | Invented geometry |
| Frame rate | 24 fps | 48/60 fps slow-motion look | Uneven temporal detail |
| Shutter look | 180 degrees | 90 degrees for crisp tension | Stutter or excess blur |
| Duration | 2–4 seconds | Extend after validation | Identity drift over time |
Common failures and fixes
Identity and anatomy drift
If eye color, lashes, fingers, teeth, jewelry, or skin marks change, reduce duration and movement, use a tighter high-resolution reference, and repeat the immutable attributes. Do not ask for a blink, head turn, rack focus, and orbit in the same test.
Focus flicker and camera wobble
Name a single focus anchor, increase the apparent depth of field, remove rack focus, and choose a locked camera. If a trajectory-conditioned workflow is available, use a simple smooth path rather than relying on several conflicting motion phrases.
Continuity and audio mistakes
Maintain a shot bible with reference versions, seed, crop, camera side, light direction, and prop state. For dialogue, lock the approved voice before lip sync. If the shot only shows an eye or hand, do not run unnecessary lip-sync processing. If sound drives facial or body motion, treat that as audio-driven animation and inspect whether it changes the framing.
Edit AI videos here
After generating the shot, trim its entry and exit, match color and grain, stabilize only when necessary, and place it against a wider shot that gives it meaning. You can edit AI videos here to assemble generated clips, voice, music, captions, and exports into a publishable sequence.
Conclusion
The best extreme close-up is specific and brief. Define the exact detail, crop, focus plane, lens behavior, small action, restrained movement, and continuity locks. Use camera-control research when your workflow genuinely supports trajectories or intrinsics, but keep identity, scene continuity, voice, speech, lip sync, and audio-driven motion as separate checks.
Explore Aikolhub for more practical AI video workflows, then test your shot as a two-second proof before spending time on a full sequence.
FAQ
What is an extreme close-up in AI video?
It is a shot where one small subject detail—such as an eye, lips, fingertip, or product control—dominates the frame to direct attention and meaning.
Which lens should I prompt?
Start with an 85–135mm portrait or macro look for controlled perspective. Use a wider lens only when stronger near-feature distortion is intentional.
How do I keep eyes consistent?
Supply a sharp detail reference, lock eye color and catchlight direction, shorten the clip, limit movement, and review each generated frame for anatomy drift.
Should the camera move?
Usually only slightly. A locked frame, micro push-in, or slow lateral slide is safer than a large orbit in an extreme close-up.
Does camera control fix lip sync?
No. Camera control changes viewpoint or trajectory. Lip sync aligns mouth shapes to speech and requires a separate compatible workflow.