A worm’s-eye AI video shot puts the camera almost on the floor and points it steeply upward, making nearby feet, props, architecture, and vertical lines dominate the perspective. The safest workflow builds that geometry in the reference image, keeps the camera far enough away to protect anatomy, and limits the shot to one action and one modest move. This guide was checked on July 26, 2026 against the official CamI2V/RealCam-I2V, UCPE, CameraCtrl, and MotionCtrl repositories.
Worm’s-eye framing is more extreme than an ordinary low angle. It can make a character or building feel monumental, threatening, heroic, comic, or surreal. Because the viewpoint reveals undersides, ceilings, sky, shoes, floor texture, and strong convergence, it also creates unusually difficult continuity problems.
Table of Contents
Worm’s-Eye Visual Meaning
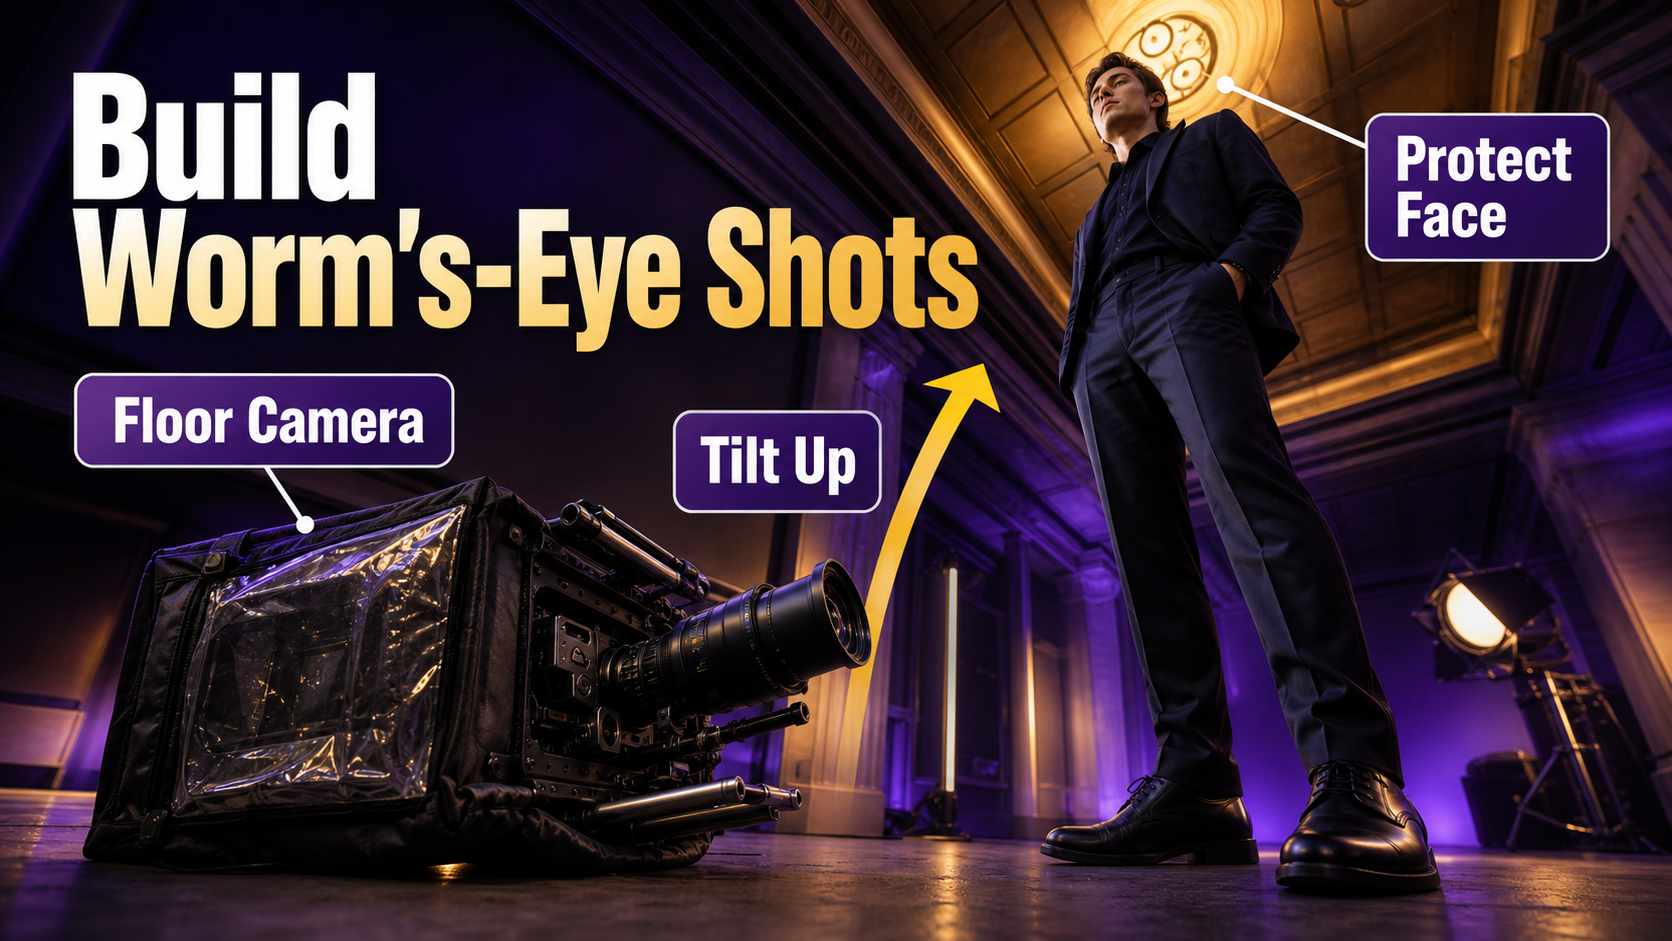
The camera occupies the lowest plausible viewpoint and looks upward. Vertical lines converge, the underside of objects becomes visible, and the nearest body part can grow dramatically. This can create scale and power, but it can also feel playful when used on a child, pet, shoe, or tiny product moving through an oversized environment.
Use the Extreme With Purpose
Reserve the angle for a reveal, entrance, threat, discovery, transformation, or deliberately exaggerated product moment. A single worm’s-eye shot gains meaning when contrasted with neutral coverage. If an entire sequence uses the same extreme perspective, distortion becomes normal and the dramatic effect fades.
Decide whose point of view the camera represents. Is the viewer on the ground, a fallen character looking up, a tiny creature, or an objective stylized observer? That story answer guides height, lens, eye line, performance, and sound.
Worm’s-Eye Versus Low Angle
A low-angle camera sits below the subject’s eye line. A worm’s-eye camera is at or near the floor and uses a much steeper upward view. State “camera five centimeters above the floor, steep upward pitch, floor foreground visible” when you need the extreme. Otherwise the model may return a conventional chest-height hero shot.
Floor-Level Camera Placement
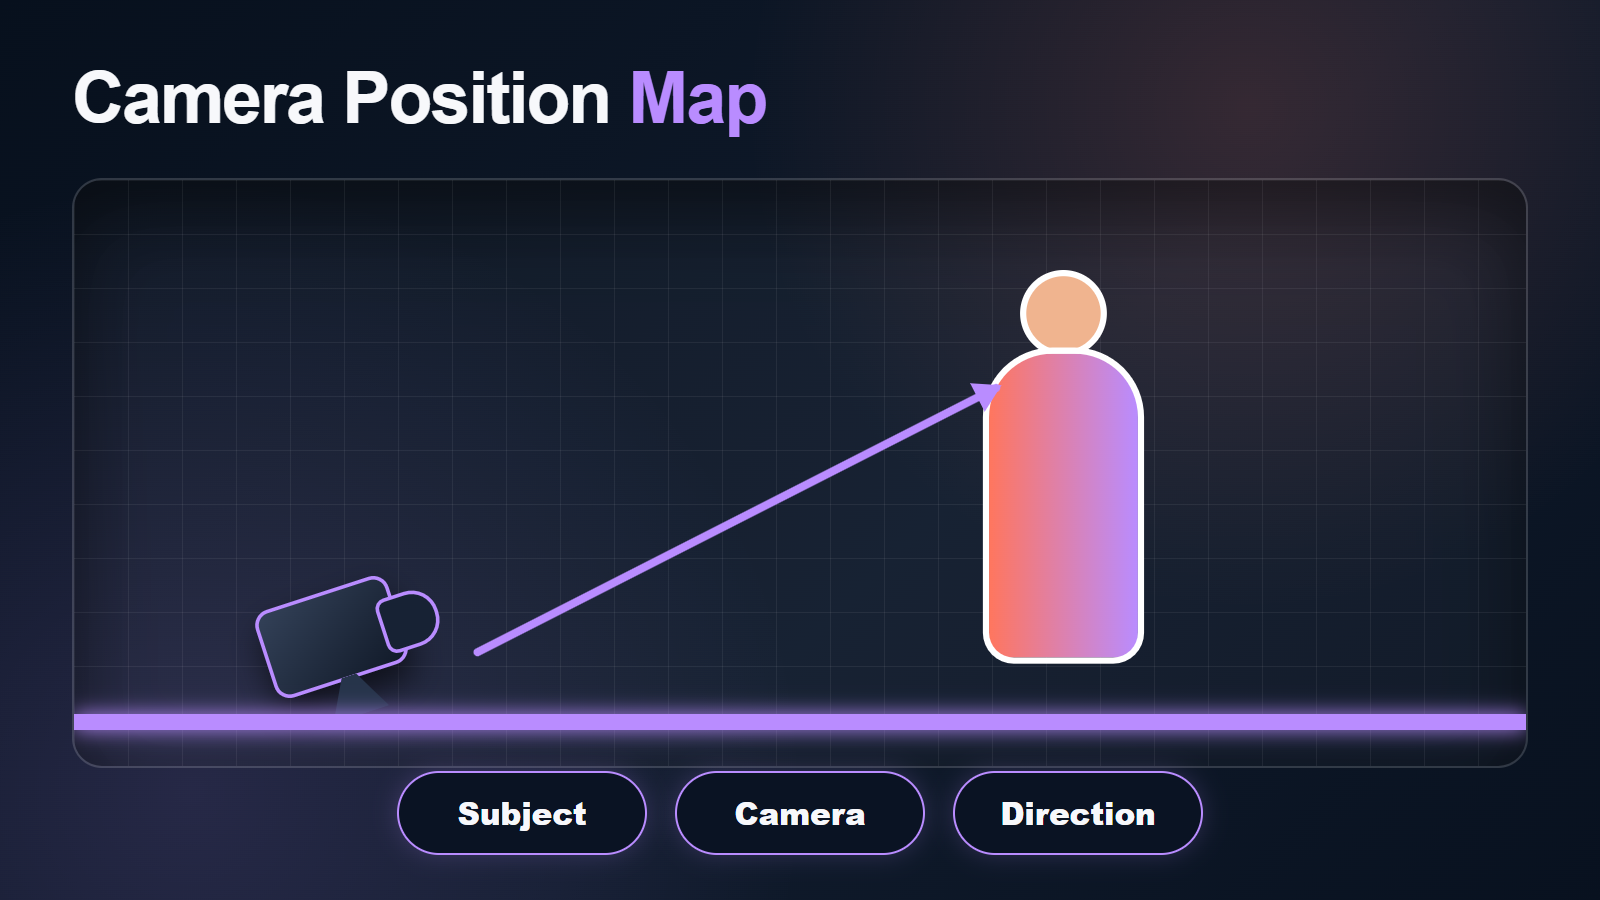
Plan position and safety as concrete geometry. In a real shoot, protect the camera and crew; in a generated shot, protect the subject’s body proportions and the set’s vertical structure. Camera distance is as important as height.
Map Distance, Pitch, and Clearance
- Place the camera close to the floor but several meters from a full-body subject.
- Set upward pitch toward the chest or face, not randomly toward the ceiling.
- Choose whether feet are foreground anchors or outside the crop.
- Mark ceiling, sky, roof, lamps, and vertical lines that will be revealed.
- Use a locked frame or one short rise, push, or tilt.
- Keep the action path away from the camera unless scale change is intentional.
A camera too close to a person can make shoes enormous, legs stretch, and the head shrink. Moving back while keeping floor-level height preserves the angle with less destructive foreshortening. For a product, close exaggeration may be desirable, but the label and silhouette still need to remain readable.
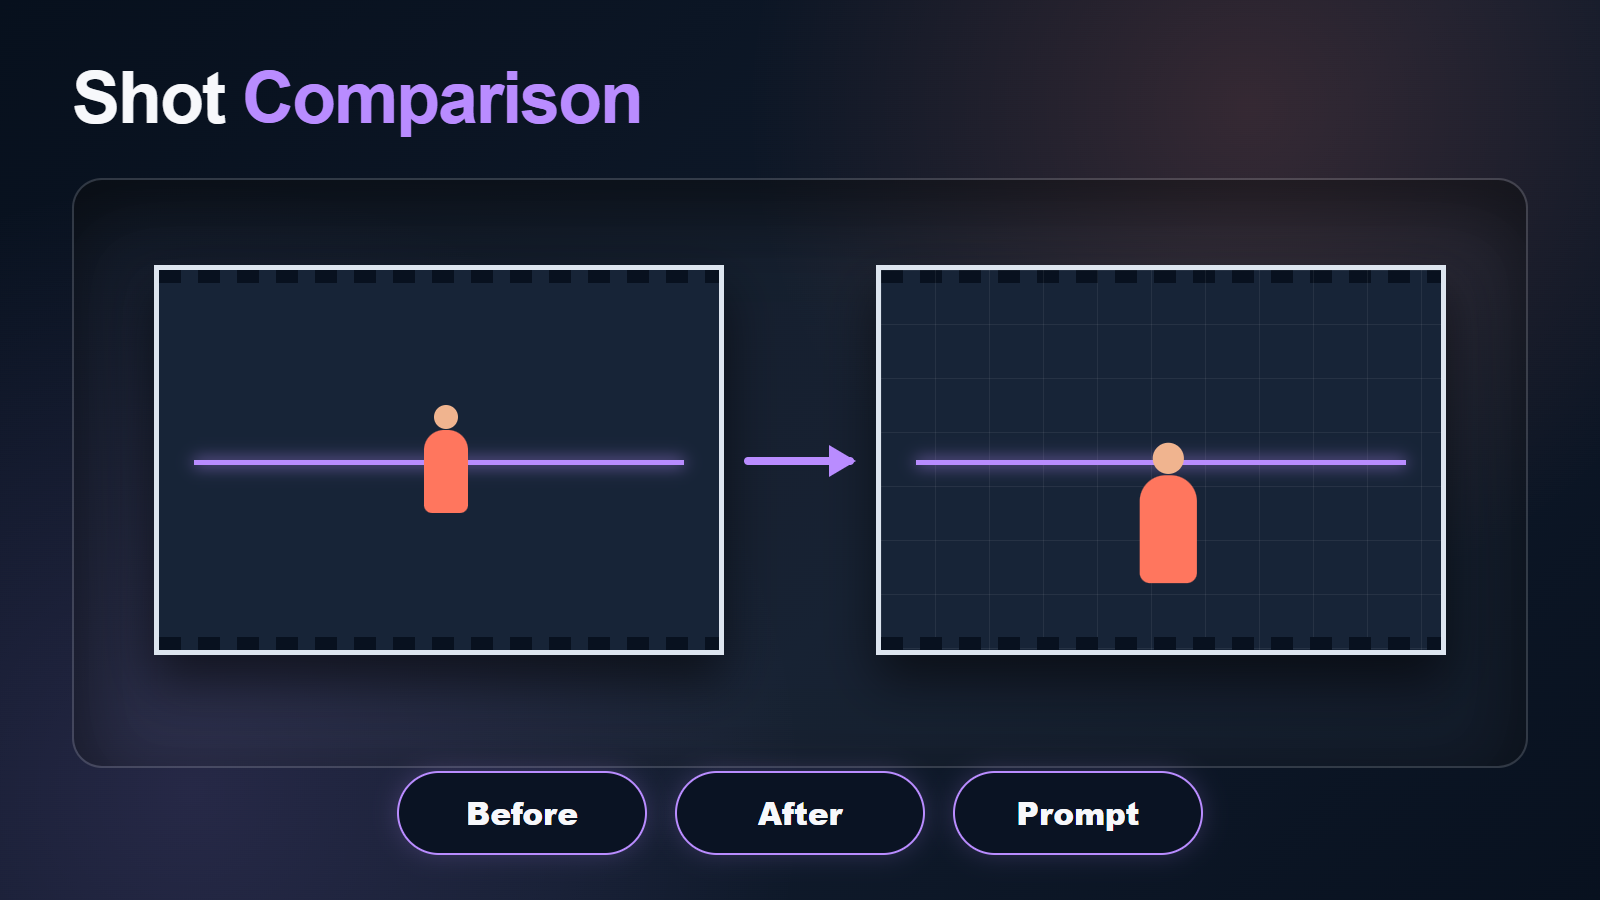
Build the Worm’s-Eye Reference
Use a first frame that already shows floor texture, the subject’s full silhouette, intended shoe or prop scale, face angle, ceiling or sky, and light direction. Add separate face, full-body, wardrobe, footwear, prop, and environment views to the continuity pack. The model must see what the extreme angle reveals.
A valid before/after comparison changes viewpoint, not merely color. The after frame should show a lower horizon, upward convergence, more ceiling or sky, and larger near forms. Reject results with a sideways room, leaning subject, or enlarged feet but an eye-level camera.
Lens, Aperture, Shutter, and Light
Wide lenses amplify the worm’s-eye effect but increase anatomy and edge distortion. Moderate lenses require more distance and create a calmer monumental result. Long lenses can preserve proportions but may weaken the immersive ground-level feeling.
Worm’s-Eye Starting Settings
| Control | Starting target | Visible goal |
|---|---|---|
| Camera height | 5–15 cm above floor | Unmistakable ground-level viewpoint |
| Lens look | 28–40 mm | Strong scale with manageable distortion |
| Aperture look | f/4–f/8 | Readable subject and vertical environment |
| Frame rate | 24 fps | Cinematic cadence |
| Shutter look | 180 degrees | Natural blur for ordinary motion |
| Movement | Locked or slow tilt/rise | Reduced geometry drift |
Prompted camera values are normally visual instructions unless the implementation exposes physical controls. Inspect perspective, depth, blur, line bending, focus, and edge stretch in output. Use side or top-side light to preserve facial structure; strong underlight can turn a heroic shot into horror.
Worm’s-Eye Prompt Formula
Write the subject and action first, then exact floor-level geometry, one move, lens/exposure look, light, continuity anchors, and exclusions. Avoid mixing “worm’s-eye,” “overhead,” and “eye-level” in one prompt.
Copyable Worm’s-Eye Template
Worm's-eye [shot size] of the same [subject] in [fixed wardrobe and environment].
Action: [one clear action].
Camera: [height] above the floor, [distance] away, steep upward pitch toward [target].
Movement: [locked or one slow move]. Lens look: [focal length].
Exposure look: [aperture], [shutter], [frame rate]. Lighting: [key and fill].
Preserve face, anatomy, footwear, wardrobe, props, floor contact, vertical lines, and light direction.
No eye-level view, giant feet, tiny head, extra limbs, bending walls, focus flicker, or camera jump.
Worked Worm’s-Eye Example
“Worm’s-eye full shot of the same architect in a charcoal coat inside the same concrete atrium. She stops beside one scale model and looks toward the skylight. Camera eight centimeters above the floor, four meters away, steep upward pitch toward her chest; locked frame, natural 35 mm look, f/5.6 depth-of-field look, 180-degree shutter at 24 fps. Soft daylight from above and white bounce from camera-left. Preserve face, coat seams, shoes, model, floor reflection, columns, skylight, and light direction. No walk toward camera, giant shoes, tiny head, duplicate limbs, bending columns, orbit, or focus pumping.”
Camera-Control Workflow
Some models respond only to prompt language and a reference, while research systems accept camera trajectories or orientation controls. Verify the selected implementation instead of transferring features from one paper to another.
Official Project Scope
- CamI2V/RealCam-I2V publishes image-to-video camera-control checkpoints and examples for translation, rotation, and zoom trajectories.
- UCPE explicitly documents camera intrinsics, distortion, pitch, and roll in addition to motion.
- CameraCtrl uses per-frame camera position and orientation for video diffusion.
- MotionCtrl addresses camera motion separately from object motion.
A correct upward trajectory does not guarantee a correct face, body, ceiling, voice, or lip sync. Review camera geometry and content continuity as different systems.
Production Steps
- Define why the viewer is on the ground.
- Draw the side view with camera height, distance, pitch, and action path.
- Approve character, footwear, prop, floor, ceiling/sky, and light references.
- Create the shot-specific first frame at delivery aspect ratio.
- Generate a short locked-camera motion test.
- Compare the first, middle, and final frames for anatomy and vertical lines.
- Change one variable at a time.
- Add one small camera move only after the locked version passes.
- Keep the shortest stable result for editing.
Identity, Scene, and Audio Continuity
Extreme perspective hides and reshapes familiar features. Review face, hairline, body proportions, footwear, hand count, floor contact, wardrobe, props, ceiling, and vertical architecture separately. Strong occlusion and a subject passing close to the lens increase drift.
Voice identity, speech synthesis, lip sync, and audio-driven motion are not camera controls. Obtain consent for synthetic voices, keep provenance, use clean speech, and apply a documented lip-sync or audio-conditioned stage after visual motion is stable. For dialogue, a less extreme angle may produce more reliable mouth visibility.
Worm’s-Eye Limitations and Fixes
Worm’s-Eye Troubleshooting Table
| Failure | Likely cause | Fix |
|---|---|---|
| Looks like normal low angle | Camera is too high | Show floor foreground and specify 5–15 cm height |
| Huge shoes, tiny head | Wide look too close | Move the camera farther away |
| Face becomes unreadable | Pitch is too steep | Aim toward chest and ask subject to lower gaze |
| Columns bend | Strong wide distortion or scene drift | Use a moderate lens target and shorter duration |
| Subject floats | Weak foot/shadow contact | Strengthen floor, shoe, and shadow references |
| Ceiling mutates | Reference never defined it | Add a matching upper-environment plate |
| Accidental horror style | Underlight and excessive distortion | Use side/top light and calmer perspective |
Worm’s-Eye Review Checklist
- The camera unmistakably sits at floor level.
- The angle supports a specific story beat.
- Face, body, footwear, hands, and props remain plausible.
- Floor contact, shadows, ceiling/sky, and vertical lines stay coherent.
- Only one subject action and one camera movement occur.
- Audio, voice identity, and lip sync pass separate reviews.
Edit AI videos here
Trim the shot before anatomy or architecture drifts, combine it with neutral coverage, add authorized audio, captions, transitions, and final delivery exports at https://ai.alphatechnologies.vn. Keep the camera map, references, prompt, seed, model, and settings with each select.
Worm’s-Eye Final Recommendation
Use the lowest viewpoint only when the story benefits from extreme scale. Start farther from the subject than instinct suggests, use a 28–40 mm visual target, lock the camera, and keep the action simple. Aikolhub offers more official-source camera workflows and practical AI video production guides.
Worm’s-Eye FAQ
What is a worm’s-eye shot?
It is an extreme low-angle view from at or near floor level, pointed steeply upward at the subject.
Which lens should I use?
Start with a 28–40 mm visual target. Go wider only when deliberate foreground exaggeration matters, and move back to protect anatomy.
How do I keep the face readable?
Increase camera distance, reduce upward pitch, aim toward the chest, ask the subject to lower their gaze, and use clear side or top-side light.
Why do buildings bend?
Wide perspective, edge distortion, long camera motion, and undefined upper geometry can all bend lines. Use stronger references, moderate perspective, and shorter clips.
Can it work with dialogue?
Yes, but extreme pitch may hide the mouth. Stabilize the visual shot first, then use authorized clean speech and a separate documented lip-sync stage.
Official sources: CamI2V/RealCam-I2V, UCPE, CameraCtrl, and MotionCtrl.