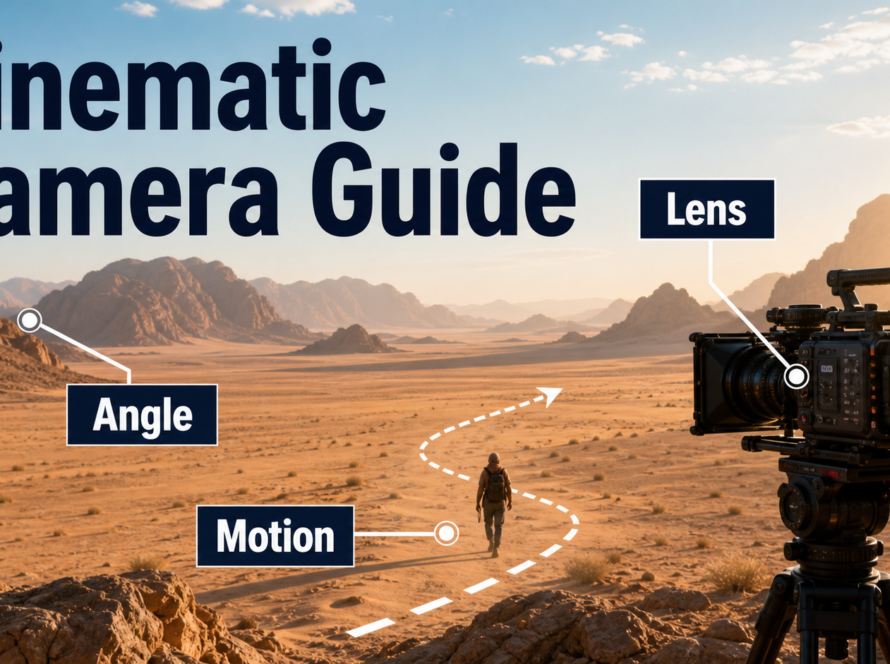
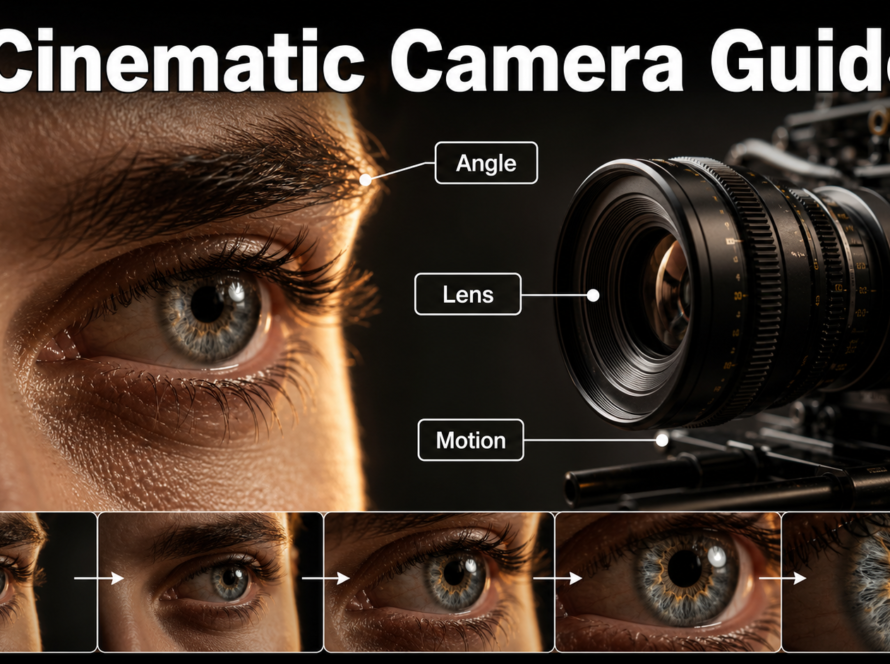
An eye-level camera angle places the virtual lens at the subject’s eye height, producing a neutral, direct relationship that works especially well for interviews, explainers, dialogue, and product demonstrations. For reliable AI video, establish that geometry in the reference image first, describe it plainly in the prompt, and keep camera movement modest until the subject and scene are stable.
Updated July 23, 2026, this workflow separates cinematography from model marketing. Current research tools can condition camera trajectories, intrinsics, distortion, pitch, and roll, but none replaces a well-built reference frame or guarantees identity, wardrobe, voice, lip sync, and scene continuity by itself.
Table of Contents
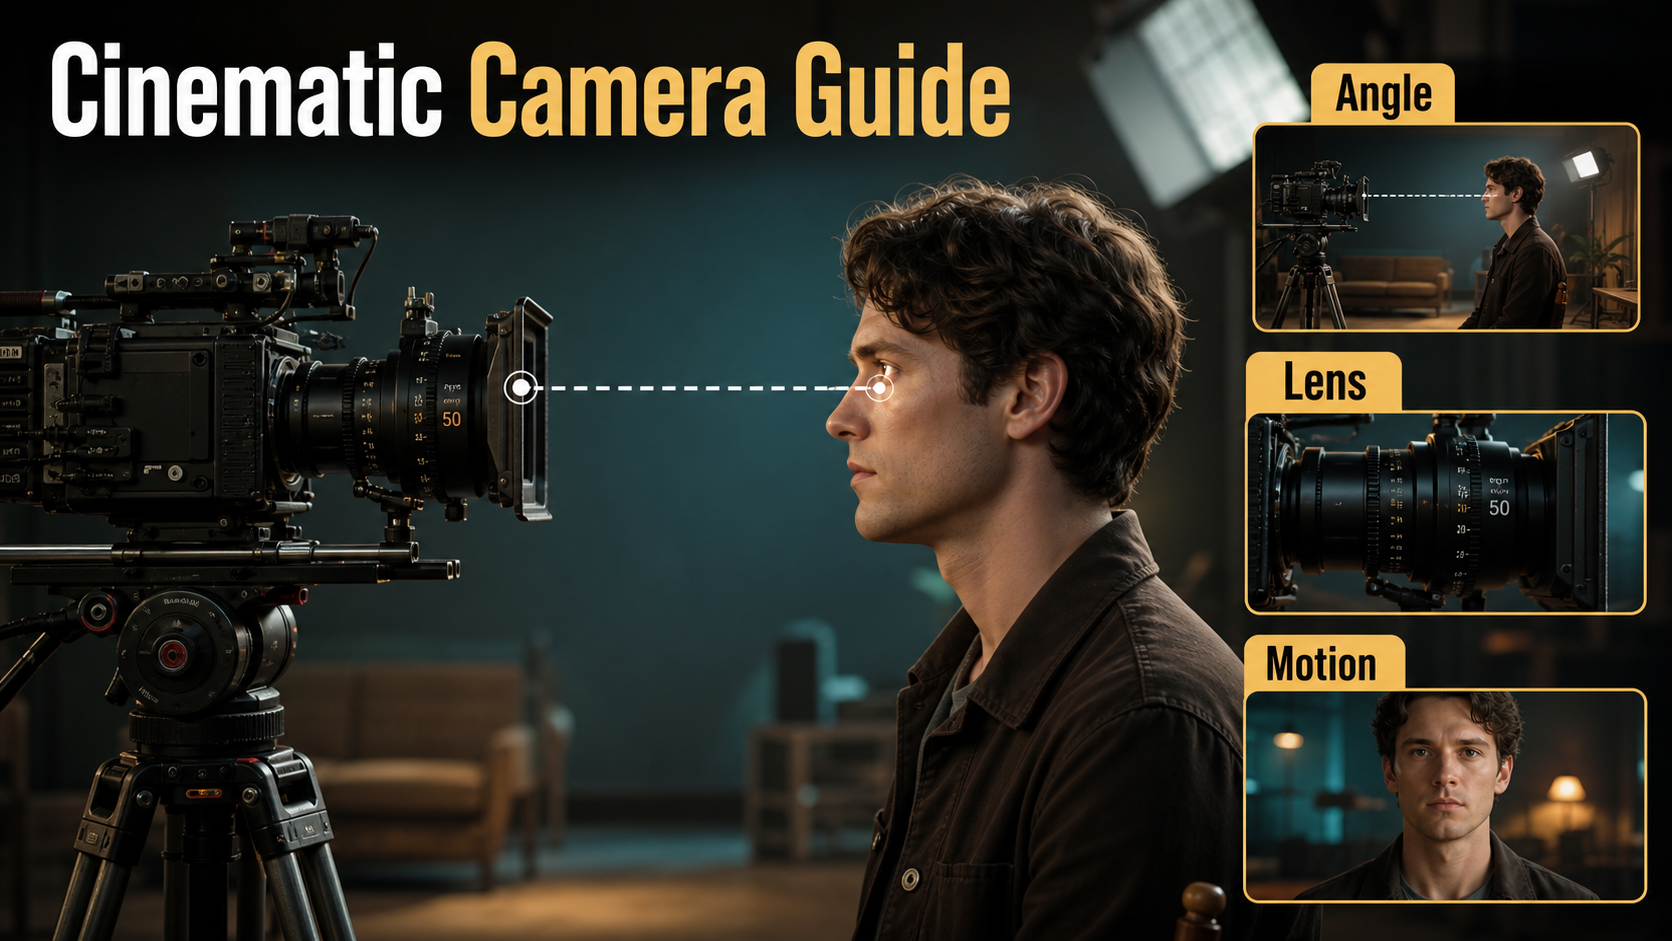
What an eye-level camera angle means
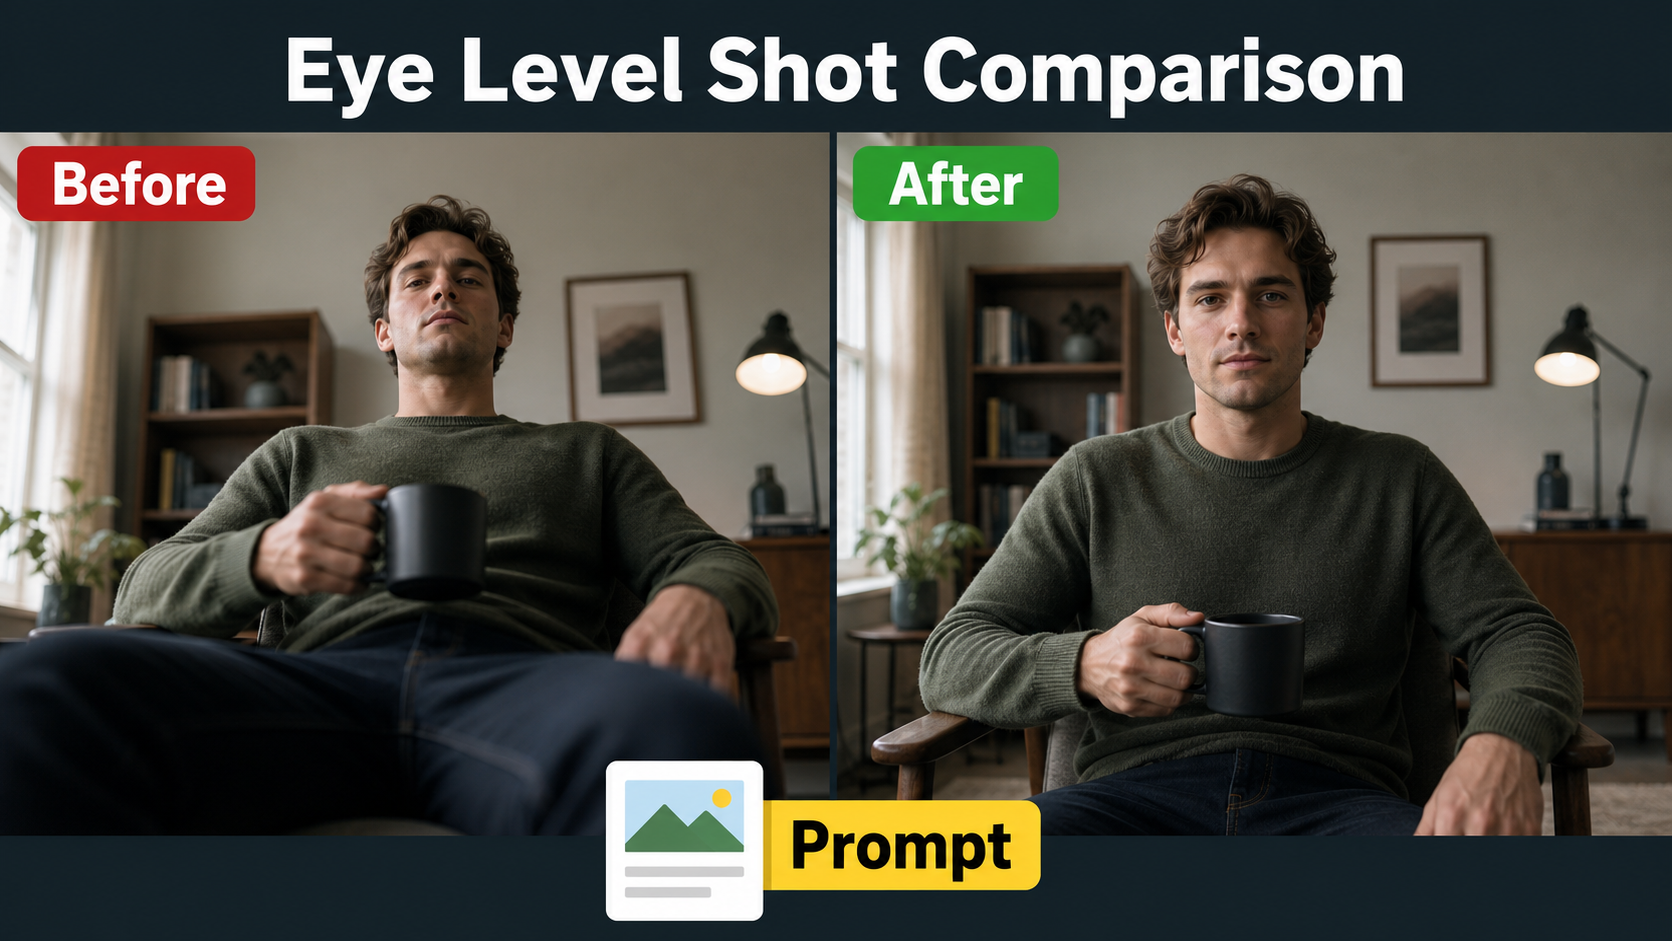
Eye level describes camera height and optical-axis relationship, not simply a medium close-up. The virtual lens should sit near the subject’s eyes and point without a strong upward or downward tilt. The result usually feels observational and balanced because the viewer is neither looking up at nor down on the subject.
Visual meaning and best uses
Use eye level when clarity matters more than spectacle: a founder speaking to customers, a tutorial host demonstrating a tool, two characters exchanging dialogue, or a product expert addressing the viewer. It also creates a clean baseline. Once the neutral shot works, you can deliberately introduce a low angle for authority or a high angle for vulnerability.
Eye level is not eye contact
A subject can be filmed at eye height while looking off camera. For direct address, add “looking into the lens.” For an interview, specify an off-camera eyeline a few degrees left or right. Confusing camera height with gaze direction often produces wandering eyes or an unwanted passport-photo composition.
Place the camera before writing the prompt
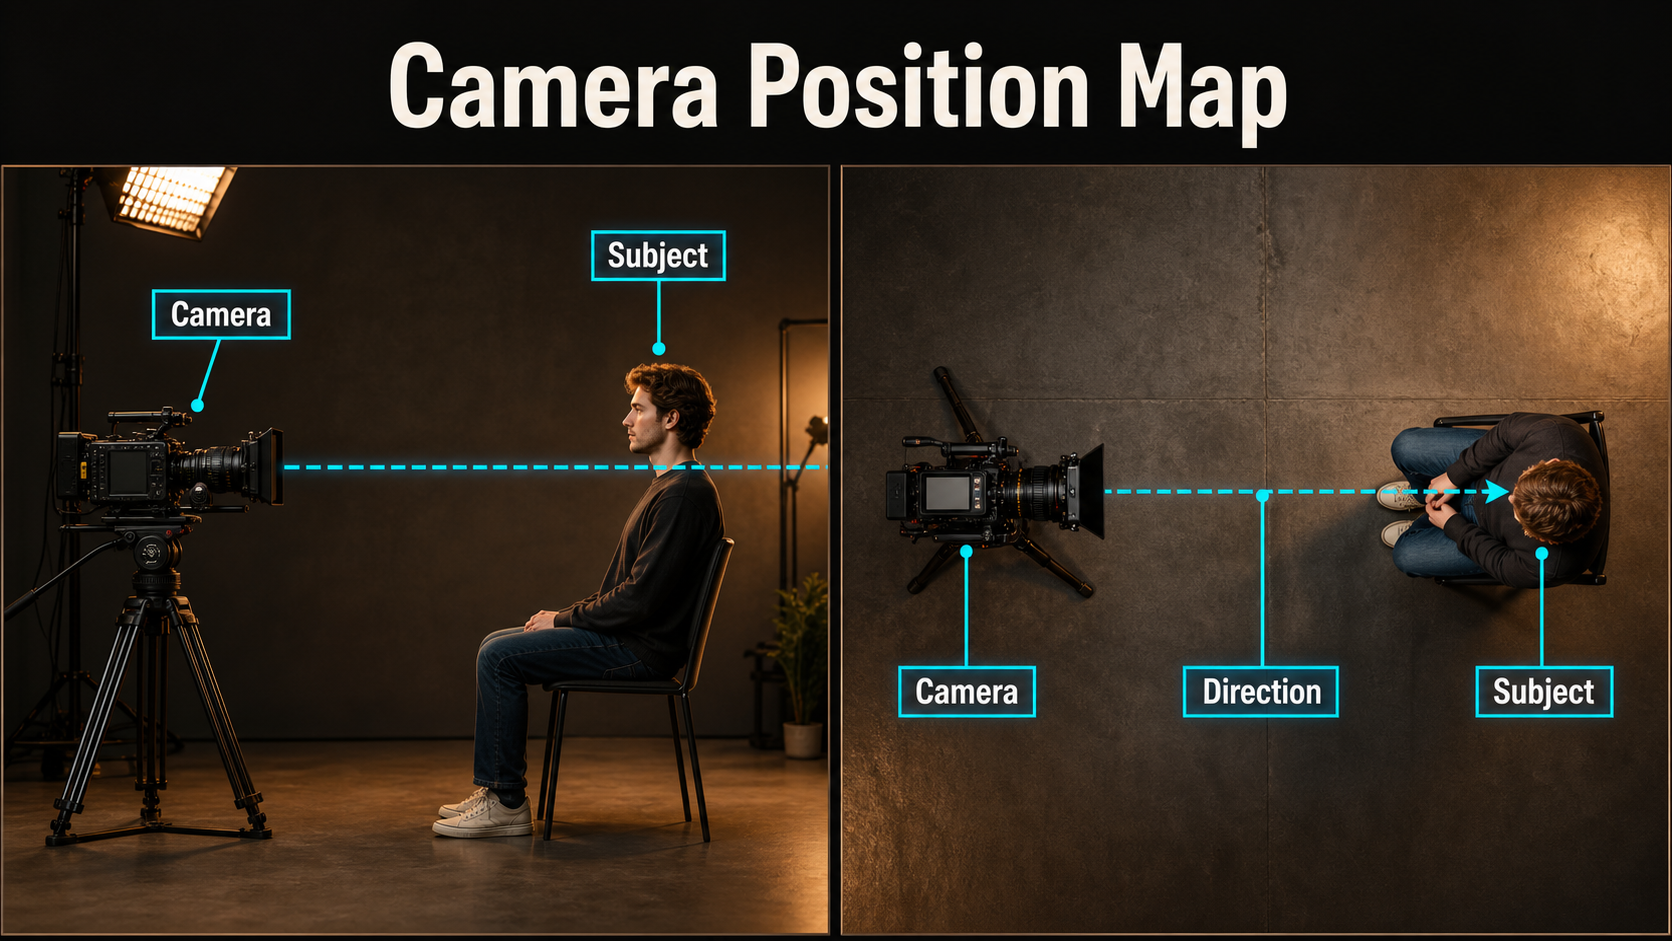
The reference frame carries more spatial information than a long camera phrase. Build the image as if a real crew must reproduce it: decide subject height, camera height, distance, focal length, background depth, and direction of light before asking the video model for motion.
Build the reference frame
- Use a 16:9 canvas and position the subject at the intended final scale.
- Put the virtual lens at eye height; keep vertical lines upright unless distortion is intentional.
- Leave safe headroom and action space in the direction of movement.
- Show wardrobe, hero props, hair silhouette, and key environmental landmarks clearly.
- Avoid cropped hands or objects touching the frame edge if they must move.
For a recurring character, create a compact reference pack: neutral face, three-quarter view, full outfit, prop close-up, and environment plate. Reference-image conditioning can support appearance, but “same person” is not a complete continuity plan.
Lock screen direction and headroom
Record whether the subject faces camera-left or camera-right, where the key light originates, and which shoulder is nearer the lens. Reversing one cue between shots can make a scene feel discontinuous even when the face remains recognizable. For dialogue coverage, keep both characters on the same side of the 180-degree line unless the crossing is intentional and shown.
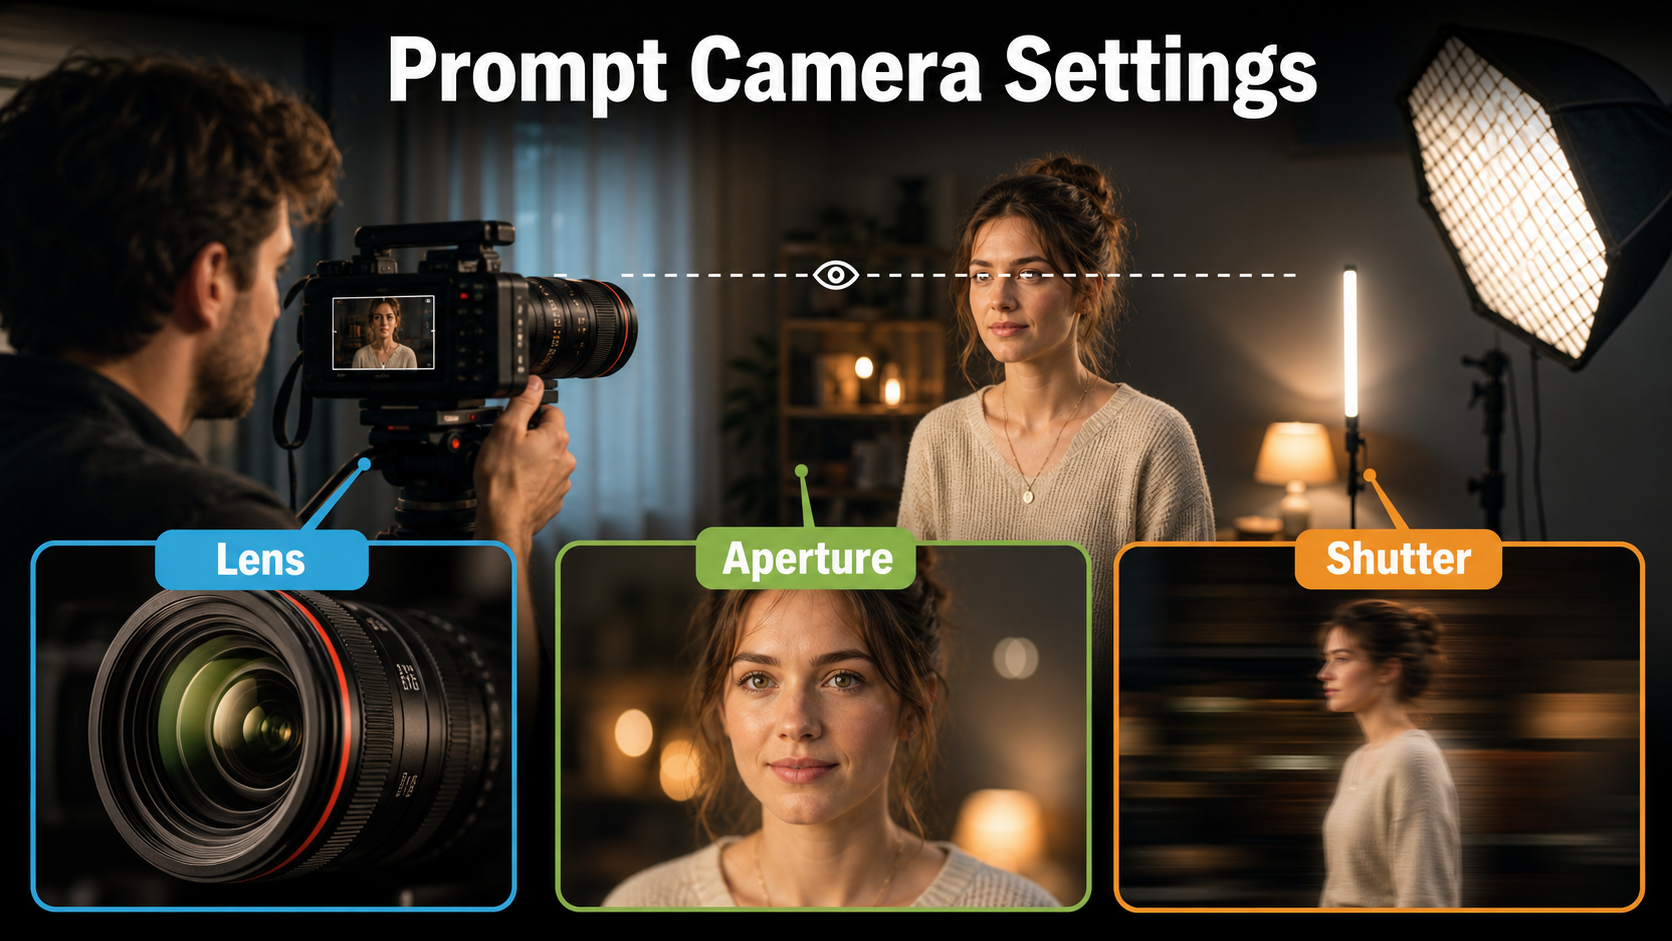
Lens, aperture, shutter angle, and frame rate
Eye level does not determine focal length. Camera height controls viewpoint; focal length and distance control perspective and framing. A longer lens from farther away compresses depth, while a wider lens used close to the face exaggerates near features.
Practical settings table
| Use | Starting point | Look and risk |
|---|---|---|
| Direct-to-camera host | 50mm equivalent, f/2.8-f/4 | Natural portrait perspective with enough facial depth |
| Environmental interview | 35mm, f/4 | More room context; watch edge distortion |
| Intimate close-up | 70-85mm, f/2.8 | Compressed background; shallow focus can cause eye flicker |
| Natural motion | 24 fps, 180-degree shutter | Familiar cinematic blur |
| Crisper movement | 30 fps, 120-144-degree shutter | Sharper action but potentially less cinematic |
These are creative instructions, not guaranteed physical camera controls. Many generators interpret lens and shutter language as visual cues. Test whether the selected model actually exposes numeric camera parameters before treating prompt words as calibrated settings.
Lighting and lens behavior
Use a soft key 30-45 degrees from the face, light fill, and visible separation from the background. Keep highlights below clipping so skin texture survives motion. Ask for restrained focus breathing, stable exposure, natural motion blur, and no digital zoom. If shallow depth of field causes pulsing eyes or hair, stop down conceptually to f/4 or simplify the background instead of adding more prompt adjectives.
Eye-level AI video prompt formula
A useful prompt moves from fixed facts to motion: subject, framing, camera geometry, action, environment, lighting, lens behavior, then exclusions. Put important constraints early and avoid stacking contradictory camera moves.
Reference-to-video template
Eye-level medium close-up of [subject], camera lens aligned with the eyes.
[Subject] wears [exact wardrobe] and holds [exact prop].
Same face, hairstyle, clothing, prop, and room as the reference image.
[One simple action] over [duration].
50mm natural perspective, f/4 depth of field, 24 fps, natural motion blur.
Soft key from camera-left, stable exposure, restrained focus breathing.
Locked camera / slow 5% push-in. No tilt, roll, reframing, face drift, or extra objects.
Dialogue template
Eye-level two-shot, both eyelines matched across the same axis.
Speaker A looks slightly camera-right; Speaker B looks slightly camera-left.
Preserve facial identity, wardrobe, table props, background layout, and light direction.
Only Speaker A talks in this shot; subtle jaw, lips, cheeks, and natural blinks.
Camera remains at eye height with a gentle lateral track, no orbit or zoom.
Generate dialogue as short coverage rather than one long master. A five-second reaction shot with no speech is easier to stabilize than a 20-second scene combining two voices, hand gestures, a camera arc, and moving props.
Model workflow and current camera tools
As checked July 23, 2026, camera-control research offers useful building blocks, but availability and scope vary. Treat these projects as official technical references, not a promise that every consumer generator supports the same controls.
What official projects control
- UCPE: the MIT-licensed repository describes control over camera intrinsics, lens distortion, pitch, and roll. Its May 14, 2026 update notes use in SANA-WM, while the repository also provides demo, training, evaluation, and visualization code.
- CamI2V and RealCam-I2V: the MIT-licensed implementation conditions image-to-video generation on camera motion and publishes research checkpoints. The repository explicitly describes released research/comparison resolutions, so do not imply a turnkey production model.
- CameraCtrl: the Apache-2.0 code and weights target camera control on AnimateDiffV3, with an SVD branch. It uses camera trajectories rather than a natural-language phrase alone.
- MotionCtrl: the Apache-2.0 project separates camera motion and object motion conditioning across supported video backbones.
These code repositories are open source under their stated licenses. Their dependent base-model weights may carry separate terms, so review every model card and checkpoint license before commercial use.
Practical generation pass
- Prepare the clean eye-level reference and continuity sheet.
- Choose image-to-video when first-frame fidelity matters; use text-to-video only when layout can vary.
- Generate a locked-camera version first.
- Add one small move: slow push, short dolly, or gentle lateral track.
- Render several short variants with the same prompt and seed when supported.
- Select for face, hands, props, eyeline, and background before upscaling.
- Add dialogue, lip sync, sound, color, and edit transitions in separate controlled passes.
Keep identity, scene, and audio separate
A camera trajectory does not solve every kind of consistency. Diagnose the failure by layer so you change the correct input.
Subject, first-frame, and scene continuity
- Subject consistency: the same face, body proportions, hair, wardrobe, and distinguishing details across frames and shots.
- First-frame consistency: how closely the generated opening matches the supplied reference. A strong first frame can still drift later.
- Scene continuity: stable room geometry, props, weather, time of day, light direction, and screen direction across cuts.
Use a character sheet for identity and wardrobe, a prop sheet for shape and placement, and a scene bible for environment and lighting. Reuse exact nouns and colors. Do not alternate between “navy jacket,” “dark blazer,” and “blue coat” if continuity matters.
Voice, speech, lip sync, and audio-driven motion
- Voice identity is the recognizable speaker timbre and delivery. Use consented recordings and preserve provenance.
- Speech synthesis produces spoken audio from text; it does not automatically animate a face.
- Lip sync aligns mouth shapes and timing to speech, but may not preserve facial identity.
- Audio-driven motion can animate head, expression, or body from sound and is broader than lip sync.
Finish the visual camera pass before applying speech animation. If the voice changes across shots, correct the audio source or synthesis settings; changing focal length will not help. If lips lag but the voice is stable, correct timing or the lip-sync pass rather than regenerating the environment.
Common failures and fixes
Camera drift and perspective errors
| Failure | Likely cause | Fix |
|---|---|---|
| Shot becomes low angle | Reference lens is below the eyes or model reframes | Raise the reference viewpoint; say “lens aligned with eyes; no tilt” |
| Face stretches | Wide virtual lens too close | Use a 50-85mm cue and increase perceived distance |
| Camera orbits unexpectedly | Too many motion terms | Request one move or lock the camera |
| Focus pulses | Very shallow depth cue and busy background | Use f/4 language, cleaner separation, and restrained focus breathing |
| Background bends | Large motion conflicts with single-view geometry | Shorten the clip and reduce translation |
Identity, wardrobe, and prop drift
If the face changes, strengthen and simplify the subject reference; if clothing changes, supply a readable full-outfit reference; if props multiply, show one unoccluded prop and name it consistently. Break complex action into shots. A character picking up a cup, turning, walking, speaking, and receiving an orbiting camera in one generation creates too many simultaneous constraints.
Production checklist
- Lens center matches eye height in the first frame.
- Gaze direction is stated separately from camera height.
- One focal-length range and one aperture intent are used.
- Frame rate and motion-blur intent do not conflict.
- Only one camera move is requested per short shot.
- Face, wardrobe, prop, environment, and lighting references are explicit.
- First-frame fidelity and later-frame subject stability are reviewed separately.
- Voice identity, speech synthesis, lip sync, and audio-driven motion use separate checks.
- Base-model and checkpoint licenses are reviewed before commercial delivery.
Edit AI videos here
Once your eye-level shots are stable, assemble selects, trim generations, align dialogue, balance sound, and build the final sequence at https://ai.alphatechnologies.vn. Editing is where short controlled outputs become a coherent story and weak transition frames can be removed.
Conclusion
The dependable eye-level AI video workflow is simple: establish eye-height geometry in the reference, use a natural lens and modest depth of field, generate a locked shot, then add one controlled movement. Keep camera control separate from identity, scene, voice, speech, lip sync, and audio-driven animation.
Use the templates and checklist above as a repeatable shot protocol, then explore Aikolhub for more practical AI video model and production guides.
FAQ
Is an eye-level shot always neutral?
No. Eye height is usually neutral, but lighting, lens distance, acting, framing, and context can make it intimate, confrontational, comic, or clinical.
What lens is best for an eye-level AI portrait?
A 50mm equivalent is a safe starting point. Use 70-85mm for a tighter, compressed portrait or 35mm when the environment matters.
Do I need a reference image?
Not always, but a reference is the most reliable way to define exact camera height, composition, wardrobe, props, and environment for image-to-video work.
Can the camera move in an eye-level shot?
Yes. A push-in or lateral track can remain approximately at eye height. Keep pitch and roll stable unless the change is intentional.
Does camera control improve lip sync?
No. Camera control governs viewpoint or trajectory. Lip sync is a separate audio-to-mouth alignment problem and should be evaluated independently.