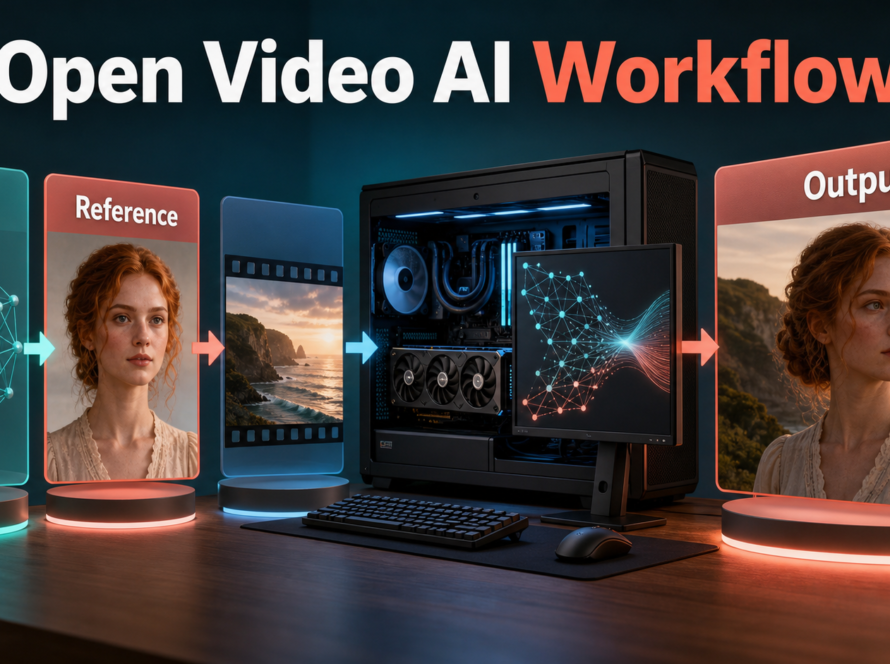
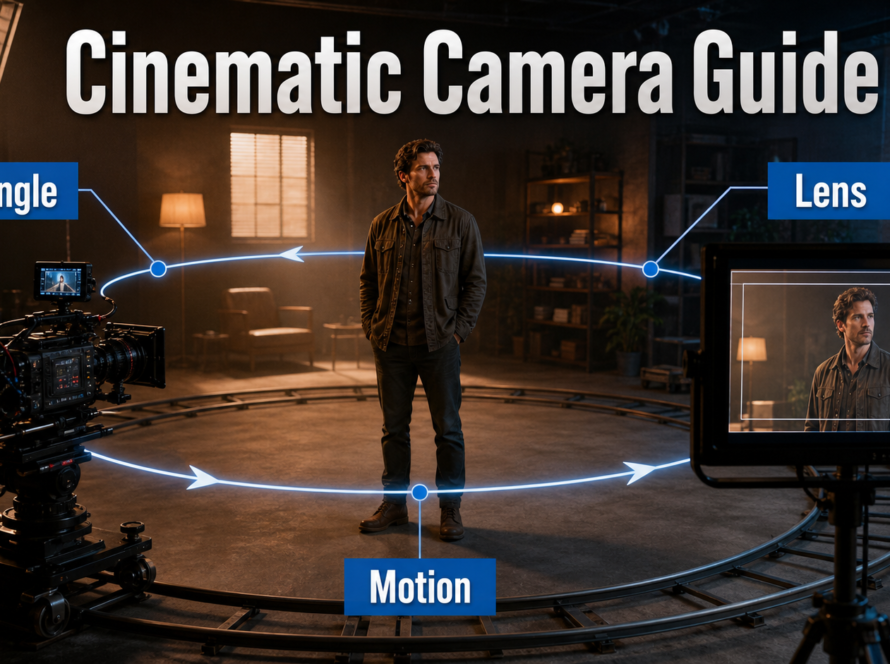
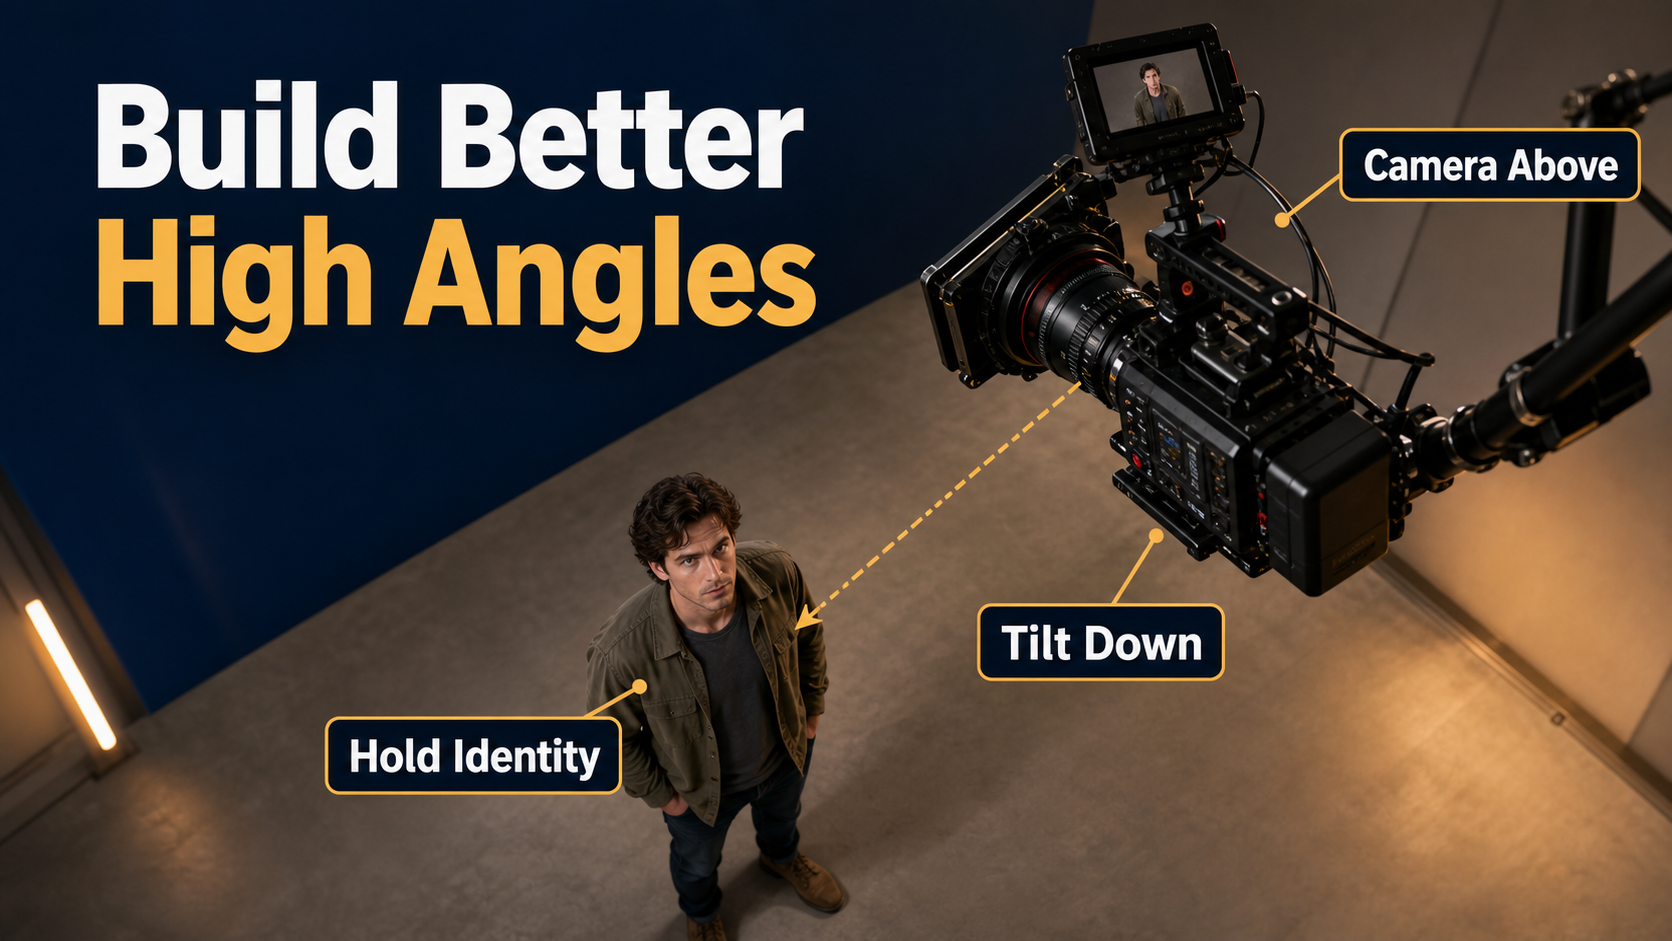
A dependable high-angle AI video shot starts with the camera visibly above the subject, a downward optical axis, and a first-frame reference that already contains the intended perspective. Describe camera height, distance, pitch, one subject action, and one camera move; do not expect the words “dramatic” or “cinematic” to create reliable geometry. This guide was checked on July 26, 2026 against the official CamI2V/RealCam-I2V, UCPE, CameraCtrl, and MotionCtrl repositories.
A high angle can make a character feel exposed, small, observed, isolated, or simply easy to locate in a busy space. It can also reveal blocking, table layouts, floor patterns, and paths that an eye-level shot hides. Its meaning comes from story context, lens perspective, performance, lighting, and editing—not from camera height alone.
Table of Contents
High-Angle Visual Meaning
A high angle places the camera above an important part of the subject and points it downward. More floor becomes visible, the top planes of objects open up, and a standing person can occupy less of the frame. That can communicate vulnerability or surveillance, but it can also provide neutral spatial clarity for food, crafts, crowds, products, or action blocking.
Choose a Story Purpose
Use the angle for a specific beat: a character loses control, a detective observes a room, a product is arranged on a workbench, or a crowd pattern becomes readable. A slight downward angle may feel calm and practical; a steep angle can feel detached or oppressive. Lighting and performance can reverse the expected meaning, so state the emotional target separately from the geometry.
Angle contrast is useful. Establish the room at eye level, cut higher when the character becomes trapped, and return to neutral after the conflict resolves. If every shot looks downward, the audience stops reading the angle as a change in status.
High Angle Versus Overhead
A high-angle camera is elevated and pitched downward, but it still sees the subject from the side. A true overhead shot places the optical axis close to vertical and looks straight down. Do not use the terms interchangeably. If you want to keep the face visible, request a high three-quarter view; if you want graphic floor geometry, request an overhead view.
Camera Placement and Reference Map
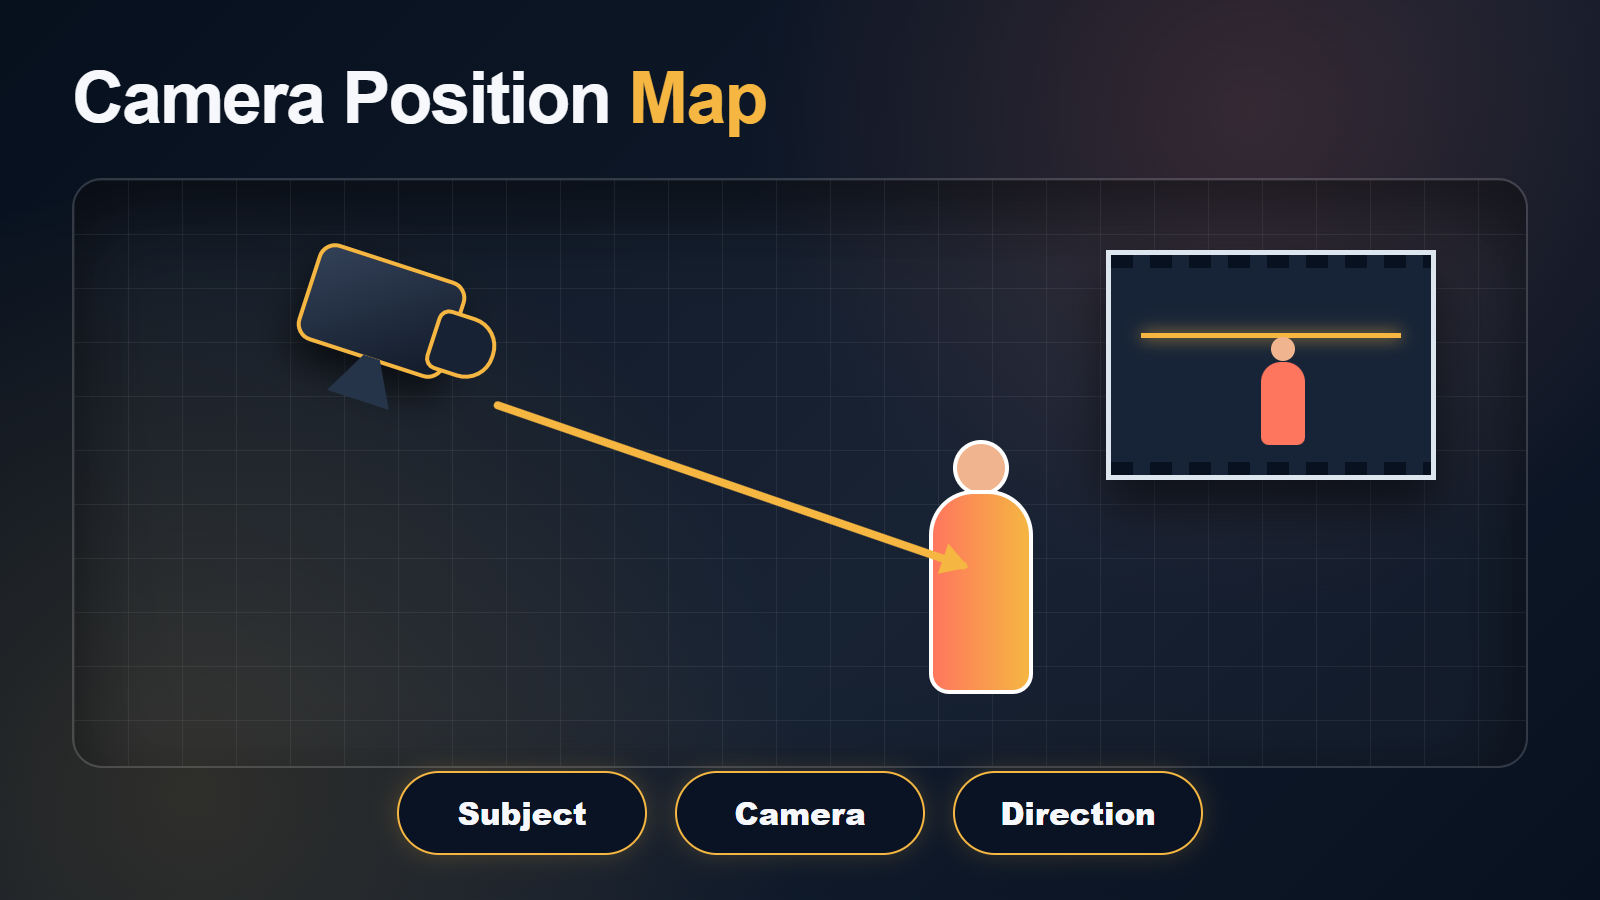
Translate the creative request into position, direction, and distance. A useful description is: “camera two meters above the floor, one meter above the subject’s eye line, three meters away, pitched down 25 degrees.” The exact numbers are planning aids even when a model does not expose physical camera controls.
Describe Testable Geometry
- Mark the subject, camera, optical direction, and requested path in top and side views.
- Specify whether the subject looks up, looks forward, or ignores the camera.
- Choose a locked frame, slow crane down, or short push; avoid stacking moves.
- Keep screen direction and looking room consistent with adjacent shots.
- Decide how much floor, head top, and background should be visible.
A high camera reveals floor texture, furniture tops, hair, shoulders, and background zones not present in a frontal character sheet. If these areas matter, add them to the reference pack. A model cannot reliably preserve details that were never defined.
Build the Reference Frame
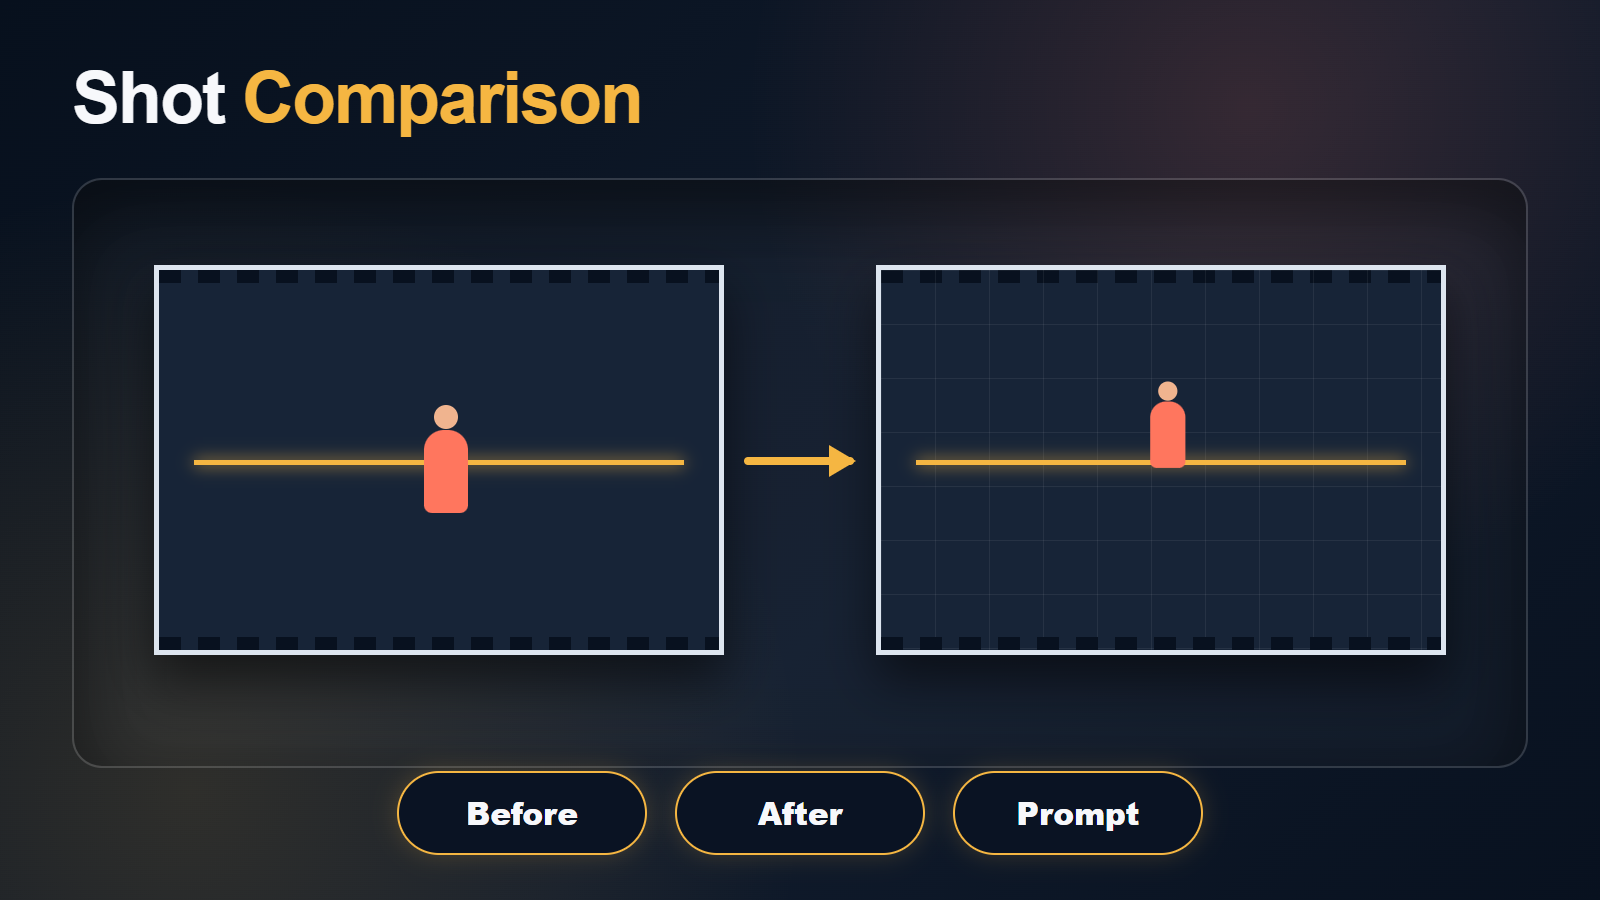
The shot-specific reference should already show the final crop, camera height, downward pitch, wardrobe, prop position, floor layout, and light direction. Use the delivery aspect ratio. Keep hands visible if they perform an action, and avoid a foreground object that covers the face. Save front, three-quarter, profile, full-body, wardrobe, prop, and environment views separately; one pretty portrait is not a continuity pack.
Compare before and after using visible criteria: more head top and floor, reduced wall area, correct eye line, stable facial proportions, and unchanged wardrobe. If the after frame differs only in color grading, the angle request has failed.
Lens, Aperture, Shutter, and Light
Camera height creates the angle. Lens choice controls field of view and perspective. A wide look from close above can enlarge the head and shoulders while shrinking the lower body. A moderate lens from farther away preserves proportions and often gives the model an easier continuity problem.
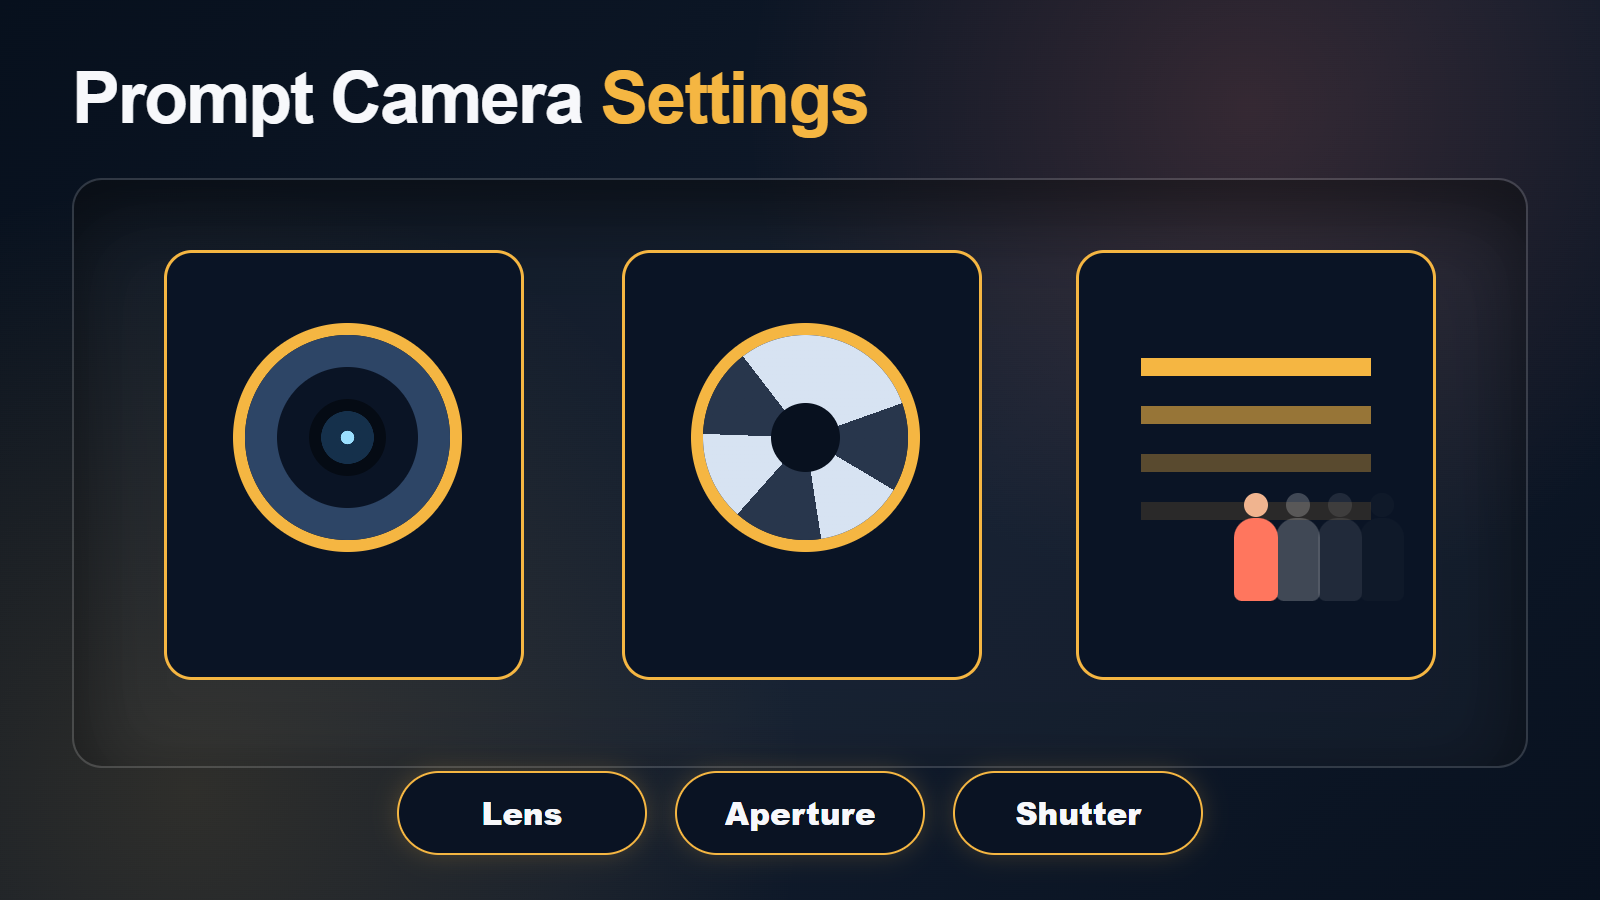
Practical Starting Settings
| Control | Starting target | Visible goal |
|---|---|---|
| Pitch | 15–35 degrees down | Clear high angle without becoming overhead |
| Lens look | 35–50 mm | Moderate perspective and stable face |
| Aperture look | f/2.8–f/5.6 | Subject separation with readable floor |
| Frame rate | 24 fps | Conventional cinematic cadence |
| Shutter look | 180-degree shutter | Natural motion blur |
| Movement | Locked or slow crane | Lower geometry risk |
Prompted focal length and aperture are usually visual targets, not recorded metadata. Judge perspective, depth of field, motion blur, focus breathing, distortion, and edge behavior in the actual frames. Keep the key light direction consistent with the reference; top light can reinforce the elevated view, while excessive underlight may fight it.
High-Angle AI Video Prompt Formula
Write in a fixed order: subject and continuity anchors, one action, camera position, one movement, lens behavior, exposure look, lighting, and exclusions. Short, testable instructions are easier to revise than a paragraph of mood adjectives.
Copyable High-Angle Template
High-angle [shot size] of the same [subject] in [fixed wardrobe and set].
Action: [one clear action].
Camera: [height], [distance], pitched down [amount/direction].
Movement: [locked or one slow move]. Lens look: [focal length].
Exposure look: [aperture], [shutter], [frame rate].
Lighting: [key direction], [fill], [practical].
Preserve face, hair, wardrobe, props, floor plan, shadows, and screen direction.
No overhead view, warped hands, bent floor lines, focus flicker, or unintended zoom.
Worked High-Angle Example
“High-angle medium shot of the same florist in a blue apron at the same oak worktable. She ties one ribbon around a bouquet. Camera two meters above the floor, three meters away, pitched down 25 degrees toward her hands; locked frame, natural 45 mm look, f/4 depth-of-field look, 180-degree shutter motion at 24 fps. Soft window key from camera-left and warm practical behind. Preserve face, apron pockets, bouquet colors, table grain, hand count, floor pattern, and light direction. No overhead view, dolly, orbit, new props, bending table edges, or focus pumping.”
Model Workflow and Camera Control
Camera-control research can condition a trajectory, but each repository supports a specific base model, checkpoint, environment, and license. Verify those details instead of assuming that every camera term works in every generator.
What Official Projects Control
- CamI2V/RealCam-I2V publishes camera-controlled image-to-video research, trajectory examples, checkpoints, and evaluation code; the repository lists an MIT code license.
- UCPE documents control over camera motion, intrinsics, lens distortion, pitch, and roll. Its April 12, 2026 update added raw panoramic video resources.
- CameraCtrl provides camera-trajectory conditioning for video diffusion and visualizes position and orientation over time.
- MotionCtrl separates camera-motion and object-motion controls in its research workflow.
These projects do not automatically provide character identity, voice cloning, dialogue generation, or lip sync. A code license also does not replace the licenses of required base models and weights.
Production Workflow
- Define the narrative purpose and pass/fail criteria.
- Approve character, wardrobe, prop, environment, and audio assets.
- Draw the camera map and produce a shot-specific first frame.
- Select the documented checkpoint and a modest trajectory.
- Render a short, economical preview.
- Inspect the first, middle, and last frames.
- Change only one variable—pitch, distance, move, lens look, or duration—per test.
- Render final quality only after geometry and identity pass.
- Edit the shortest stable portion into the sequence.
Continuity, Voice, and Lip Sync
High-angle motion can hide facial features, expose the crown of the head, or change body proportions, so identity review must include more than the opening frame. Voice identity, speech synthesis, lip sync, and audio-driven body motion are separate technical problems.
Separate the Acceptance Tests
| Test | Review | Primary control |
|---|---|---|
| First frame | Crop and perspective | Shot-specific reference |
| Subject | Face, hair, body | Character pack and short motion |
| Wardrobe/props | Color, shape, hand contact | Visible references |
| Scene | Floor plan, shadows, screen direction | Environment plate and shot bible |
| Voice | Authorized timbre and delivery | Approved recording or synthesis |
| Lip sync | Mouth timing | Dedicated supported stage |
Obtain consent for cloned voices, keep provenance with the project, and test dialogue in short clips with restrained head motion before adding a crane or orbit.
Limitations and Troubleshooting
High-Angle Fix Table
| Failure | Likely cause | Fix |
|---|---|---|
| Shot becomes overhead | Pitch is too steep | Lower the camera or reduce downward pitch |
| Large head, tiny body | Wide lens too close | Move back and use a moderate lens look |
| Face disappears | Head angle and camera height conflict | Request the subject to look slightly up |
| Floor bends | Long move reveals undefined geometry | Add a floor reference and shorten movement |
| Hands mutate | Complex action under foreshortening | Simplify the action and keep hands separated |
| Focus pumps | Conflicting depth cues | Request stable focus and remove rack focus |
| Lips lag speech | Unsupported or noisy audio stage | Use clean speech and dedicated lip sync |
Final Quality Checklist
- The camera is clearly above the subject but not accidentally overhead.
- The story meaning is understandable without a caption.
- Face, hair, body, wardrobe, props, and hand count remain stable.
- Floor lines, table edges, shadows, and screen direction remain coherent.
- Only the requested subject action and camera move occur.
- Voice, speech, lip sync, and body motion pass separate reviews.
Edit AI videos here
Assemble approved clips, trim unstable frames, add authorized audio, captions, transitions, and final exports at https://ai.alphatechnologies.vn. Keep the reference pack, prompt, seed, model version, and settings with each selected shot so revisions remain reproducible.
High-Angle Recommendation
Build the high angle in the position map and reference before generation. Start with a 35–50 mm visual target, a locked camera, one action, and a short duration. Add movement only after identity, floor geometry, and screen direction pass. Explore more current AI video workflows and official-source model guides on Aikolhub.
High-Angle FAQ
What does a high-angle shot mean?
It can suggest vulnerability, surveillance, isolation, or spatial clarity. Story context, performance, lens, light, and editing determine the final meaning.
How high should the camera be?
High enough that the downward view is visible, but not so high that it becomes overhead. Start with a 15–35 degree downward pitch and adjust from the reference.
Which lens works best?
A 35–50 mm visual target is a practical baseline. Wider looks exaggerate the nearest features; longer looks require more distance but calm perspective.
Does a reference lock identity?
No. It anchors the opening composition, but identity can drift during long moves, occlusion, large turns, or newly exposed views.
Can camera control create lip sync?
No. Camera conditioning and lip synchronization are separate capabilities. Use clean authorized speech and a documented lip-sync or audio-conditioned stage.
Official sources: CamI2V/RealCam-I2V, UCPE, CameraCtrl, and MotionCtrl.