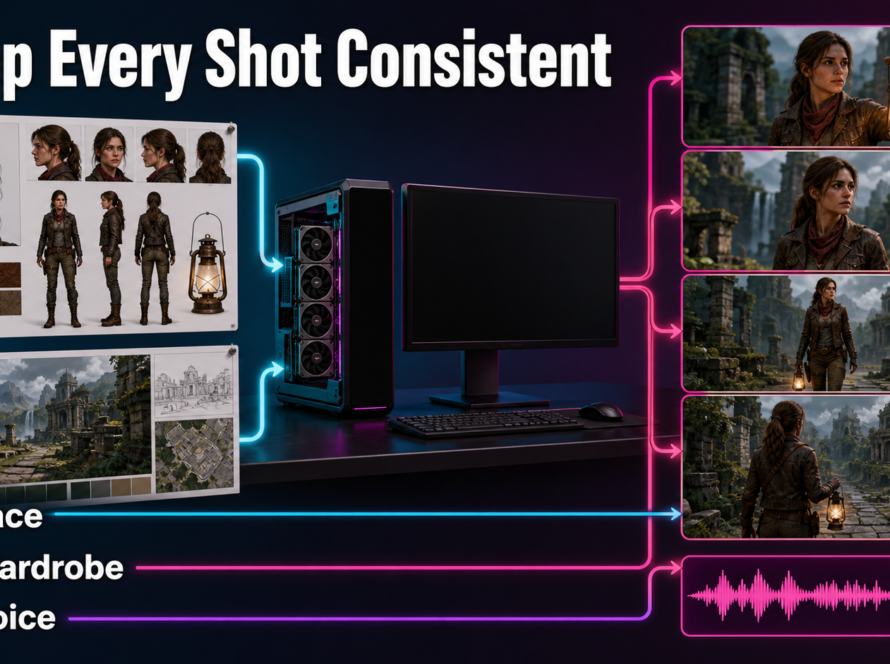
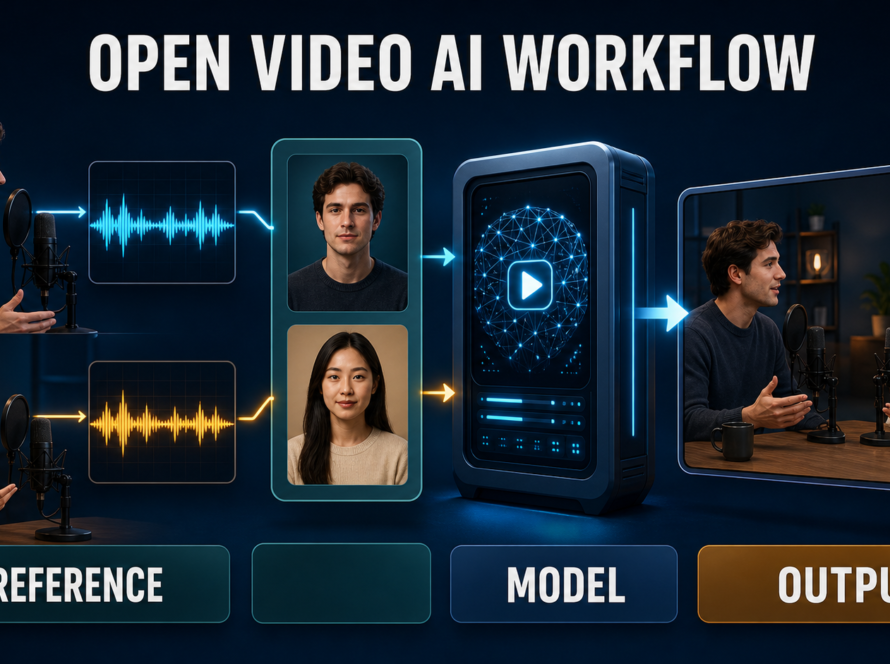
A reliable low-angle AI video shot starts with the camera physically below the subject, a clear upward viewing direction, and a reference frame that already shows the intended perspective. State one camera move, one subject action, and visible continuity constraints instead of relying on the word “cinematic.†This guide was verified on July 25, 2026 against the official CamI2V/RealCam-I2V, UCPE, CameraCtrl, and MotionCtrl repositories.
Low-angle framing can make a person, product, building, or creature feel powerful, imposing, heroic, unstable, or threatening. The meaning depends on performance, lens perspective, distance, lighting, and editing context. Camera-control research can help reproduce a trajectory, but it does not automatically preserve identity, wardrobe, voice, lip sync, or scene geometry.
Table of Contents
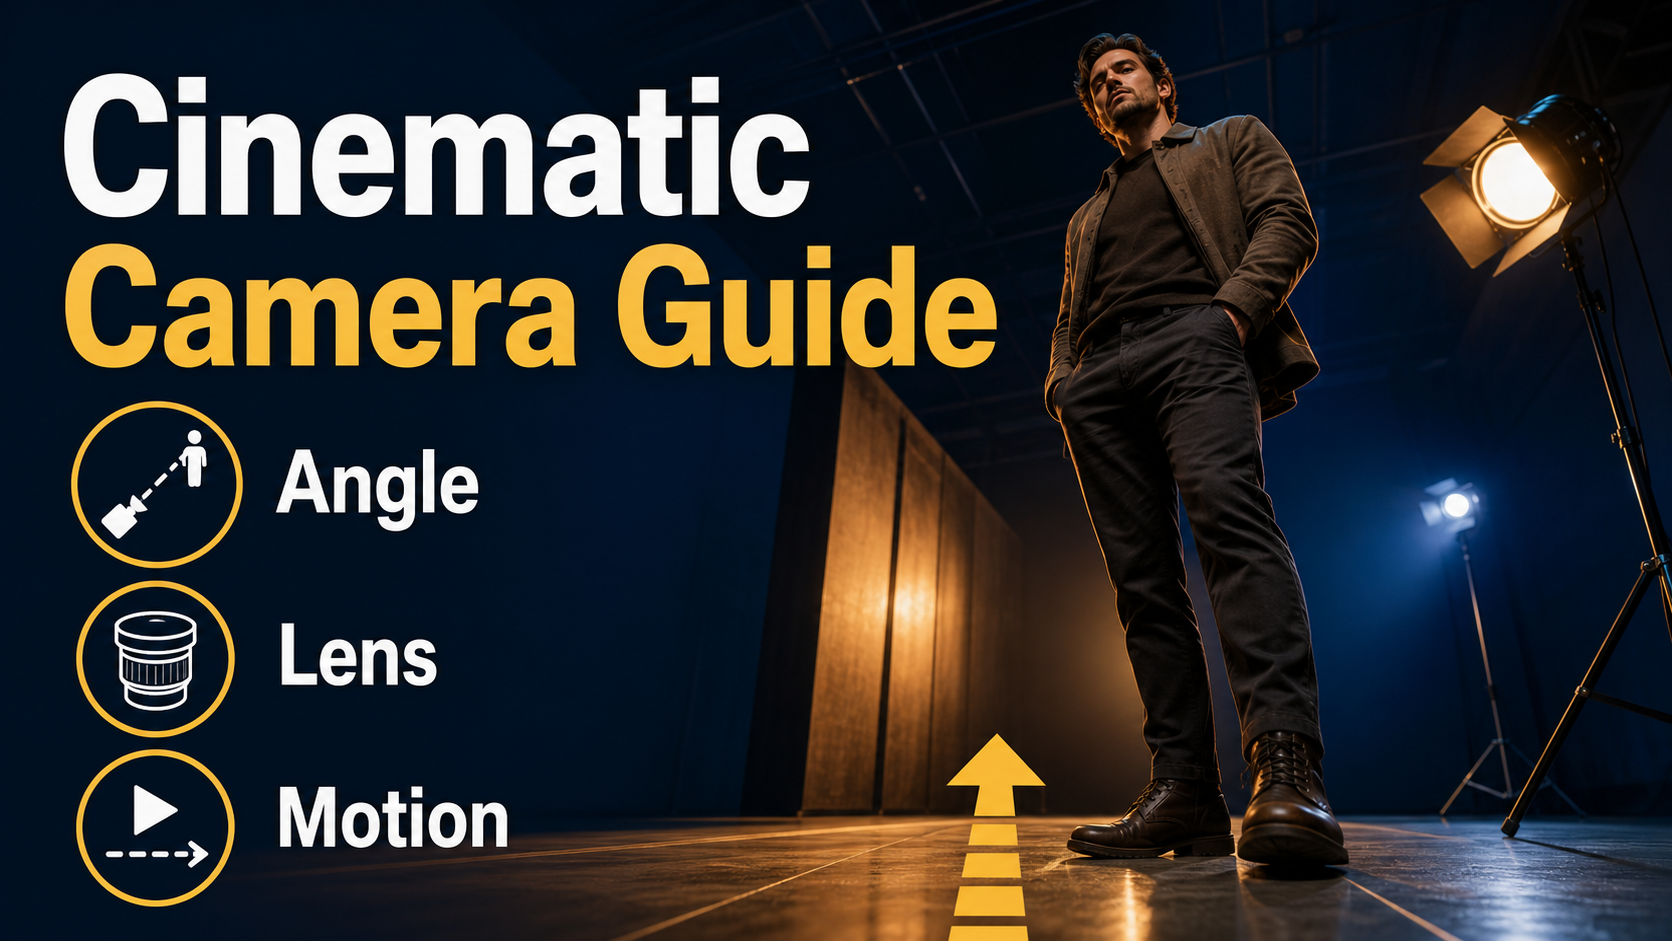
Visual Meaning of Low-Angle Shots
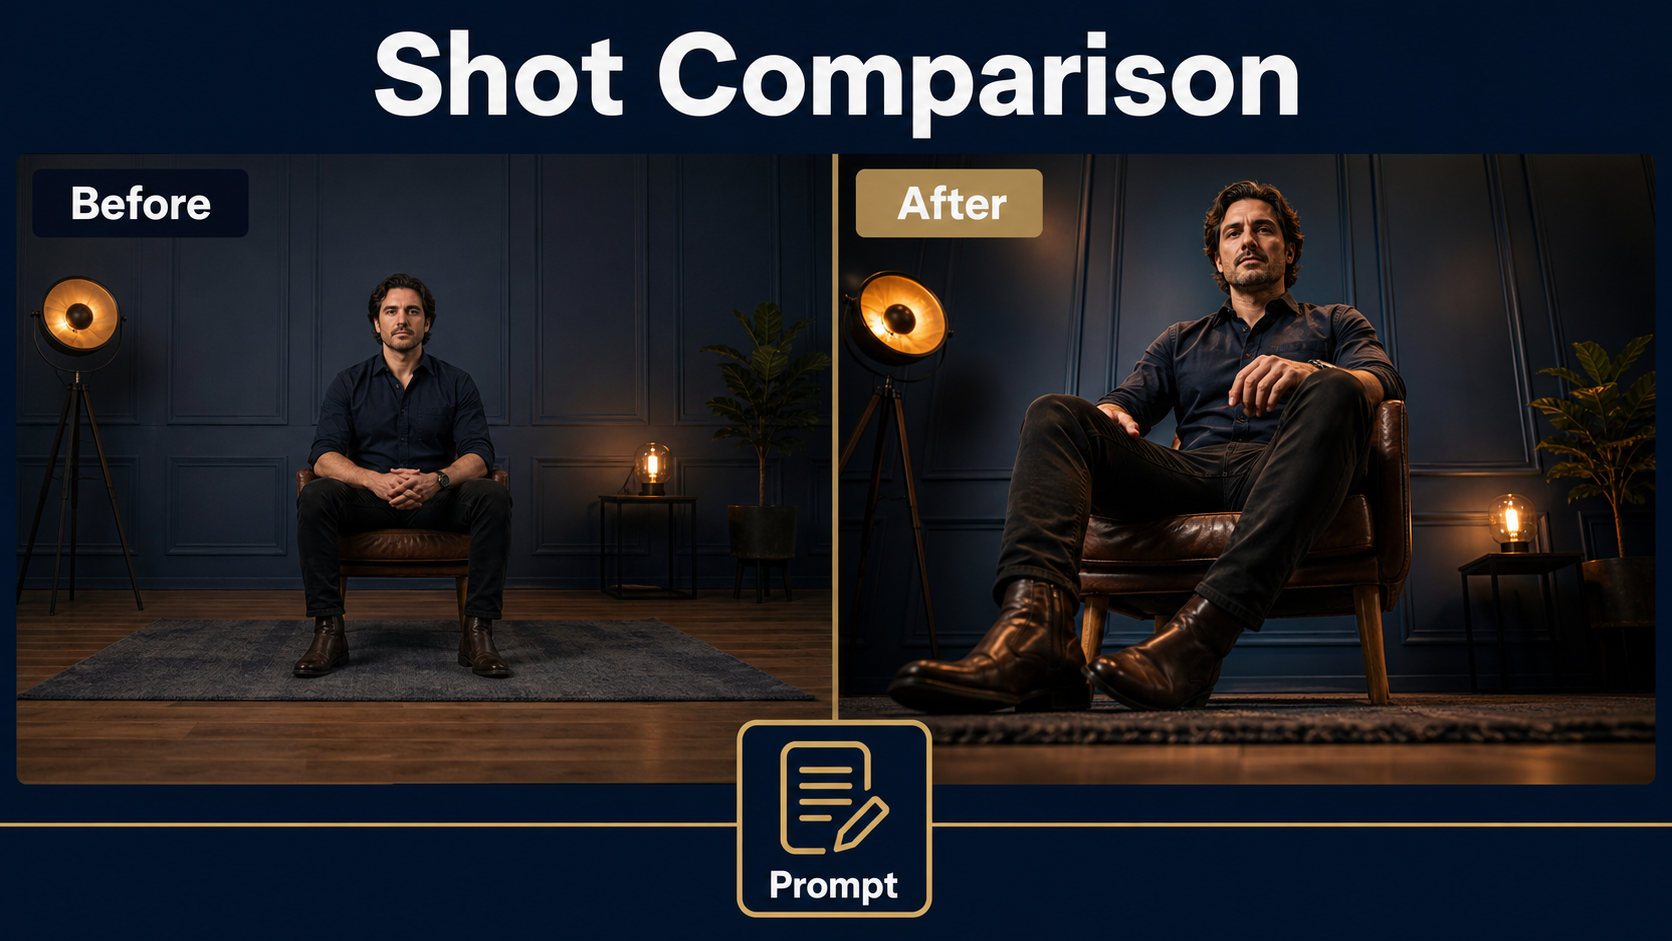
A low angle places the viewer below the subject’s eye line or dominant form. It can increase apparent height, reduce visible floor, reveal ceiling or sky, and make vertical lines converge. That visual relationship often suggests authority, aspiration, danger, awe, or vulnerability in the observer.
Power Is Not Automatic
Context decides the meaning. A leader photographed slightly below eye level may feel confident; an extreme floor-level wide lens can feel comic or grotesque. A low angle on a child reaching upward may communicate wonder, while the same geometry on a villain under hard top light may feel threatening. Define the story purpose before the technical setup.
Use the angle for a specific beat: an entrance, decision, reveal, product hero moment, or shift in status. If every shot is low, the effect loses contrast. Establish geography with a neutral or wide view, then cut to the low angle when the relationship changes.
Separate Consistency Problems
| Problem | What must remain stable | Primary control |
|---|---|---|
| Subject consistency | Face, body, hair | Approved character references |
| First-frame consistency | Opening crop and perspective | Shot-specific image input |
| Wardrobe and props | Clothing, jewelry, held objects | Visible reference details and notes |
| Scene continuity | Architecture, light, screen direction | Scene bible and matching views |
| Voice identity | Authorized speaker timbre | Approved recording or synthesis voice |
| Lip sync | Mouth shapes aligned to speech | Documented audio-conditioned stage |
Camera Placement and Composition
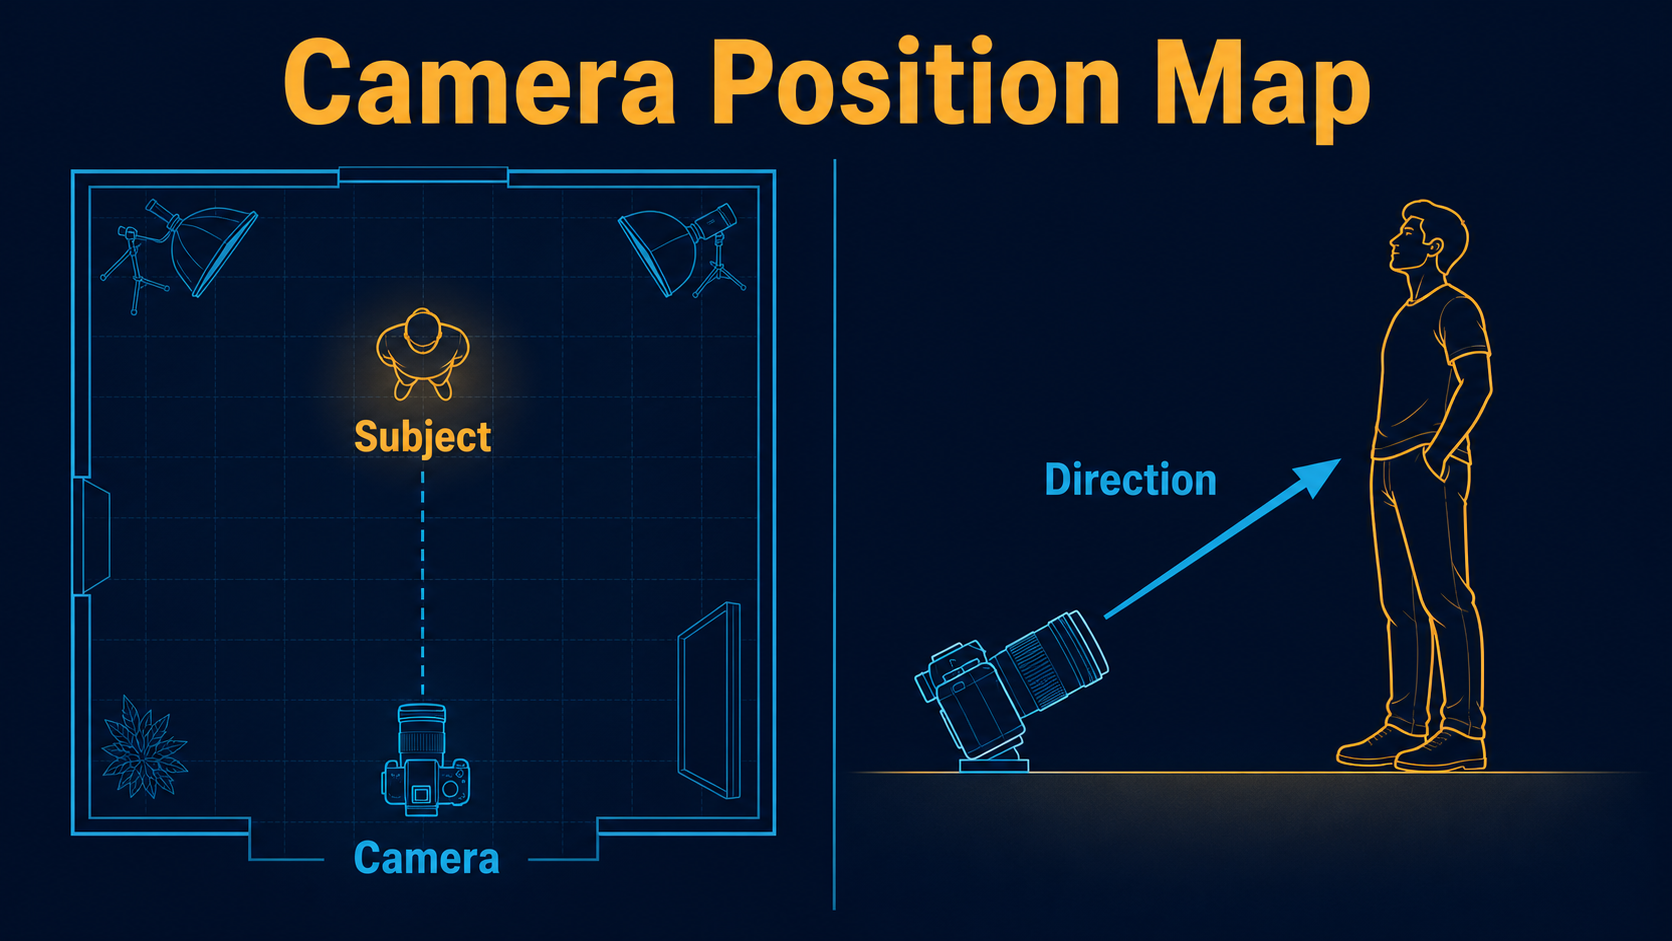
Describe camera position as geometry: height, distance, horizontal offset, pitch, and viewing direction. “Camera 30 cm above the floor, three meters from the subject, tilted upward toward the face†is more testable than “epic low angle.†Keep the camera far enough away that the nearest body part does not dominate unintentionally.
Build a Position Map
Sketch a top and side view. Mark subject, camera, optical direction, movement path, walls, floor, and important lights. For dialogue, preserve looking room and screen direction. For a product, decide whether the base should remain visible and whether converging verticals are desirable.
- Place the camera below the subject’s important feature, not merely below eye level.
- Keep feet and floor contact readable when full-body scale matters.
- Use one slow dolly, tilt, or arc rather than stacking moves.
- Avoid framing a hand, shoe, or prop much closer than the face unless intentional.
- Create a separate reference for reverse angles and large turns.
Protect Background Geometry
A low camera reveals ceilings, roof lines, lamps, sky, and tall background structures that a neutral reference may not define. The model may bend columns or invent ceiling details during a move. Build the desired upper environment into the first frame, simplify repeated patterns, and shorten trajectories that expose unseen space.
Lens, Aperture, Shutter, and Light
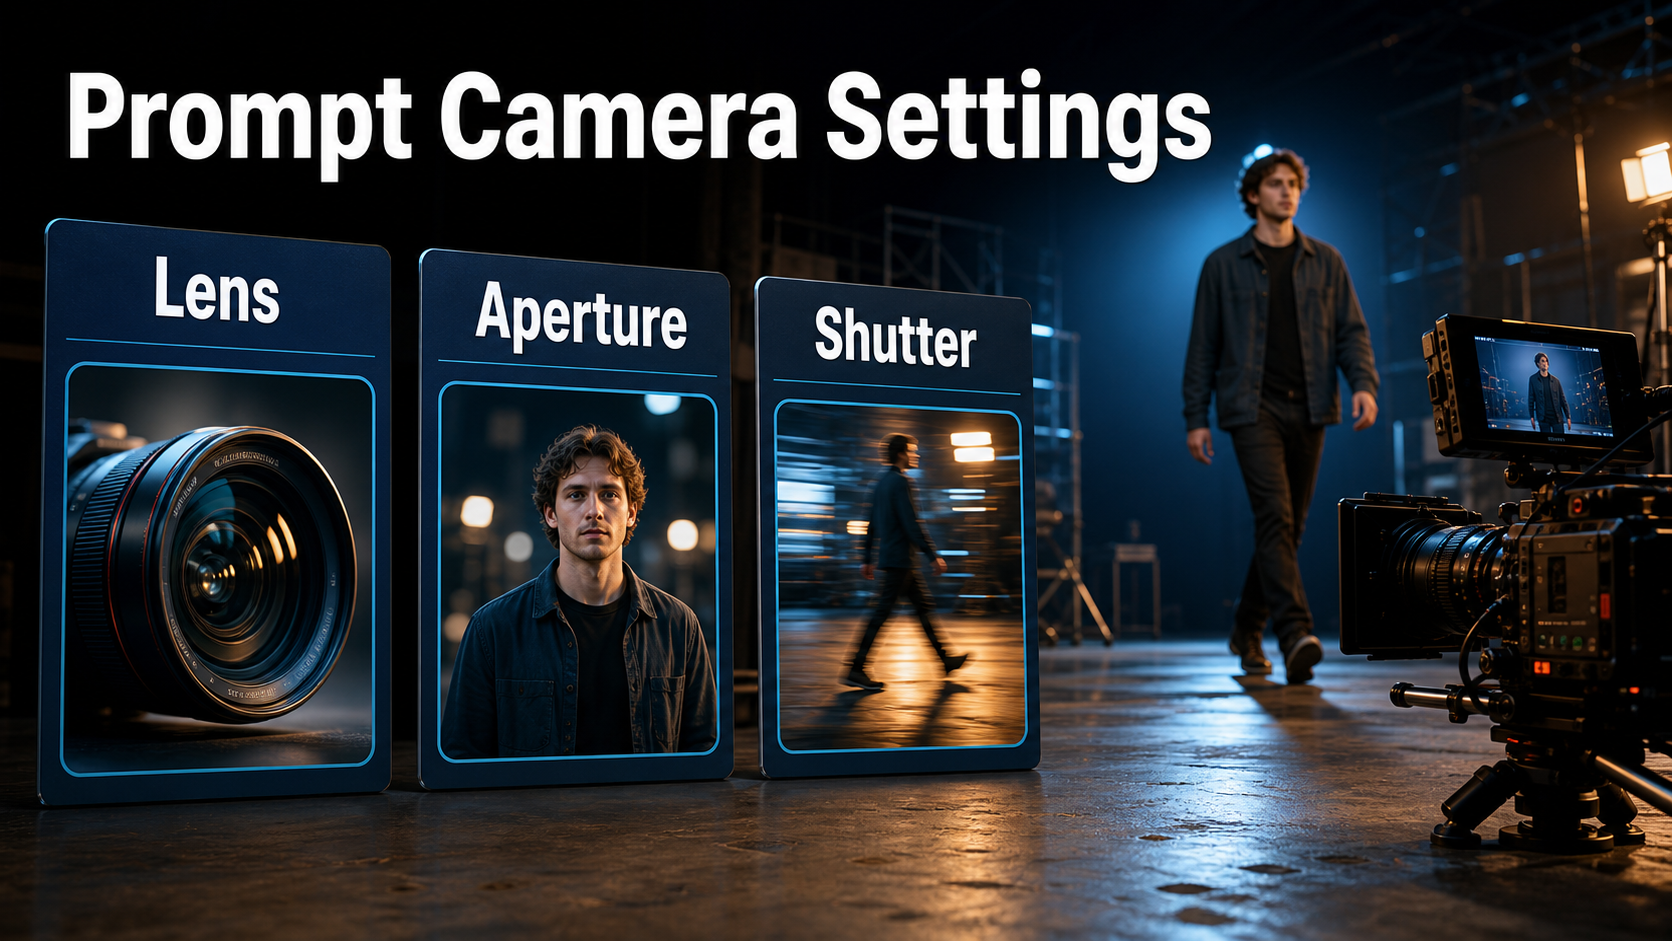
Camera height creates the low angle; focal length changes perspective and field of view. A wide lens close to the subject exaggerates feet, hands, jaw, and converging lines. A moderate or longer lens from farther away compresses space and usually preserves proportions more calmly.
Practical Starting Settings
| Control | Starting choice | Visible result |
|---|---|---|
| Camera height | 20-60 cm above floor | Readable upward view without an extreme worm’s-eye effect |
| Lens look | 35-50 mm | Moderate perspective with manageable distortion |
| Aperture look | f/2.8-f/5.6 | Subject separation while retaining environmental structure |
| Frame rate | 24 fps | Conventional cinematic cadence |
| Shutter look | 180-degree shutter | Natural blur for ordinary movement |
| Movement | Locked or slow push-in | Lower geometry and identity risk |
Treat Terms as Visual Targets
Most text-to-video prompts do not set physical camera metadata. “50 mm,†“f/4,†and “180-degree shutter†are visual requests unless the implementation exposes matching controls. Judge perspective, depth of field, motion blur, focus breathing, distortion, flare, and edge behavior in the rendered frames.
Light from the side or slightly above can define the face from below without producing an accidental horror look. Keep the reference and prompt consistent about key direction. Use restrained bloom, flare, grain, or chromatic aberration; strong effects can fluctuate between frames and hide continuity errors.
Reference Image Workflow
The strongest reference already looks like the desired first frame. Generate or photograph it at the delivery aspect ratio with the final camera height, crop, wardrobe, prop position, background, and light direction.
Reference Pack Checklist
- Front, three-quarter, and profile character views.
- Full wardrobe and footwear, because low angles emphasize them.
- Clean prop views and hand-contact details.
- Low-angle environment plate including ceiling or sky.
- Stable face, hairline, silhouette, and floor contact.
- Saved model, prompt, seed, settings, and approved output.
First Frame Versus Subject Consistency
Image conditioning anchors the opening composition, but it does not guarantee that identity survives a long move, occlusion, or large head turn. Inspect the first, middle, and final frames. Subject consistency, scene continuity, wardrobe continuity, and first-frame similarity are separate acceptance tests.
Low-Angle AI Video Prompt Formula
Write the prompt in a fixed order: subject, action, position, movement, lens behavior, exposure look, lighting, and continuity constraints. Keep each shot to one dominant action.
Copyable Prompt Template
Low-angle shot of the same [subject] in [fixed wardrobe and environment].
Action: [one clear action].
Camera: [height], [distance], tilted upward [direction].
Movement: [locked or one slow move]. Lens look: [focal length].
Exposure look: [aperture], [shutter], [frame rate].
Lighting: [key direction], [fill], [practical or rim].
Preserve face, body, wardrobe, props, floor contact, background geometry, and light direction.
No extra limbs, warped architecture, focus flicker, or unintended zoom.
Worked Prompt Example
“Low-angle medium-full shot of the same chef in a white jacket and dark apron beside the same steel counter. She places one finished plate on the counter. Camera 35 cm above the floor, three meters away, tilted upward toward her face; locked frame with a natural 40 mm look, f/4 depth-of-field look, 180-degree shutter motion at 24 fps. Soft key from camera-left, gentle fill, warm practical behind. Preserve face, jacket buttons, apron, plate, counter edges, floor contact, and light direction. No dolly, orbit, warped hands, bending walls, or focus pumping.â€
Model Workflow and Camera Control
Official camera-control projects address specific research problems. Verify their base checkpoints, setup instructions, and licenses independently; an MIT code license does not automatically relicense every required weight.
What Official Projects Control
- CamI2V and RealCam-I2V: image-to-video research using camera trajectories; the repository released DynamiCrafter-based RealCam-I2V model and evaluation code on July 12, 2025 and lists MIT for the code.
- UCPE: camera-conditioned video research that expands control to intrinsics, distortion, pitch, and roll.
- CameraCtrl: conditions text-to-video generation with camera trajectories represented through Plücker embeddings.
- MotionCtrl: provides separate camera-motion and object-motion control in its research workflow.
None of these claims means automatic character identity, speech, lip sync, voice cloning, or production-ready continuity. Follow the exact repository for the chosen checkpoint rather than transferring features between projects.
Production Workflow
- Write the narrative purpose and acceptance criteria.
- Approve character, wardrobe, prop, set, and voice assets separately.
- Draw the camera position map and create a shot-specific reference.
- Select a locked camera or one modest trajectory.
- Render a short, low-cost preview.
- Inspect face, limbs, clothing, floor contact, verticals, focus, and lighting.
- Change one variable at a time.
- Approve the shortest stable clip, then render final quality.
- Edit approved shots together and finish sound in post.
Voice, Lip Sync, and Audio Motion
Voice identity, speech synthesis, lip sync, and audio-driven motion are different stages. A camera-controlled silent video model does not create them automatically. Finalize clean authorized speech, then use a documented audio-conditioned or lip-sync workflow. Obtain consent for cloned voices, preserve provenance, and test short frontal dialogue before adding complex camera or head motion.
Common Failures and Fixes
Troubleshooting Table
| Failure | Likely cause | Fix |
|---|---|---|
| Huge feet or hands | Wide lens and close camera | Move back and use a moderate lens look |
| Bent walls | Unseen environment exposed | Add a low-angle plate; shorten movement |
| Face drifts | Extreme pitch, turn, or duration | Reduce motion and clip length |
| Floating subject | Weak floor contact | Show shoes, shadow, and contact clearly |
| Unwanted horror look | Extreme angle or underlighting | Raise camera and soften key direction |
| Focus pumps | Conflicting depth and motion cues | Request stable focus; remove rack focus |
| Lips lag audio | Unsupported or noisy workflow | Use clean speech and a dedicated lip-sync stage |
Quality-Control Checklist
- The angle supports the story rather than merely looking dramatic.
- Face and body match at the start, middle, and end.
- Wardrobe, props, floor contact, and shadows remain stable.
- Walls, ceiling, and vertical lines do not bend unexpectedly.
- Only the requested subject and camera actions occur.
- Voice identity, speech quality, lip sync, and body motion pass separate reviews.
Edit AI videos here
After generating stable clips, assemble selects, trim failed frames, add approved audio, captions, transitions, and final exports at https://ai.alphatechnologies.vn. Keep the original references and generation settings with each shot so revisions remain reproducible.
Final Recommendation
Build the low angle in the reference and camera map first. Start with moderate perspective, a locked frame, and one action; add movement only after identity and geometry pass review. Explore more practical AI video workflows and current open-model guidance on Aikolhub.
Frequently Asked Questions
What does a low-angle shot communicate?
It often suggests power, scale, awe, or threat, but story context, performance, lighting, and lens perspective determine the final meaning.
Which lens is best for a low-angle shot?
A 35-50 mm visual target is a practical starting point. Wider looks exaggerate nearby features; longer looks calm perspective but need more distance.
Does a reference image lock the character?
No. It anchors the opening frame, but identity can drift during long motion, turns, occlusion, or newly revealed views.
Can a prompt set a real aperture?
Usually it requests an aperture-like visual result. Treat it as physical metadata only when the tool documents an explicit aperture control.
How do I keep dialogue consistent?
Approve the voice and speech separately, keep camera and head motion restrained, and use a documented lip-sync or audio-conditioned stage with clean audio.
Official Sources